Carlshrue to Daylesford

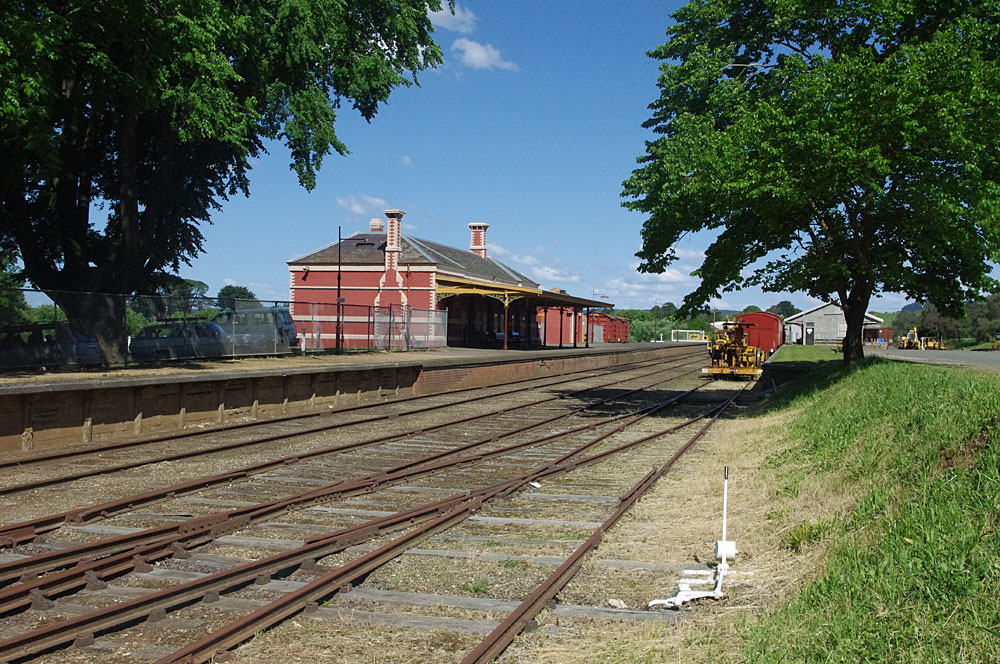
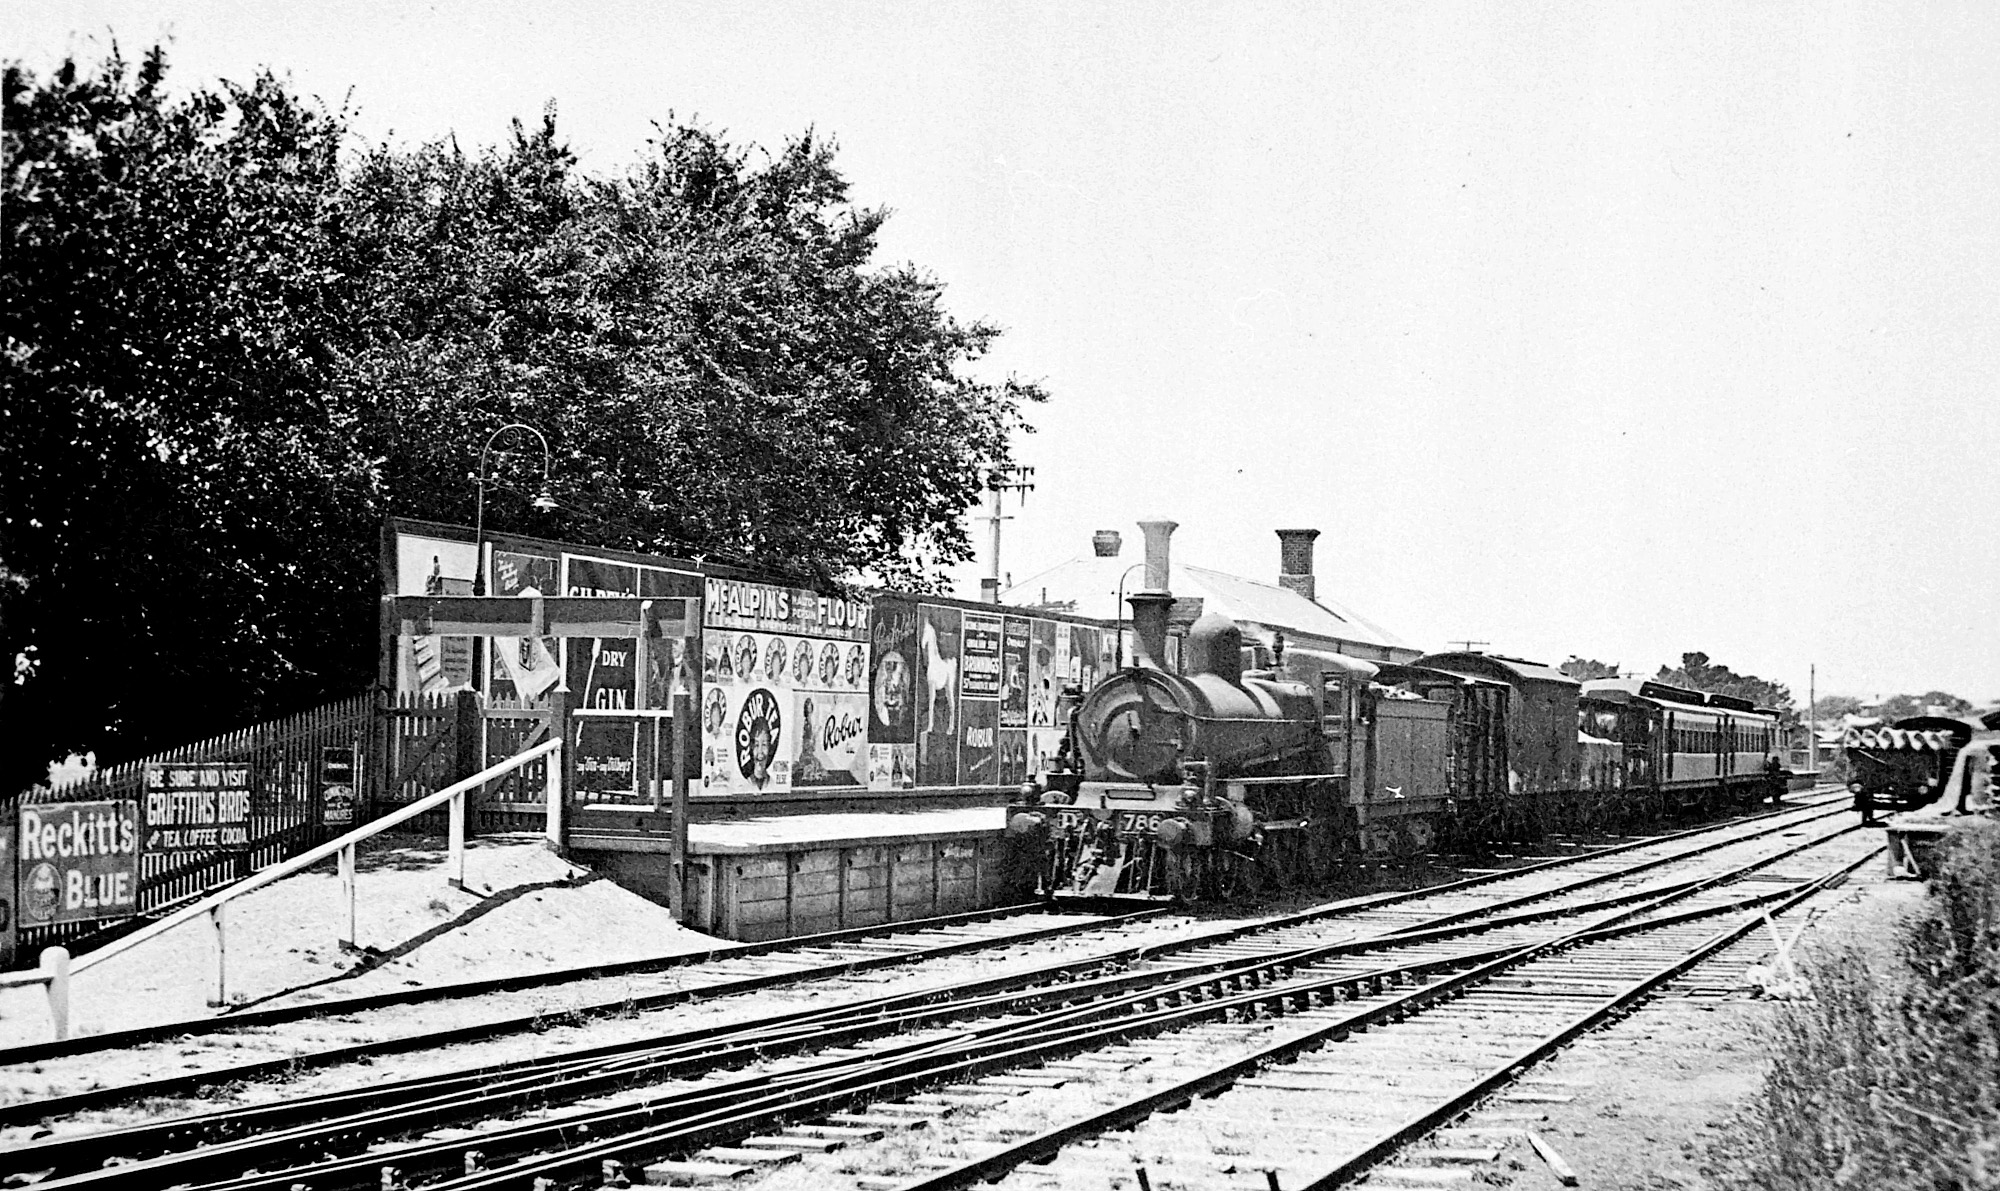
2 circa 1910 views of Daylesford, ABOVE: we see what looks to be a Creswick bound train departing whilst a Carlshrue bound train stands in the platform. BELOW: The same view in 2011.

ABOVE: An overall view showing the two trains. BELOW: The same view about 100 years later. The extension to the brick ramped platform can clearly be seen.
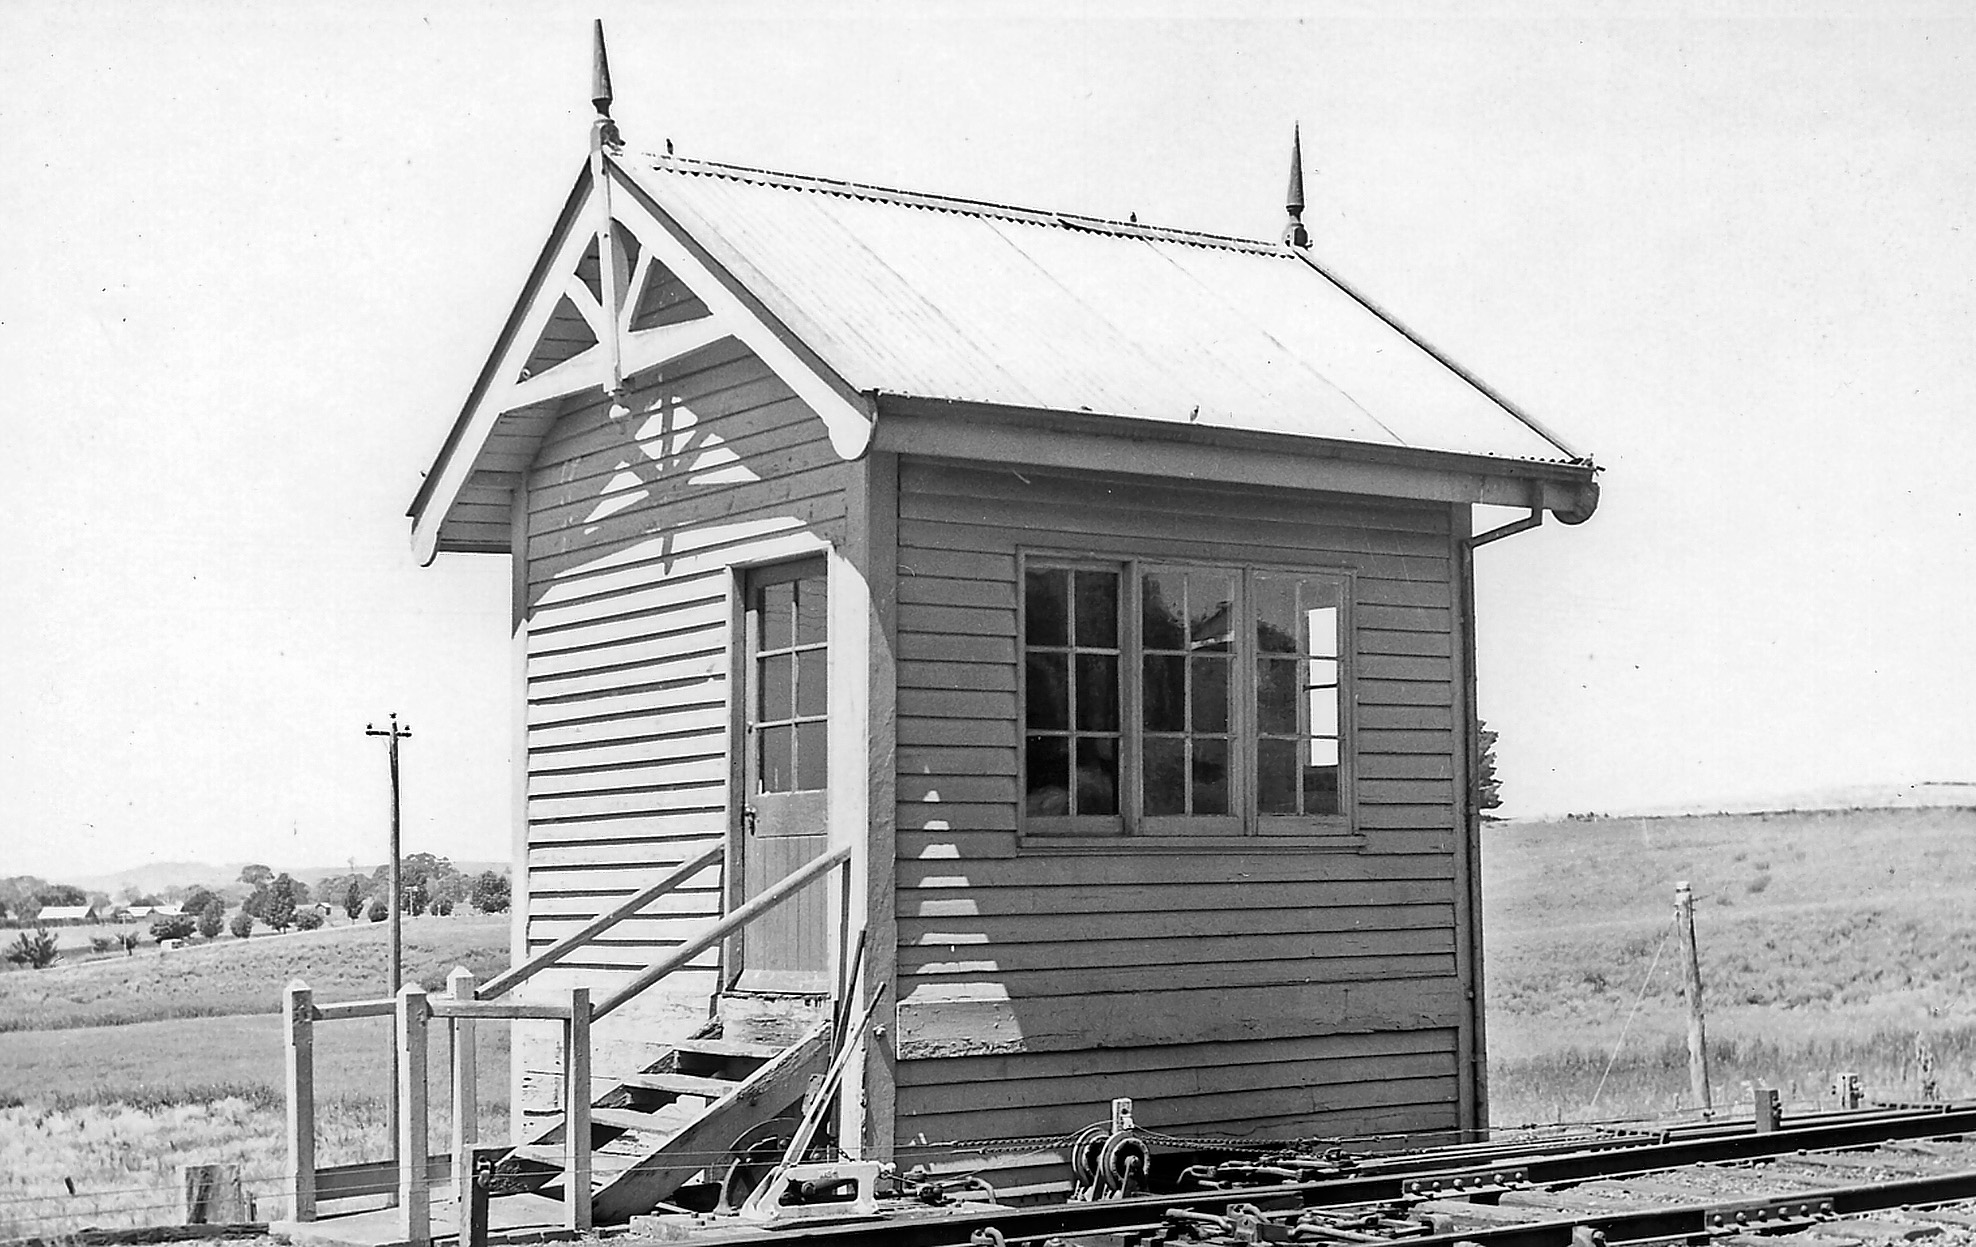
ABOVE: Daylesford box was moved to this location in 1892 as a result of the junction being moved closer to the station. The signalling at Daylesford was unique to say the least. Even though it had an interlocked signal box it had plunger locked points right outside the signal box that had to be operated for all moves into No. 1 and 2 road Dec 30 1954. (photo courtesy Des Jowett)
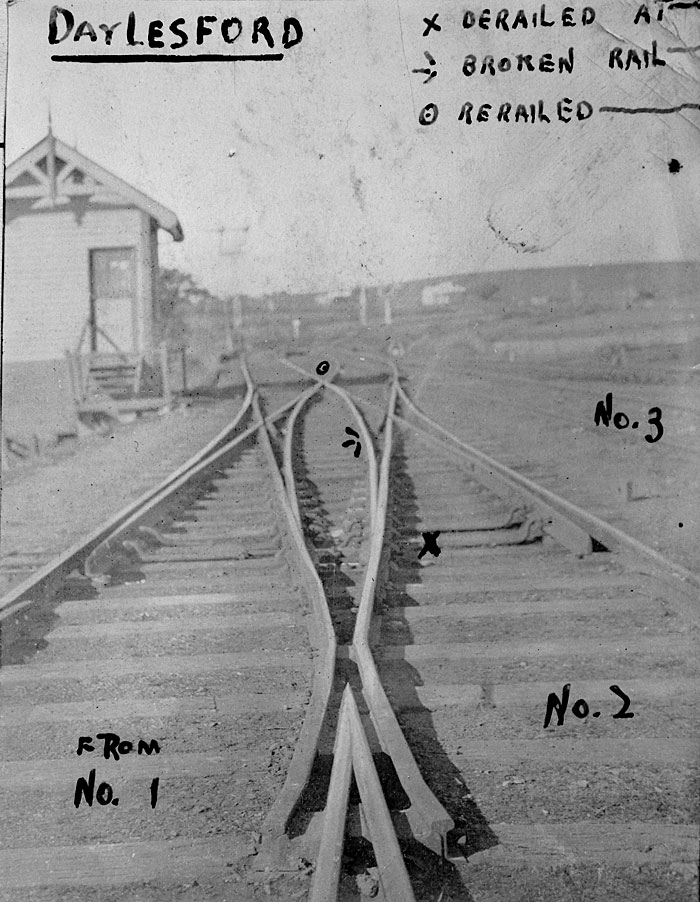
ABOVE: This photo was attached to a 1939 report of an investigation into a derailment at Daylesford.
ABOVE: An up pass prepares to depart for Woodend on the afternoon service. Dec 26 1953. (photo courtesy Des Jowett)
|
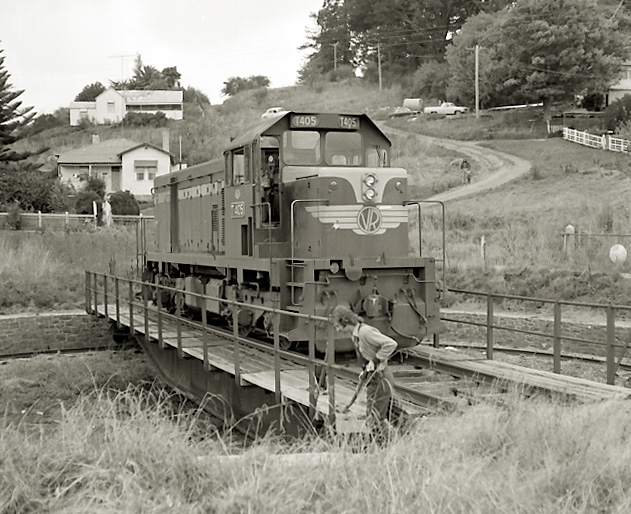
ABOVE: Anzac day (April 25) 1977 and the Daylesford line has a bit over a year of life left. A nice day return for the Dynon crew, here we see the train ready to depart on the return journey, due away at 5.25pm. The line closed on July 3 1978. BELOW: T 405 is turned on the manual turntable. Both Photos courtesy Chris Wurr |
|
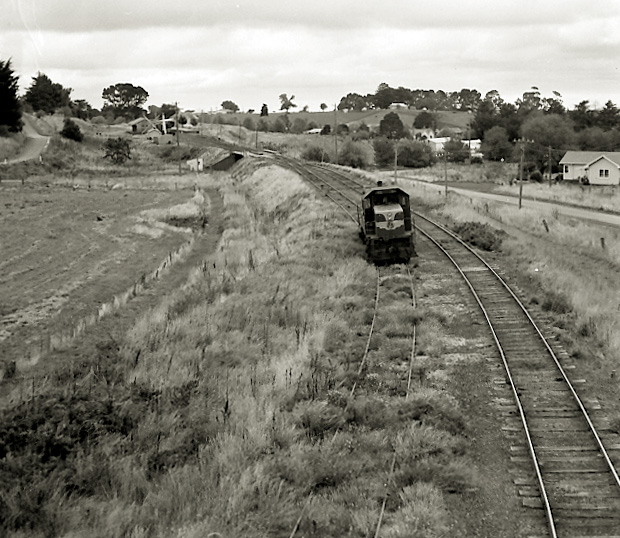
BELOW: After turning the crew took the T down the remains of the Nth Creswick line as far as they dared, this line also connected to the stock siding. This photo was taken from the home arrival signal.
|
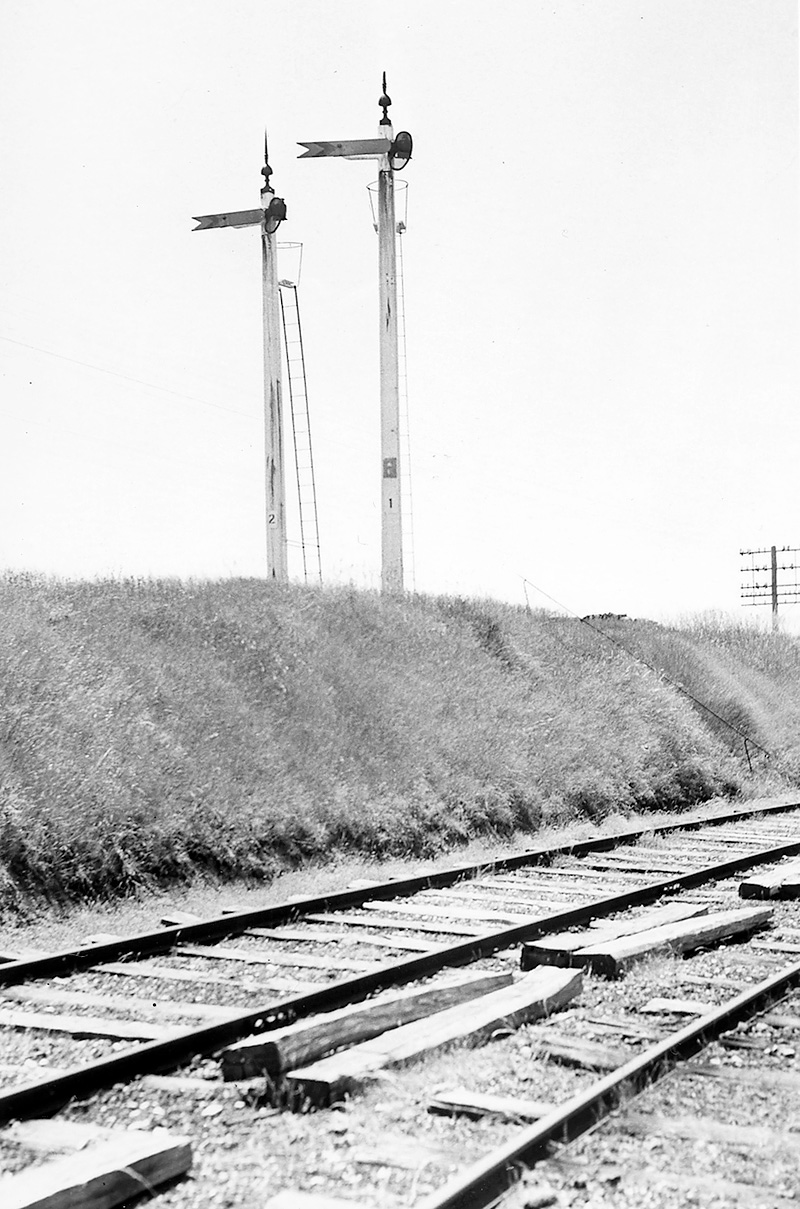
BELOW:The distant signals for Daylesford, the left hand distant applied to trains from Ballarat, the right hand distant applied to trains from the Woodend line. The physical junction of the two lines was originally quite a distance from the station, on 29-3- 1892 the physical junction was moved much closer to the station and along with it, the signal box. It is believed that these two distant signals were the home signals before the junction was moved. (photo courtesy Des Jowett)
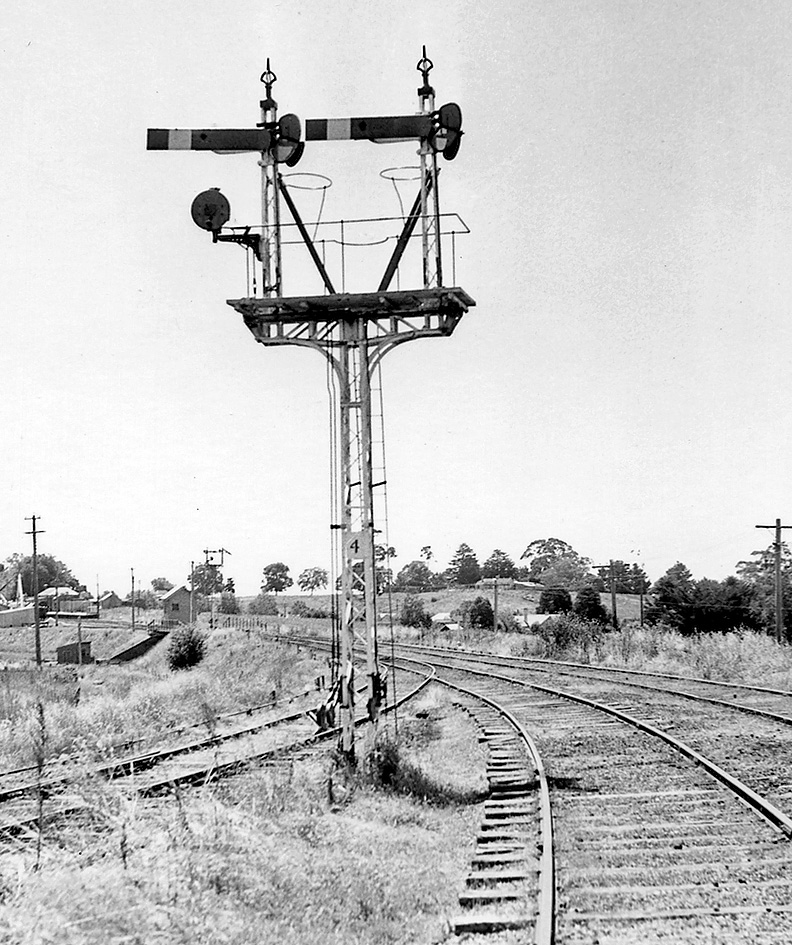
ABOVE: The arrival home signals. Left hand from Ballarat, Right hand from Woodend. The right hand home deserves a mention. Because Daylesford was never fully interlocked this signal could be operated from the signal box, from the quadrant lever outside the signal box or from the quadrant lever on the platform. The disc took you from the Ballarat line into the goods shed road or the loco sidings. The track on the left was from the cattle yards. Dec 30 1954. (photo courtesy Des Jowett)
ABOVE: Daylesford's down distant signals. Left hand distant for trains from Ballarat, Right hand distant, for trains from Woodend. It may seem strange to have distant signals for a dead end station but this was common signal practice. As can be seen, the distant signals were fixed at caution. Dec 30 1954. (photo courtesy Des Jowett)
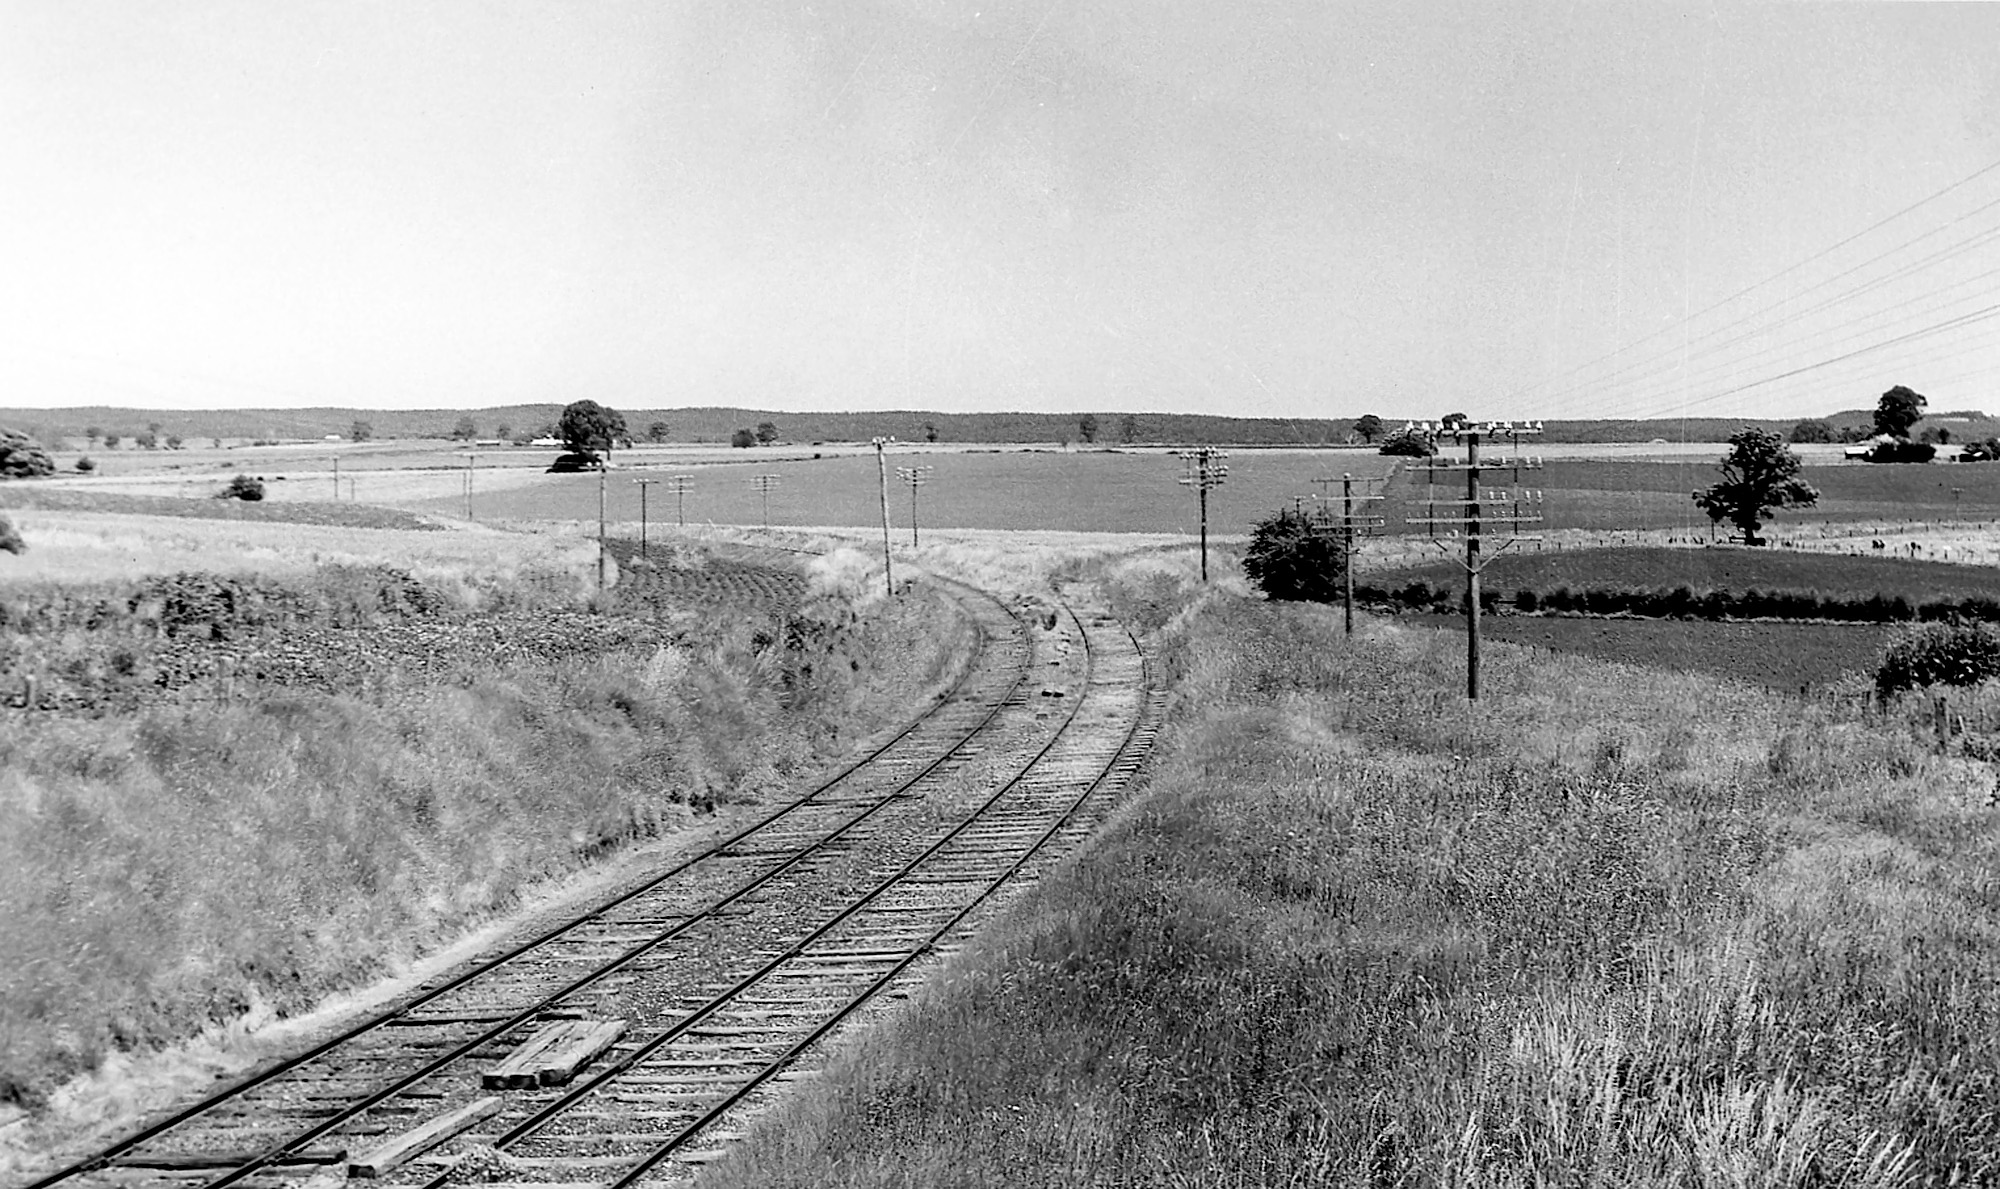
BELOW: The view looking away from Daylesford of the two lines coming together, Ballarat on the right, Woodend line on the left. Originally the two lines physically junctioned at this point. The Ballarat line had been closed 18 months before this photo was taken. (photo courtesy Des Jowett)
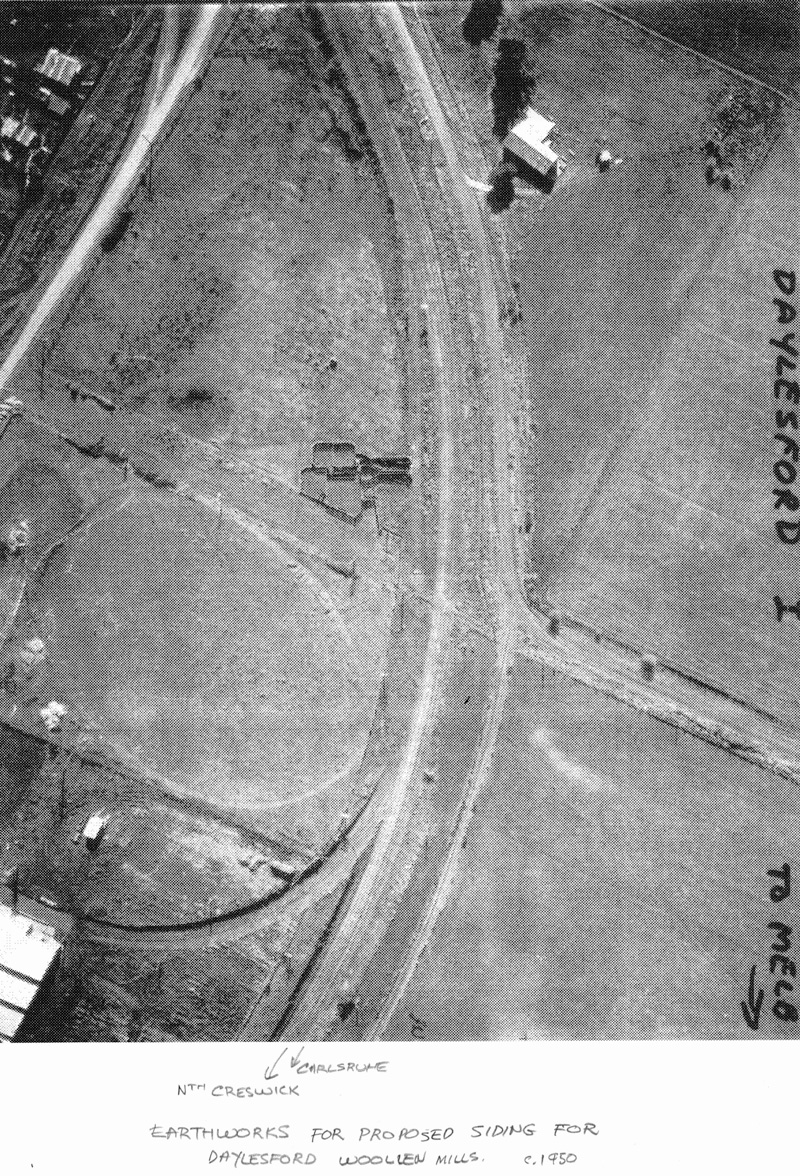
BELOW: In 1950 the Daylesford Woollen Mills asked for a private siding off the North Creswick line near Daylesford. The earthworks were completed but the company wanted the VR to provide wagons exclusively for their use and improved decentralisation freight concessions. The V.R. were unable to meet these requests and the siding scheme was abandoned. The aerial photo BELOW: from the Way and Works aerial photos shows the siding earthworks curving round off the Railway Reserve into the factory. Also note the stock yards which had their own siding, in the centre of the photo. (caption and photo from Des Jowett)
BULLARTO
1957 signal arrangement diagram
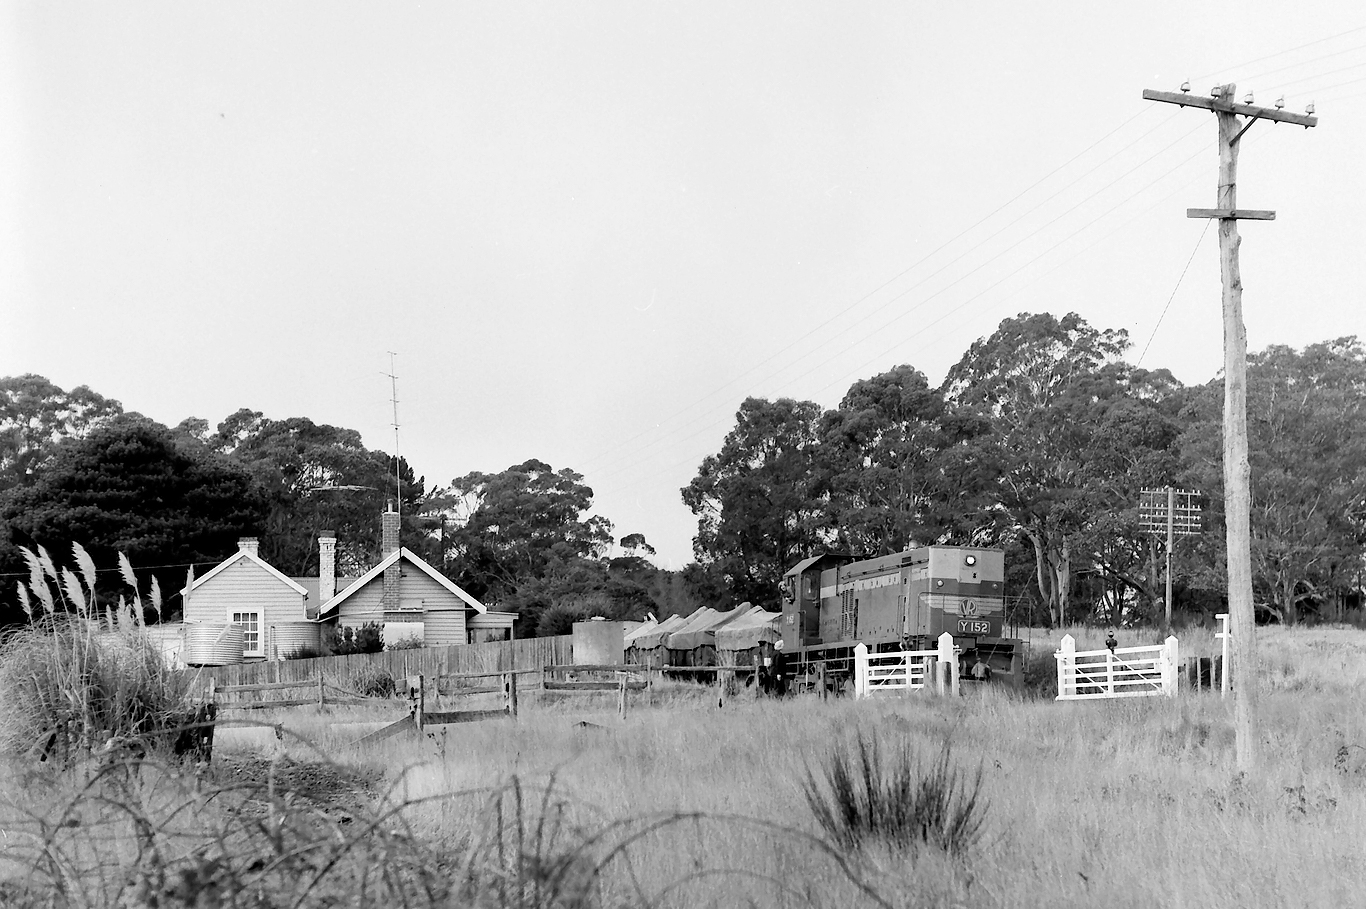
ABOVE: A down Daylesford goods pauses at Bullarto to have a chat with the gatekeeper. 1975. (photo courtesy Chris Wurr)
LYONVILLE
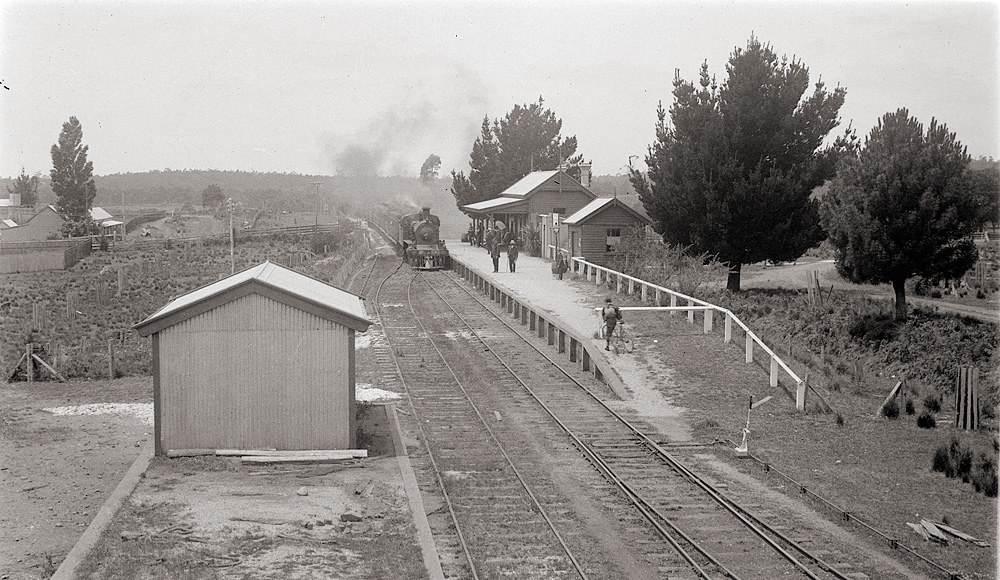
ABOVE: A down Daylesford service arrives at Lyonville around the turn of the century
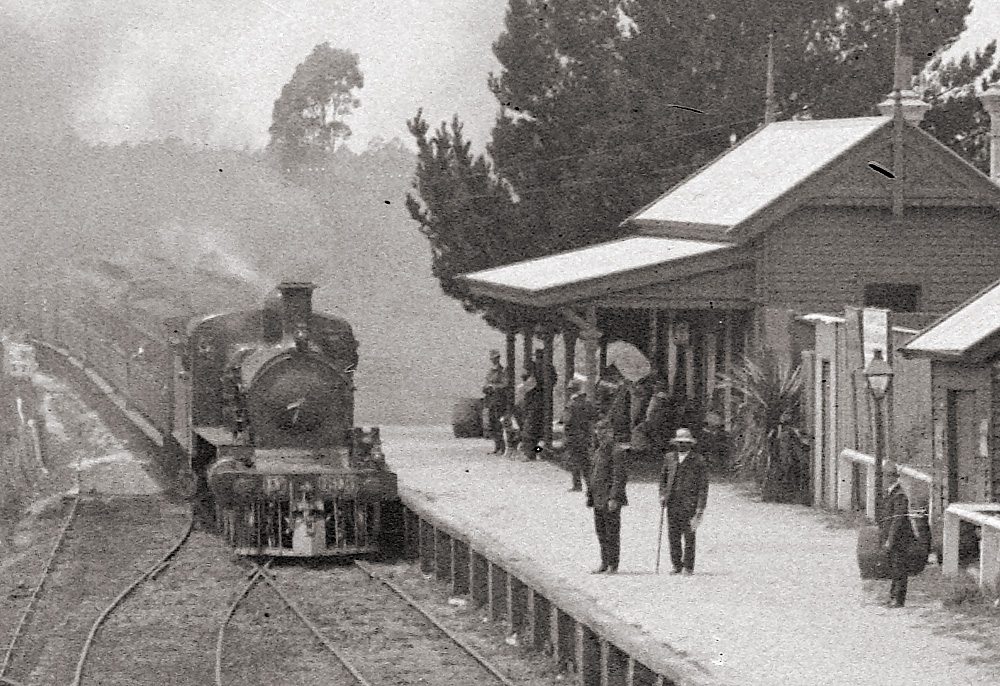
BELOW: A detailed view of the train.
Photo from the State Library of Victoria collection

ABOVE: A 280 Walker running an up Daylesford service pauses at Lyonville circa 1970. Official VR photo.
TRENTHAM
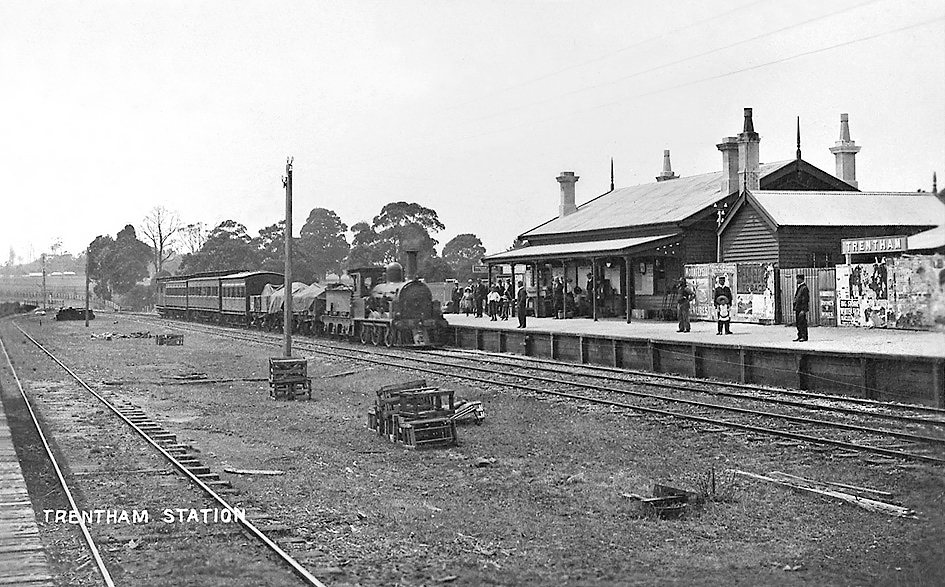
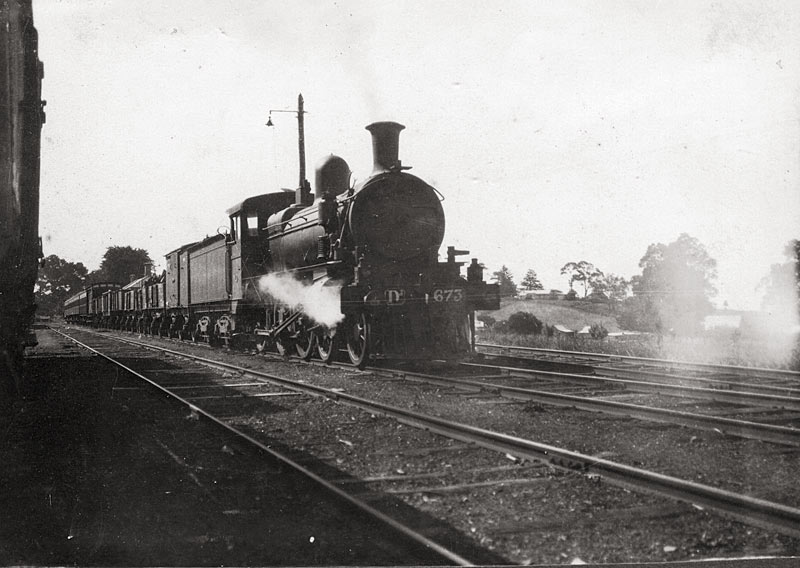
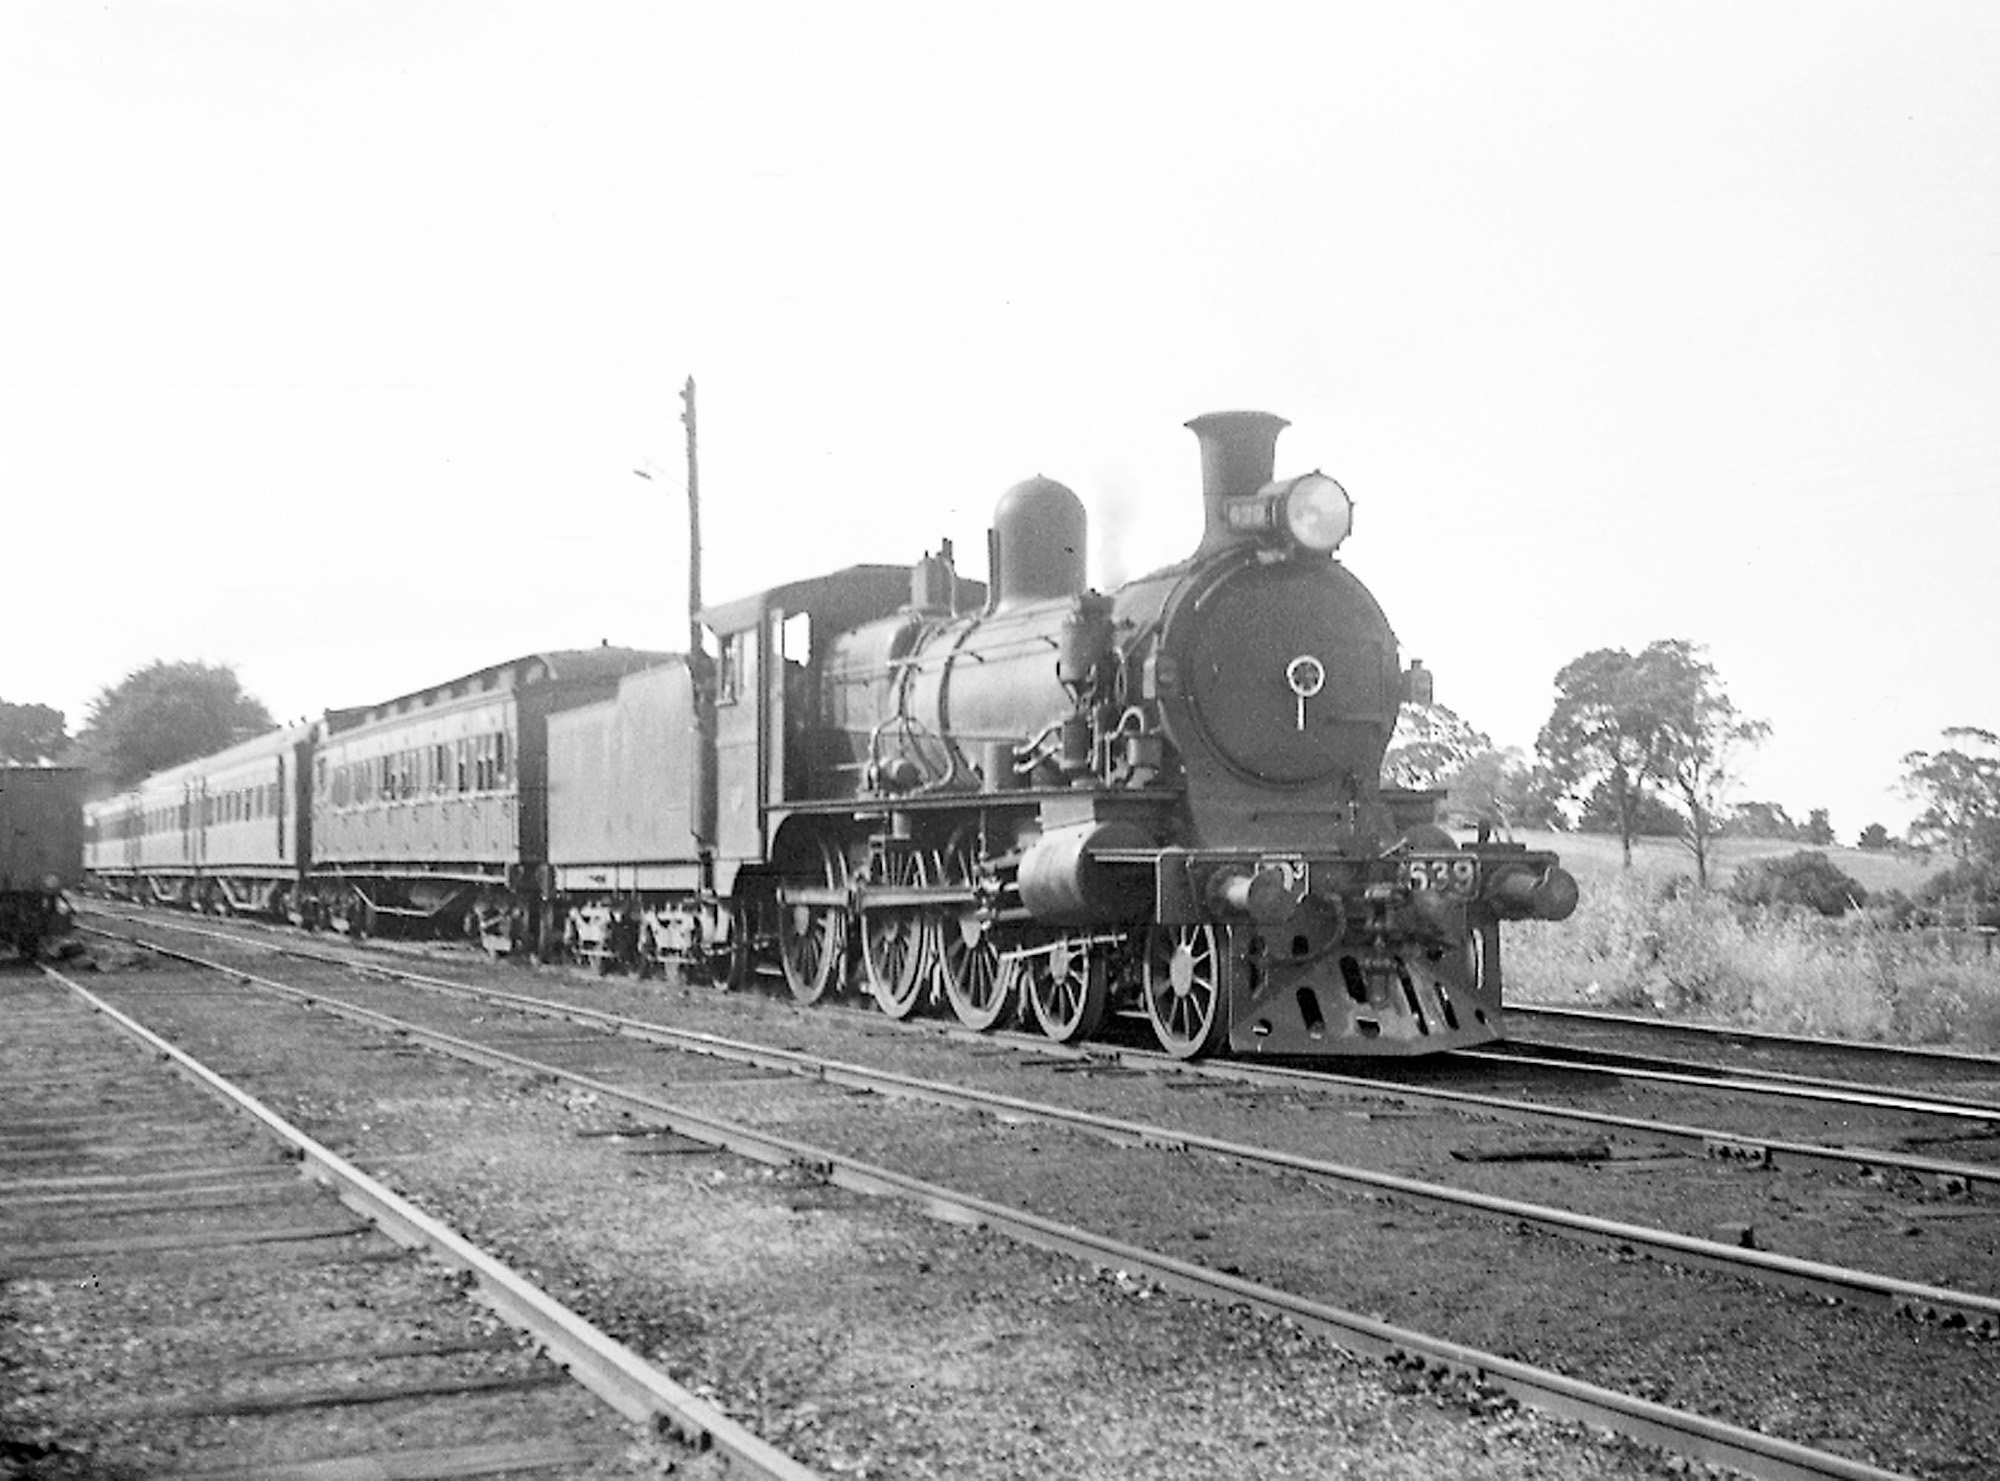
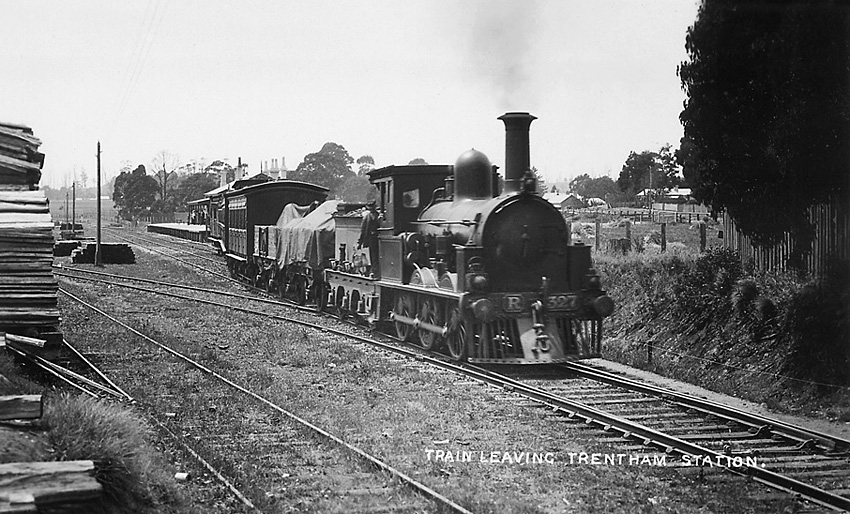
ABOVE & BELOW: These photos beautifully show a typical VR branchline mixed train in the early 1900's. Judging by the angle of the sun this is the morning down Melbourne to Daylesford train seen departing Trentham.
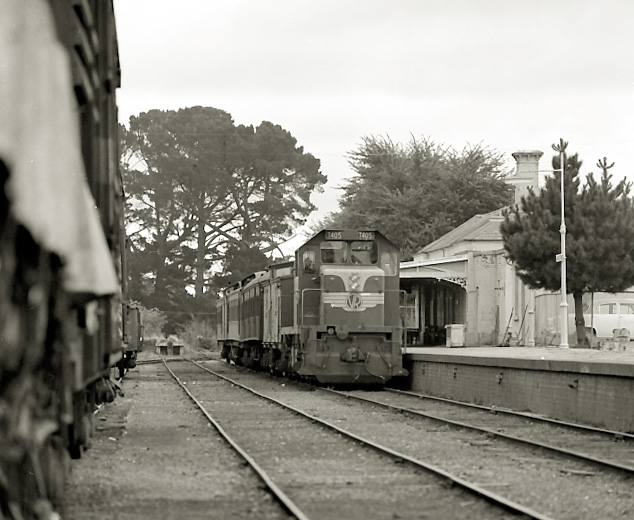
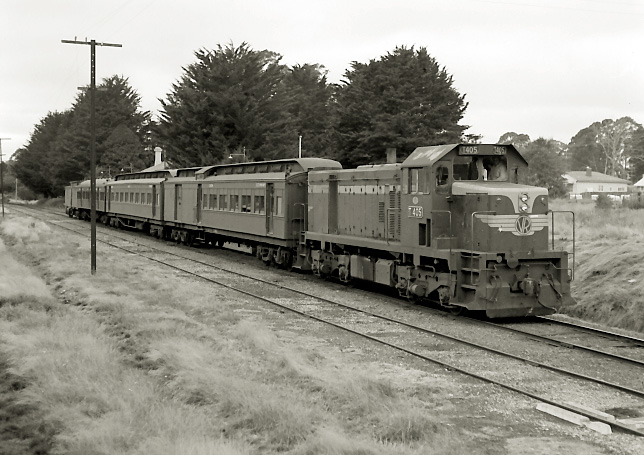
BELOW: Near the end of the Daylesford branchlines life we see T 405 in a very similar position during its station stop whilst running a Daylesford pass. April 25 1977. (photo courtesy Chris Wurr)
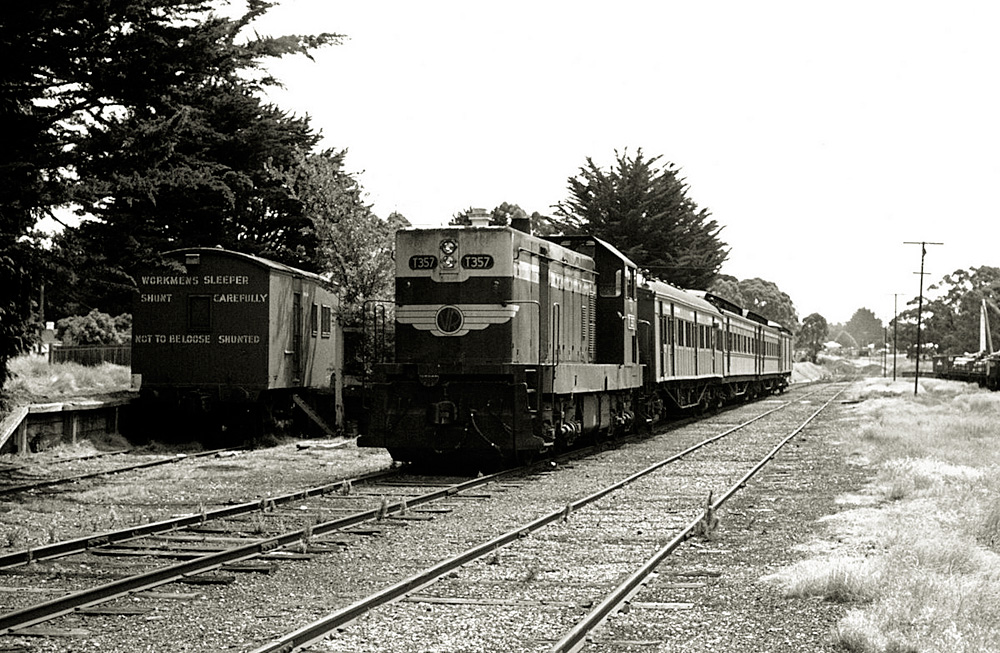
ABOVE: Looking in the opposite direction we see T 357 departing Trentham on an up Daylesford - Melbourne pass. on a very hot January day. A "bughut" is stowed in the carriage dock and at the extreme right we can see wagons loaded with SEC poles, probably the primary source of revenue on the Daylesford line in its last 20 years. Jan 29 1977. Passenger service ceased 8 months later and the whole line closed 18 months after this photo was taken (Photo courtesy Bob Wilson)
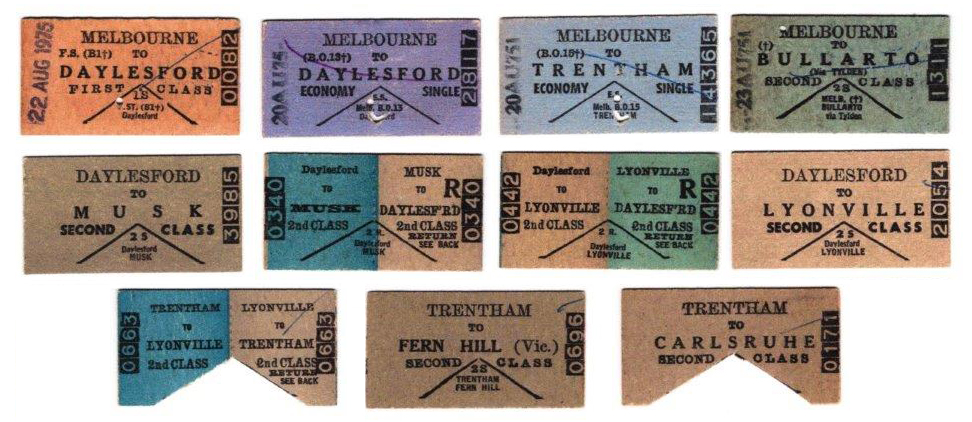
ABOVE: A selction of tickets from the Daylesford line (courtesy Doug Miles).