Ballarat - Ararat
========
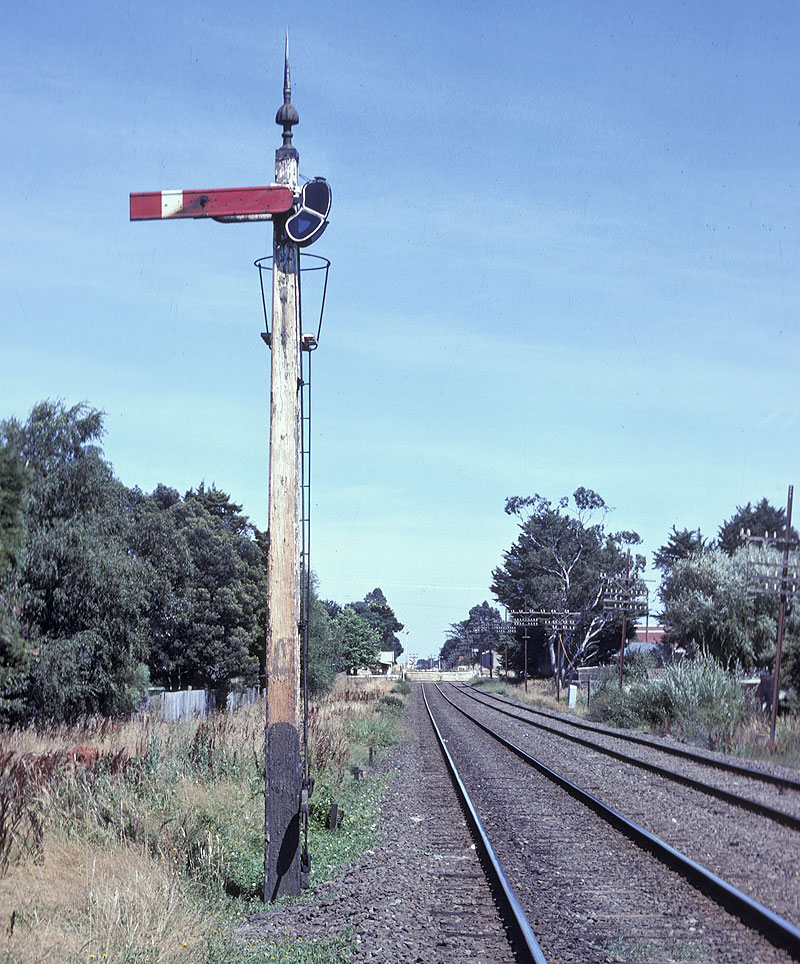
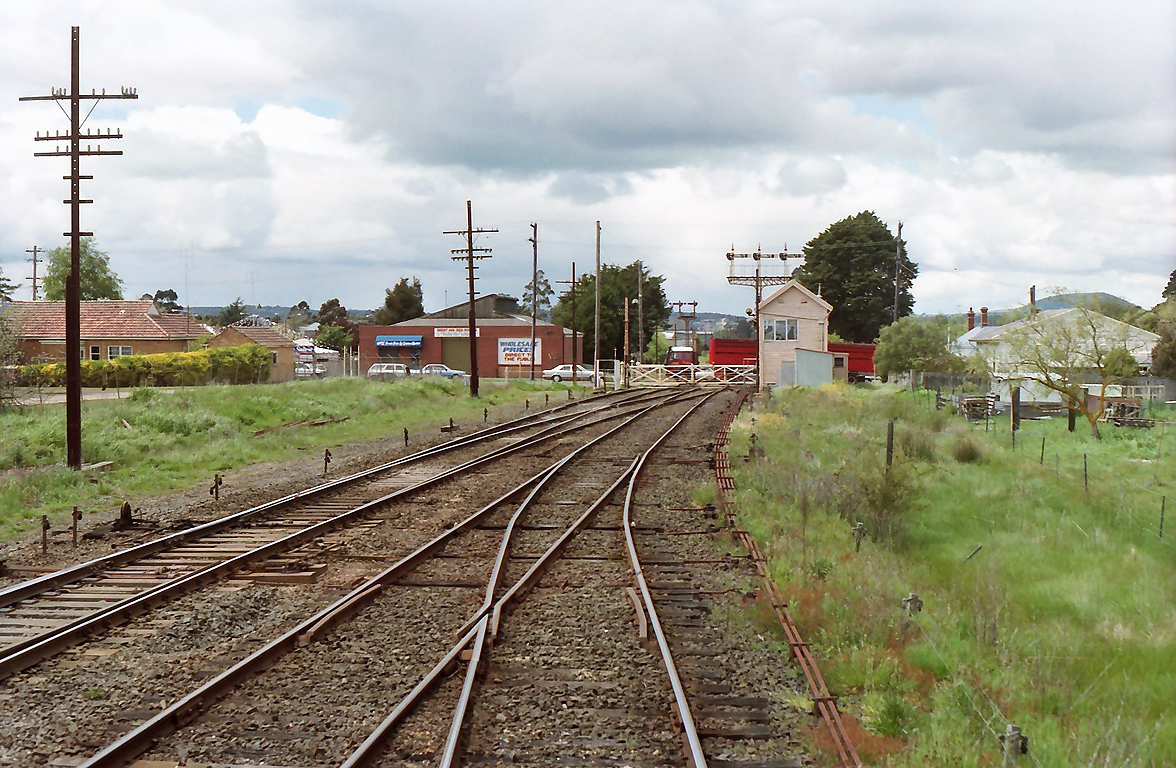
ABOVE: Post 15, was worked by Wendouree and protected the hand gates at Forest street. Linton Junction's down distant signal can be seen in the distance. Feb 1982.

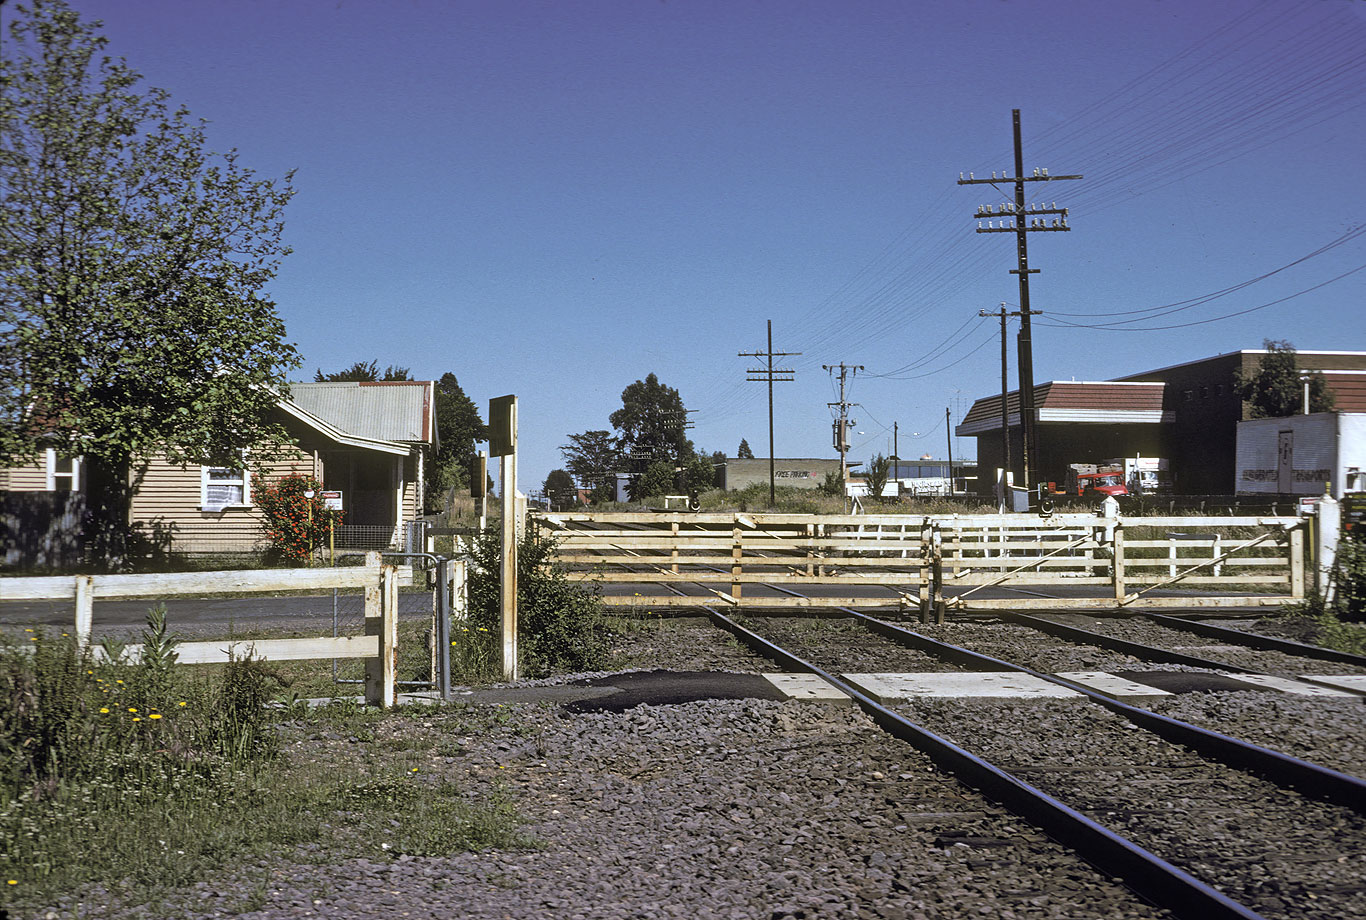
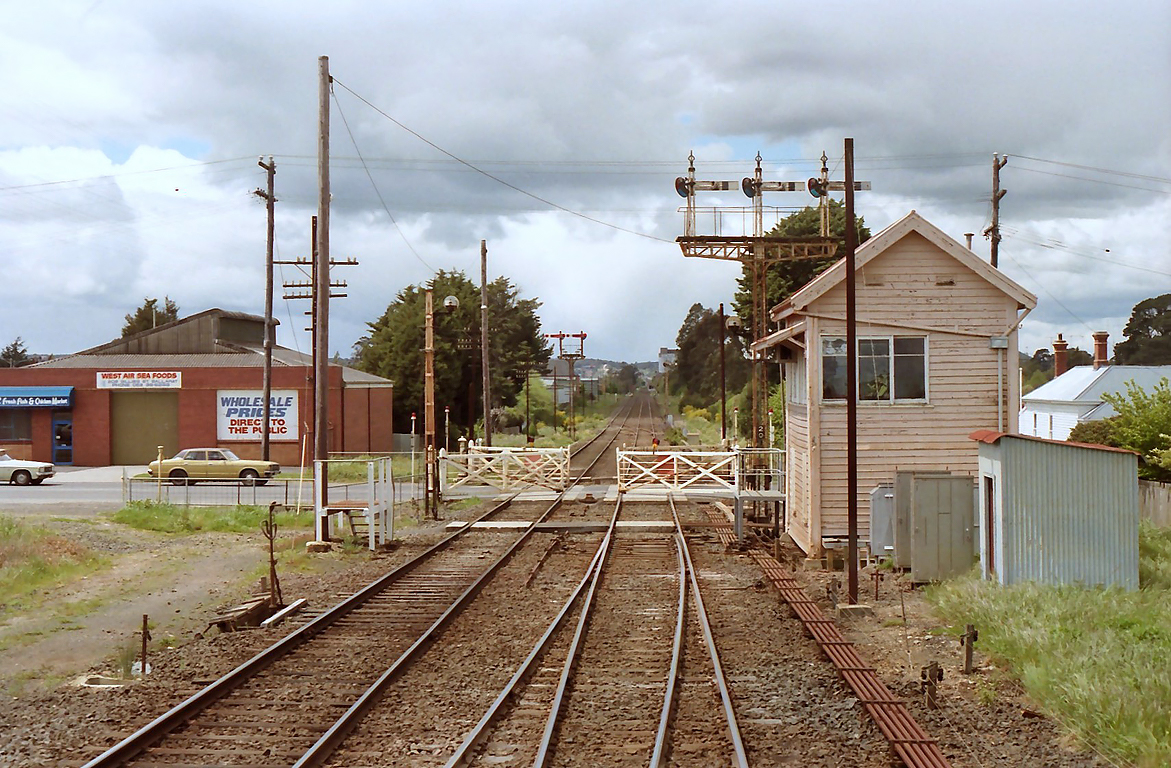
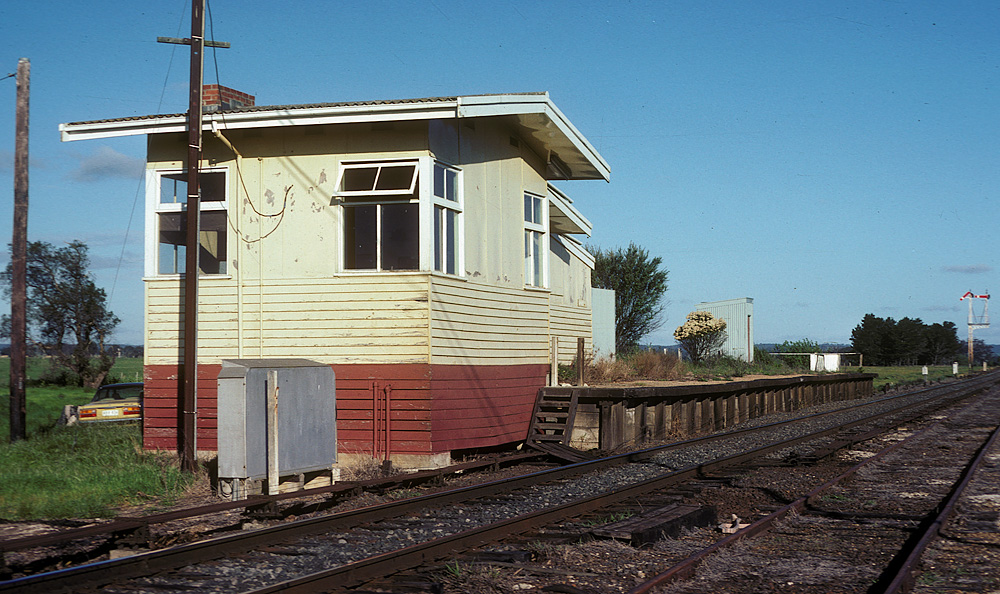
ABOVE: Wendouree, looking towards Ararat, the hand gates protected Forest St level crossing, the gatekeepers house on the left. (photo courtesy Chris Wurr) BELOW: The hand gates at Forest street, Nov 1981.
========
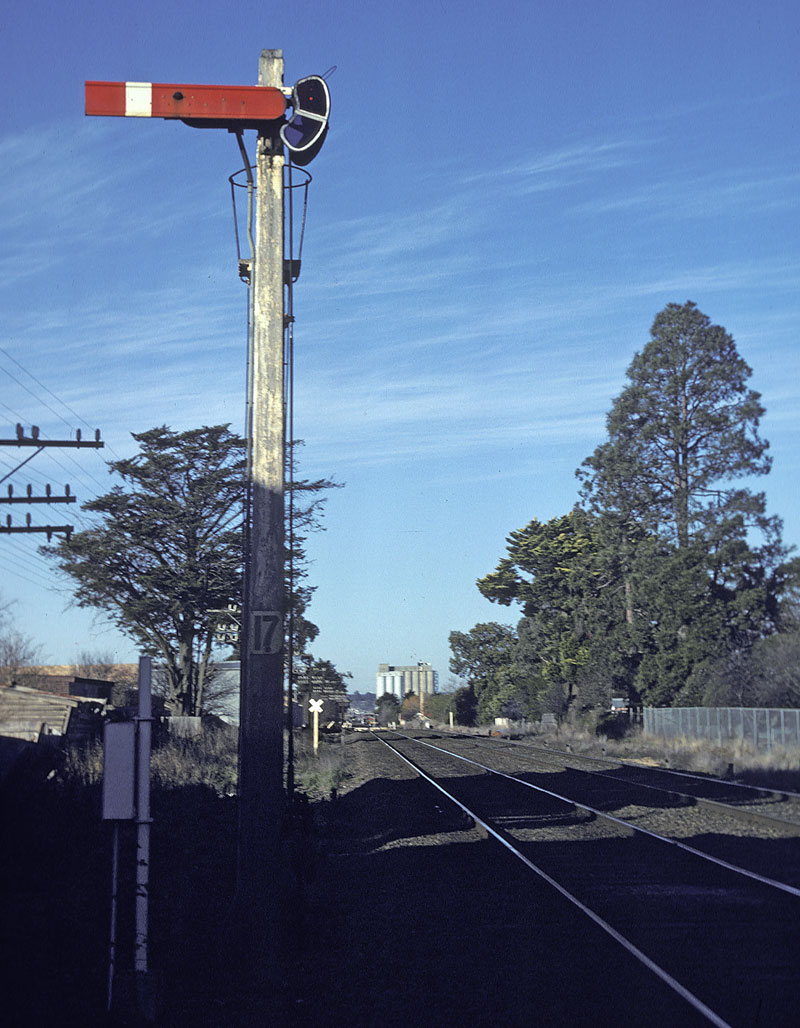
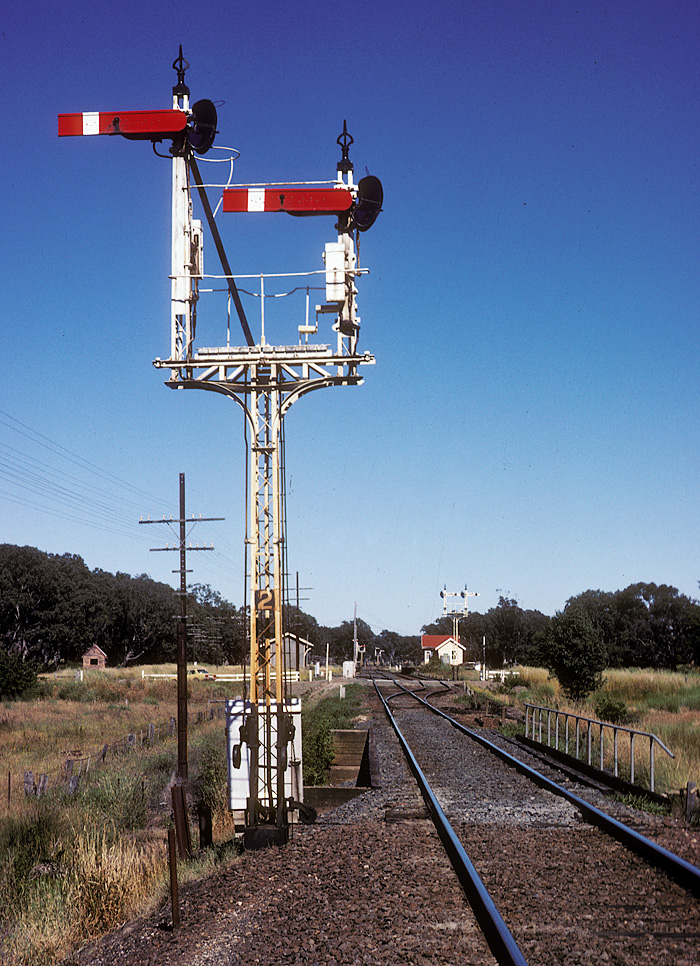
ABOVE: Post 17 was Linton Junction's up starting signal and controlled by Wendouree.
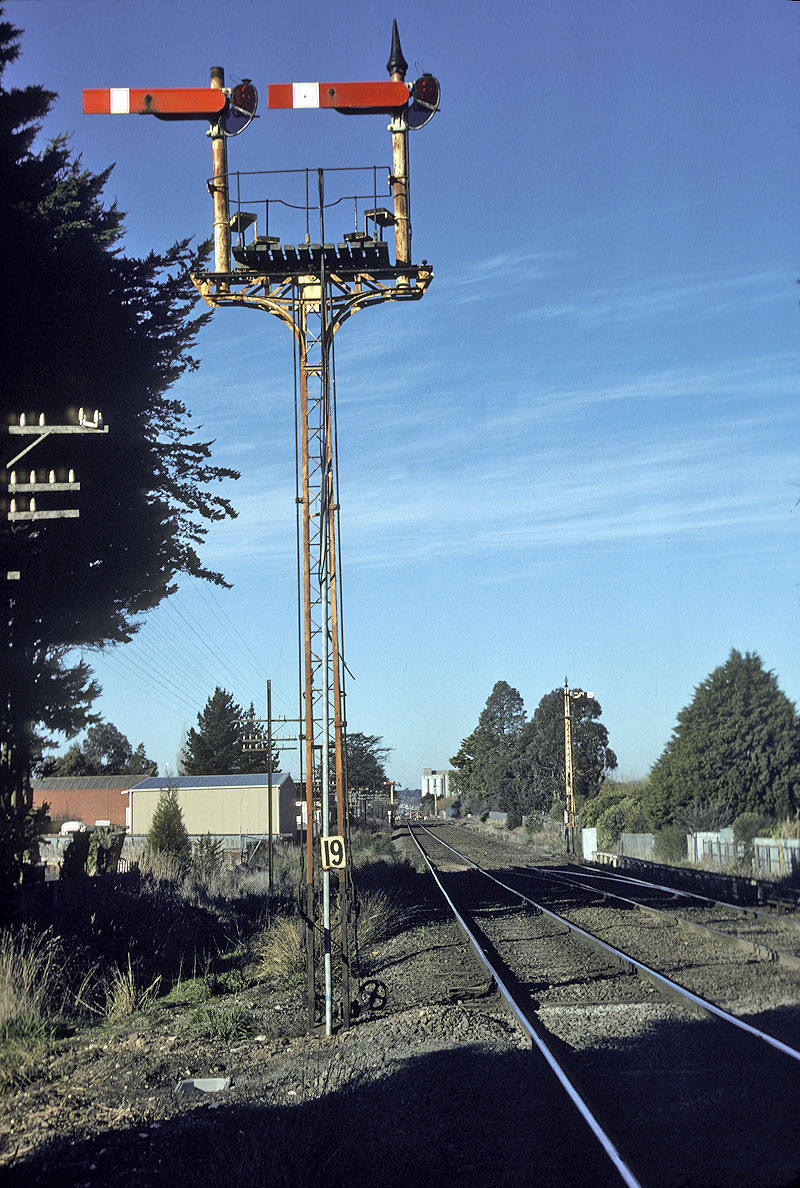
ABOVE: Linton Junction post 19 was the signal that controlled the actual junction, the crossover you see here is where the lines from Linton and Ararat met. June 1982
Linton Junction, named Scarsdale Junction until May 1904, was the junction for the main Adelaide line and the Linton and Ballarat Saleyards lines. After the two single lines came together they became a double track section towards Ballarat. It also controlled movements over Gillies street by means of interlocked gates. Officialy this signalbox was known as "Ballarat D box" but it was usually refered to as Linton junction.
ABOVE & BELOW: The view from the back of a train heading down the cattleyards branch, Oct 20 1990. (photos courtesy Bob Wilson)
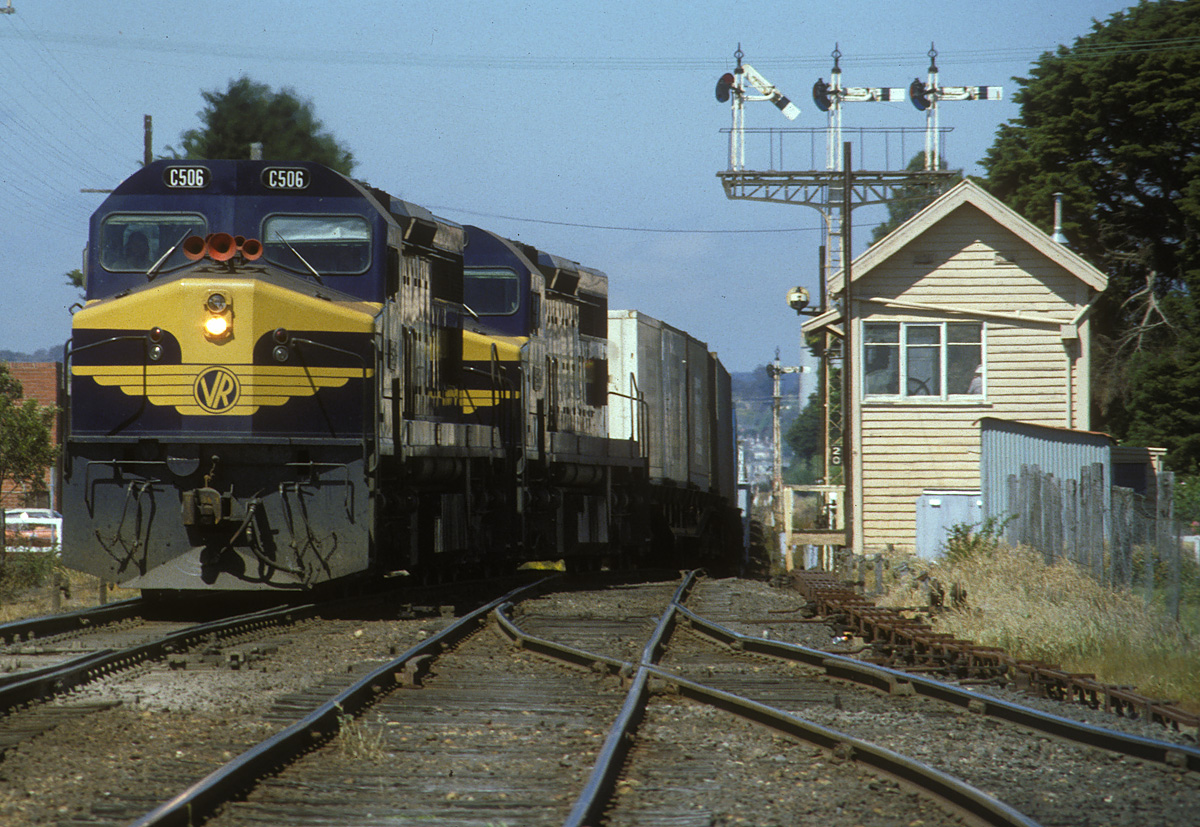
ABOVE: A pair of C's diverge onto the Adelaide line at Linton Junction, the centre track went to Linton and the track on the right went to to the stockyards. Nov. 4 1978 (photo courtesy Warren Banfield
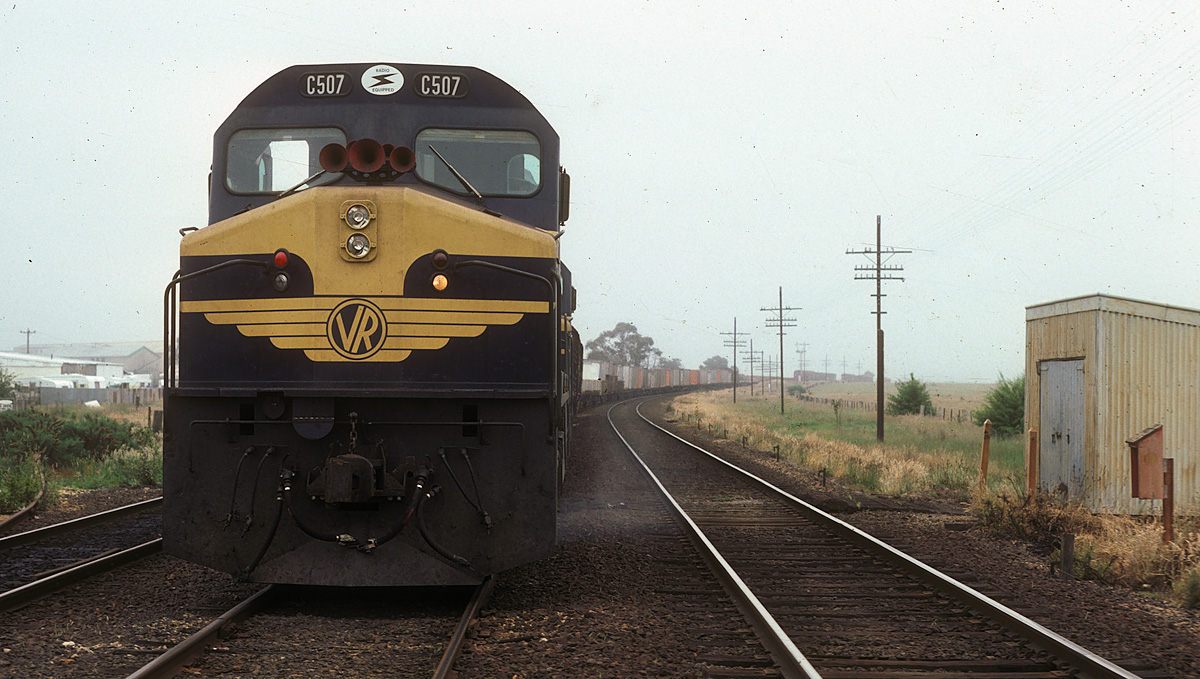
ABOVE: A pair of C's, this time on an up jet, has been backed onto the Skipton line to await a cross, this was quite common because in the later days the jets were far too big to be let into Ballarat yard without bringing the yard to a standstill. Dec. 1979
ABOVE: A down jet, #9121, passes the Linton Junction signalbox (Ballarat D box) Oct 31 1981.
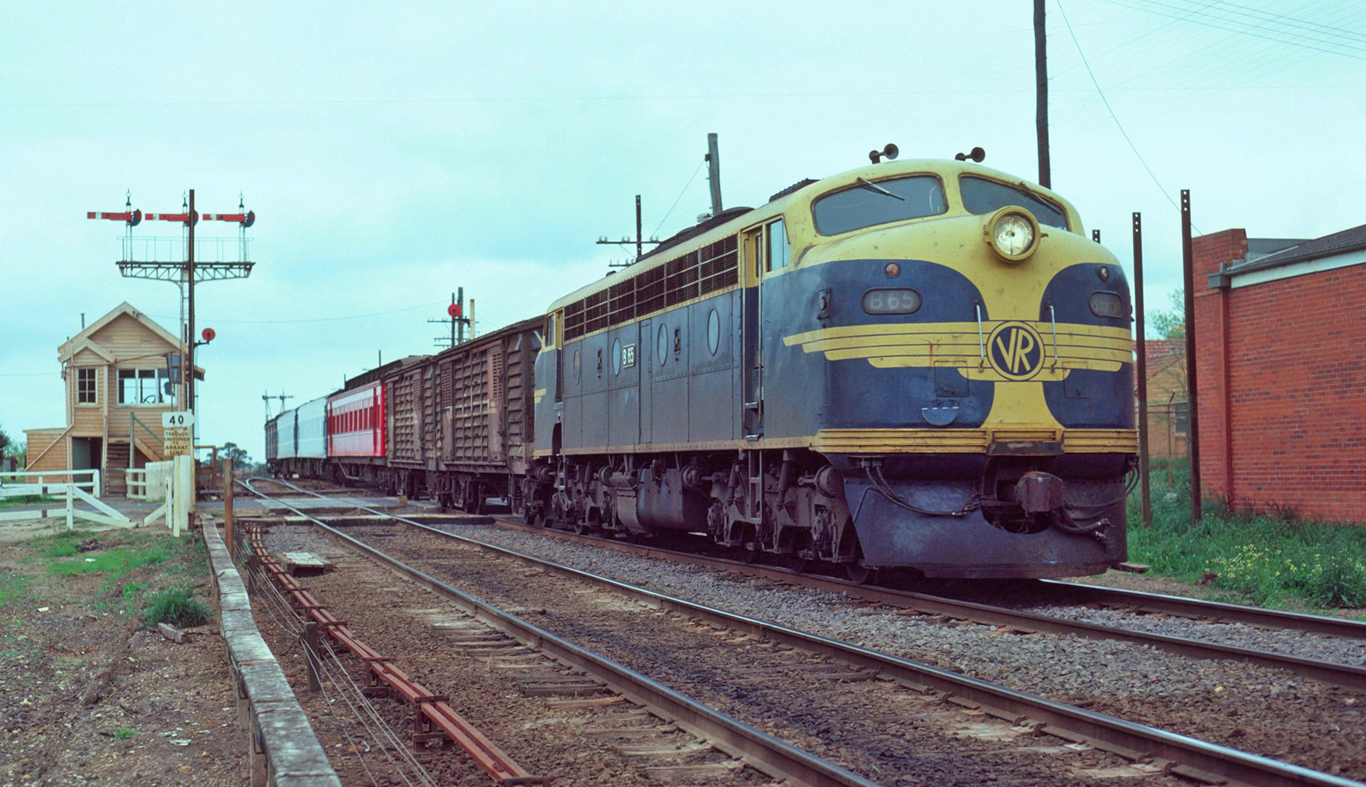
ABOVE: B 65 passes Linton Junction signalbox on the 6.55am Dimboola to Mebourne service. pass, Oct 27 1979. (photo courtesy Warren Banfield)
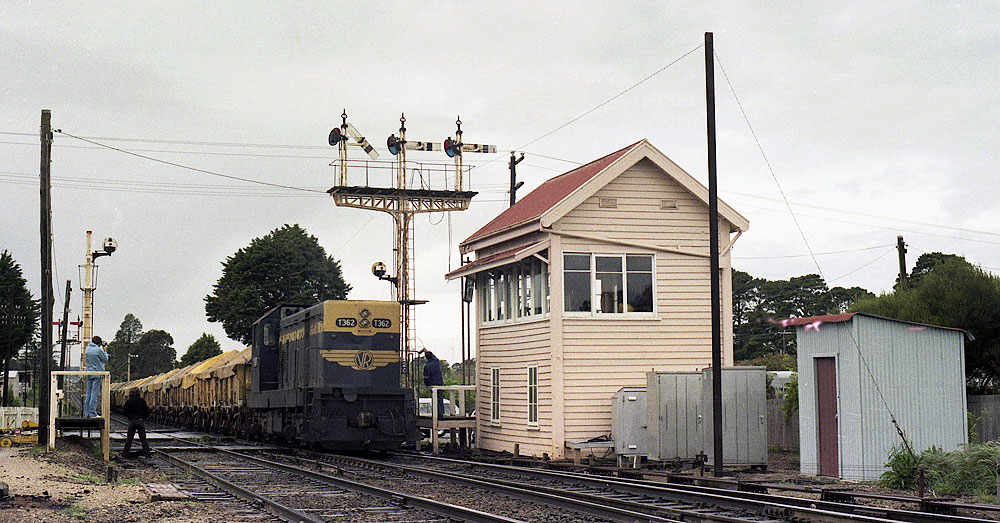
ABOVE: The driver on T 362 picks up the staff from the signalman at Ballarat D box, better known as Linton Junction, on a Ballarat to Ararat goods. Oct 18 1982. (photo courtesy John Ward)
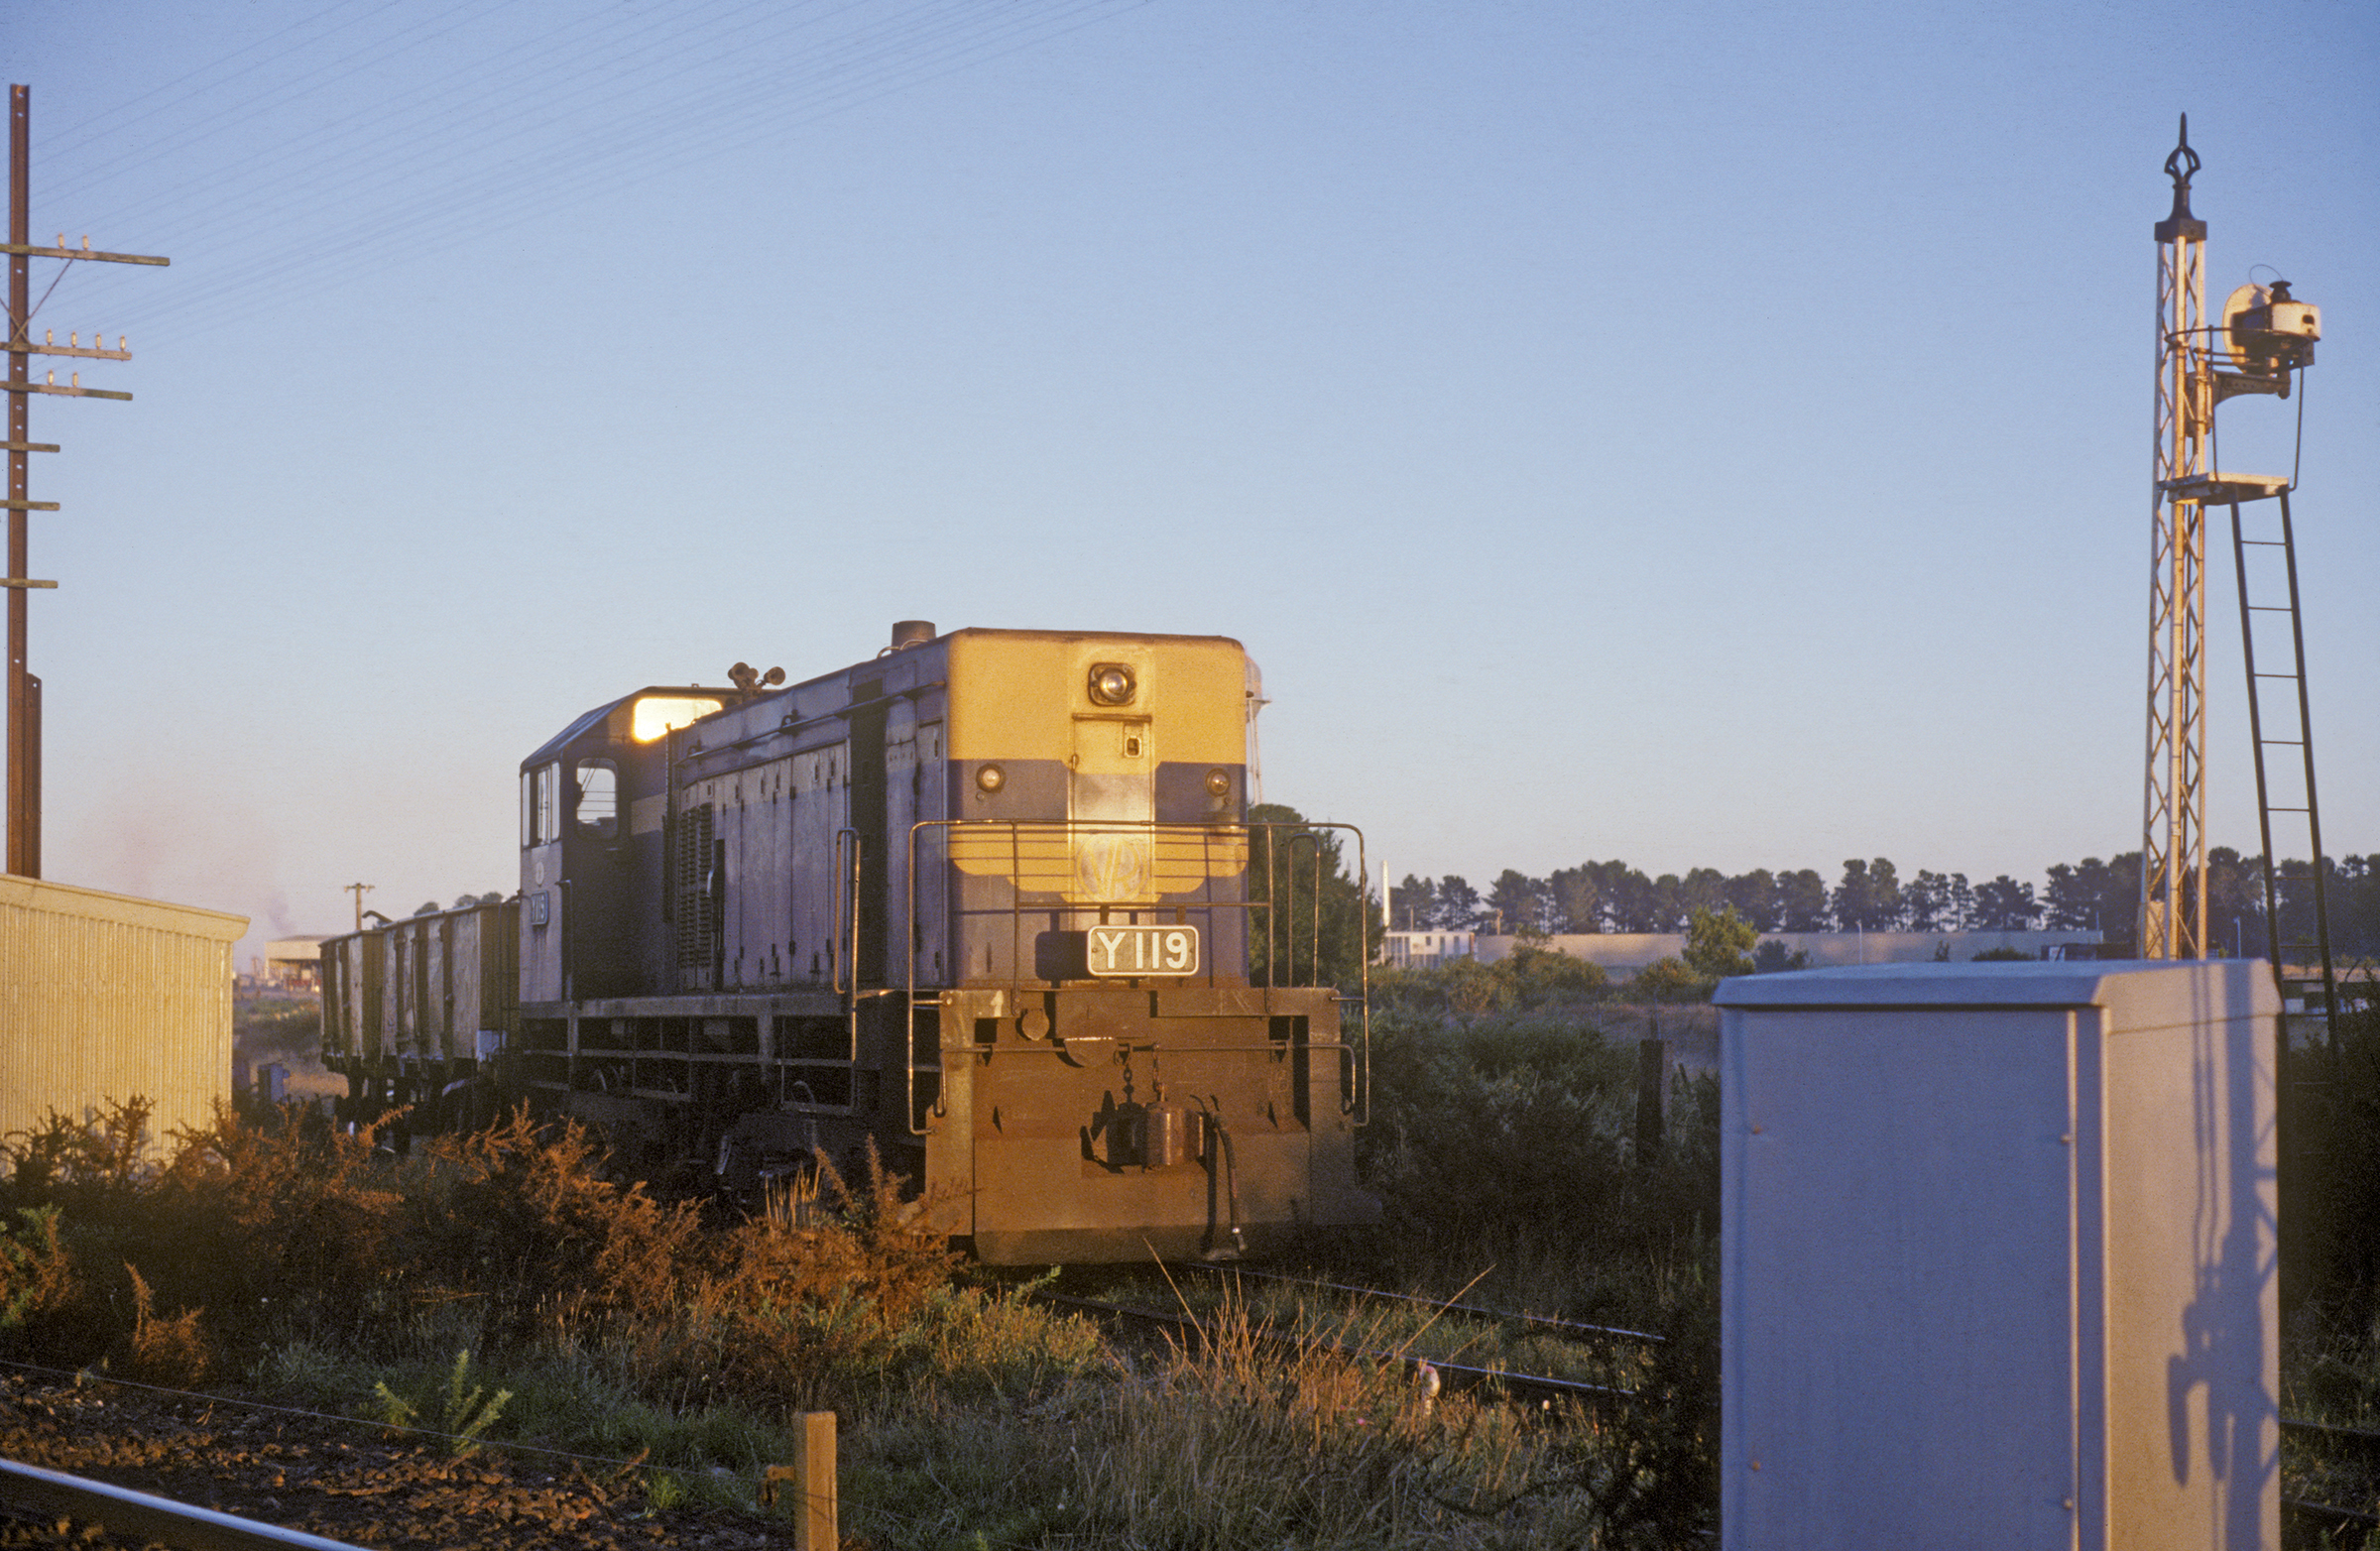
ABOVE: Y 119 shunts the Timken siding, waiting for a signal to come back onto the mainline and return to Ballarat. Feb 13 1978. (photo courtesy Geoff Winkler)
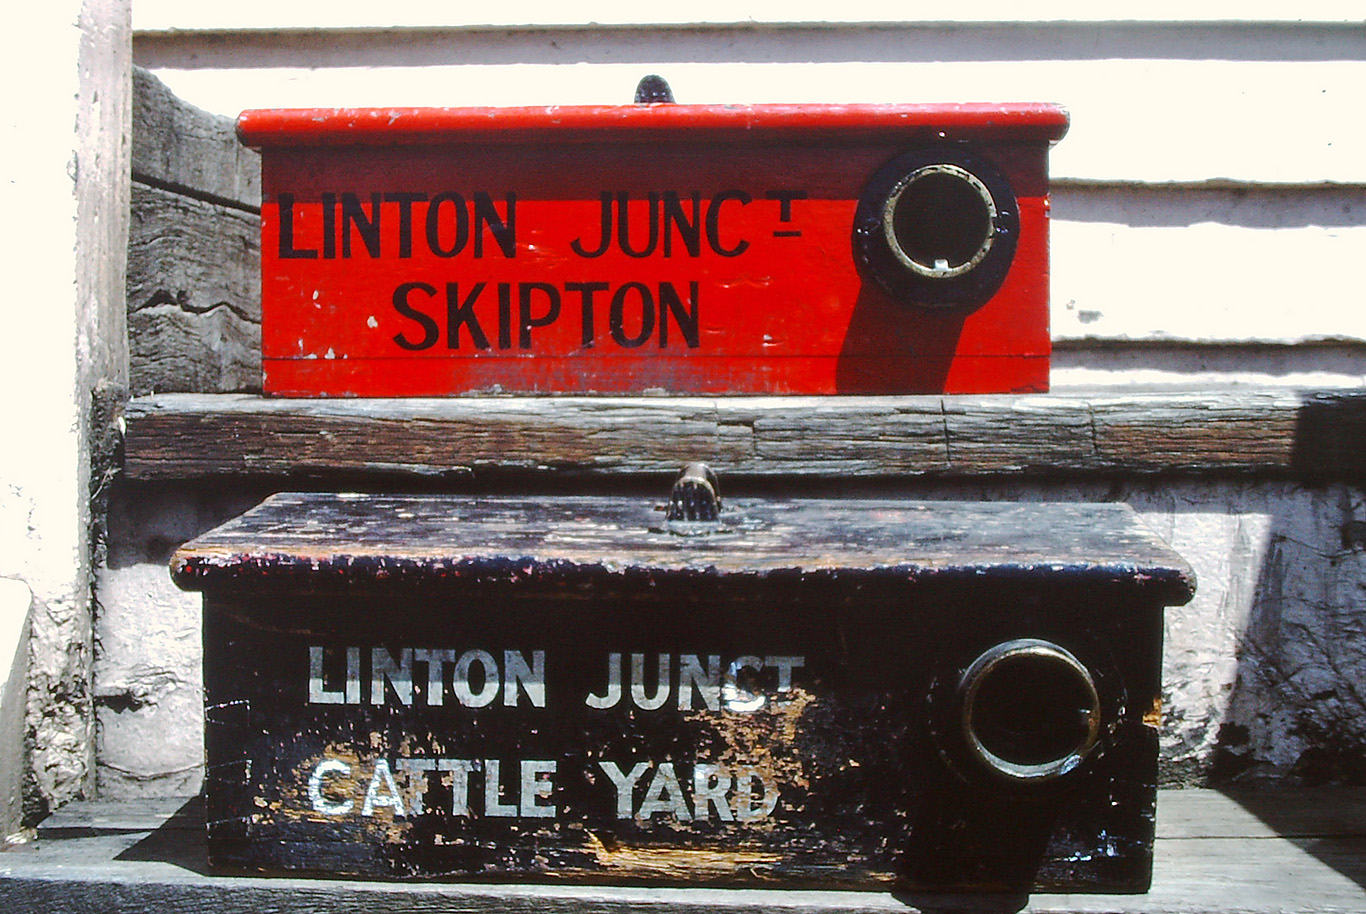
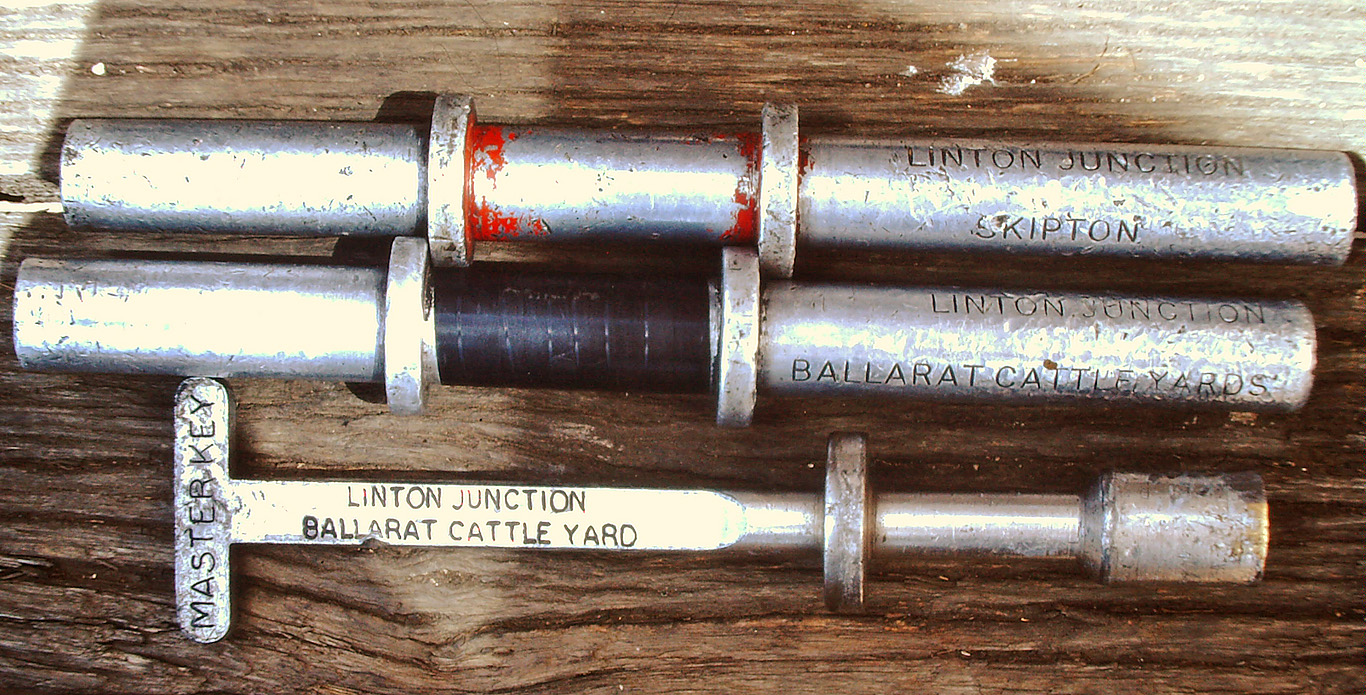
ABOVE: The staff ticket boxes and BELOW: the train staffs and Master key normally kept at Linton Junction. July 30 1982. (photo courtesy Dave Harvey)
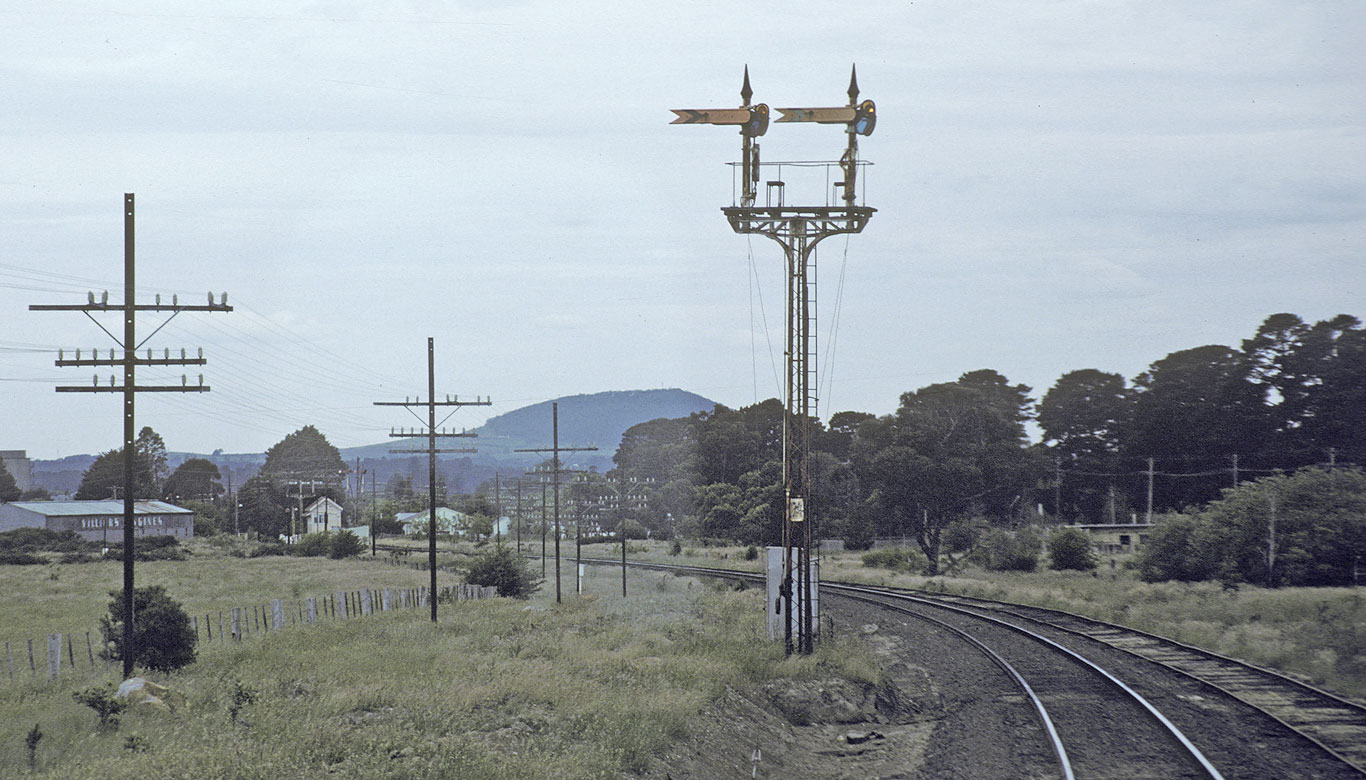
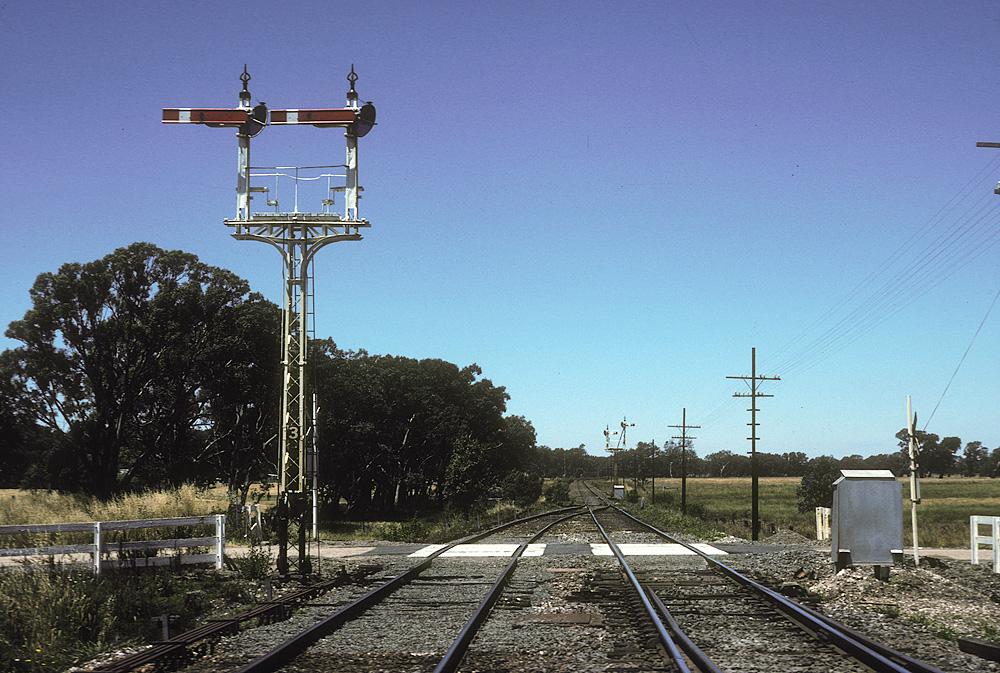
ABOVE: Linton Junction's up distant signals. Post 24. LH arm from the Ararat line, RH arm from the Linton line, Dec 1986.
ABOVE: An up Weedex train swings off the Linton line and parallels the line from Ararat towards Linton Junction. Sept 24 1979. (photo courtesy Geoff Winkler)
========

ABOVE: The down arrival home at Windermere, Oct 31 1981.
========
BURRUMBEET
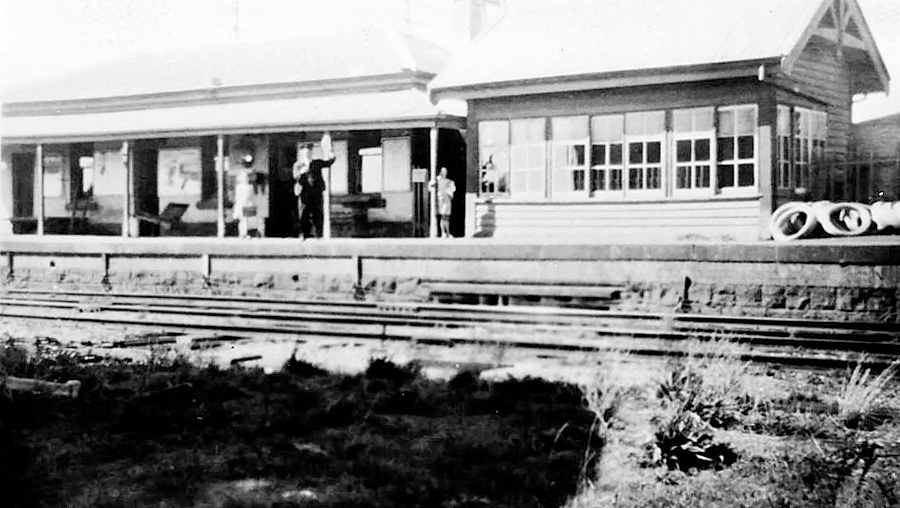
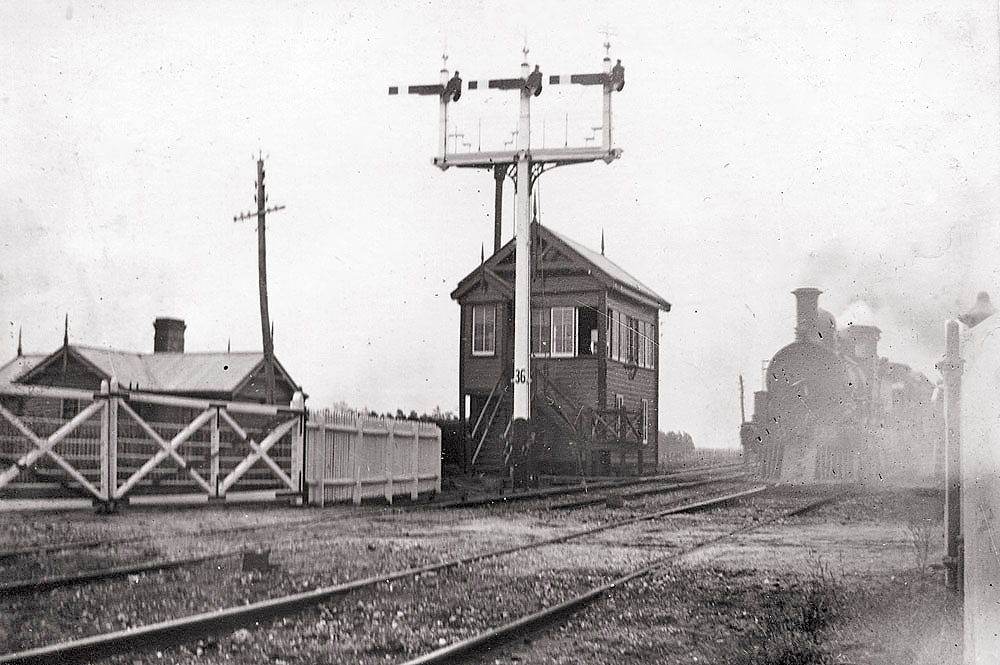
ABOVE: Burrumbeet station building and signal box, circa 1940s. This building and interlocking frame was replaced in 1964 with an interlocking frame from Herne's Oak and a much more modest building. (PROV collection)

ABOVE: T 357 on a Ballarat to Ararat roadside goods in No. 2 road at Burrumbeet, May 18 1970. (photo courtesy Bob Wilson)
ABOVE: A pair of S class on a down "jet" exchange the staff by hand at Burrumbeet. Nov 2 1973. (photo courtesy Bob Wilson)

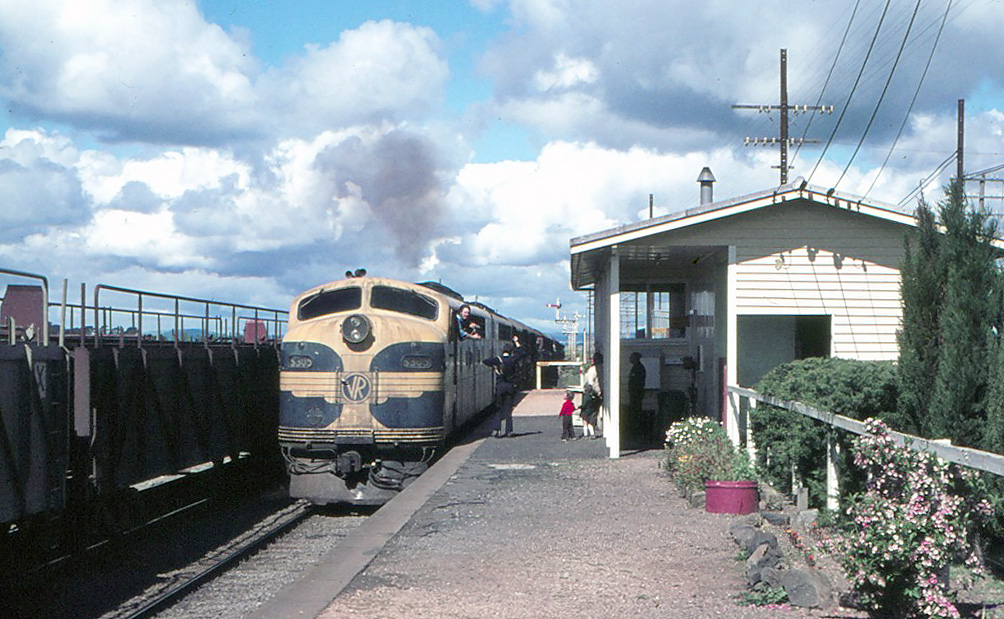
ABOVE: The view from T 351 on a down goods as S 302 thunders through Burrumbeet "on the auto" on the morning up Dimboola pass. Oct 27 1983. (photo courtesy Chris Wurr)

ABOVE: A down jet diverges into No. 2 road at Burrumbeet for a cross. Feb 16 1986.
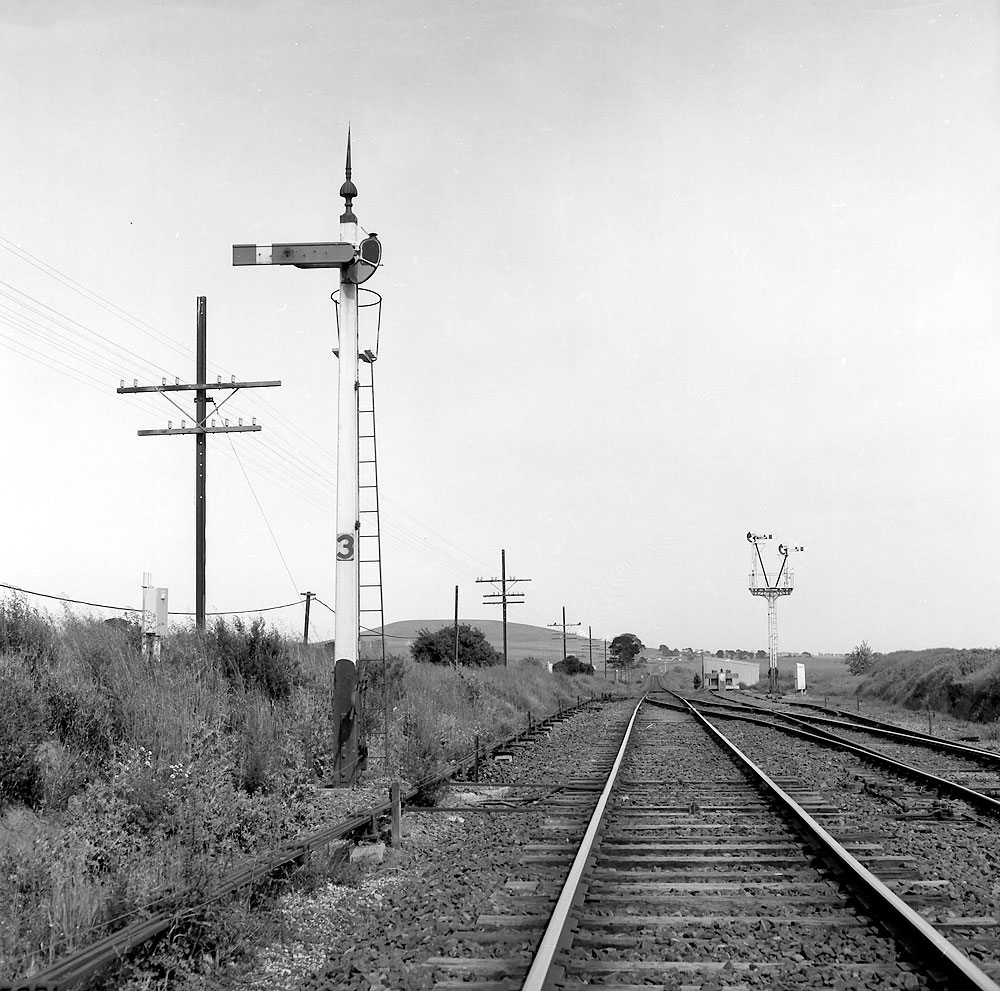
ABOVE: Post 3 at Burrumbeet, the down departure home from No. 1 track. This style of post was solid wood with a cast iron finial and was the first type of post used when somersault signals were introduced. They were gradually replaced all over the system by the familiar lattice post but a few survived into the 1980s, Oct 27 1983. (photo courtesy Chris Wurr)

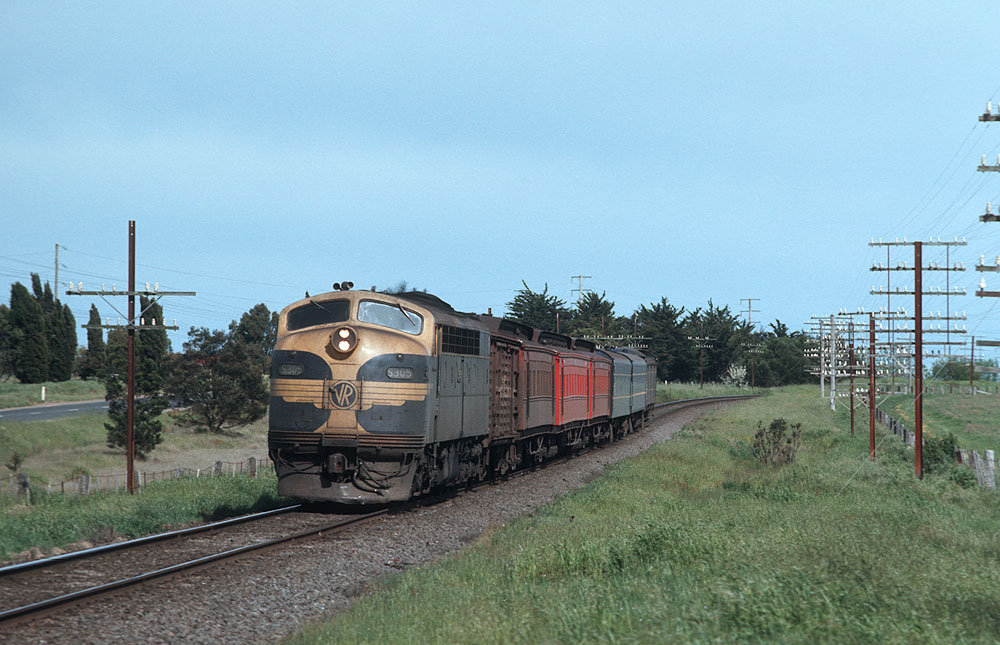
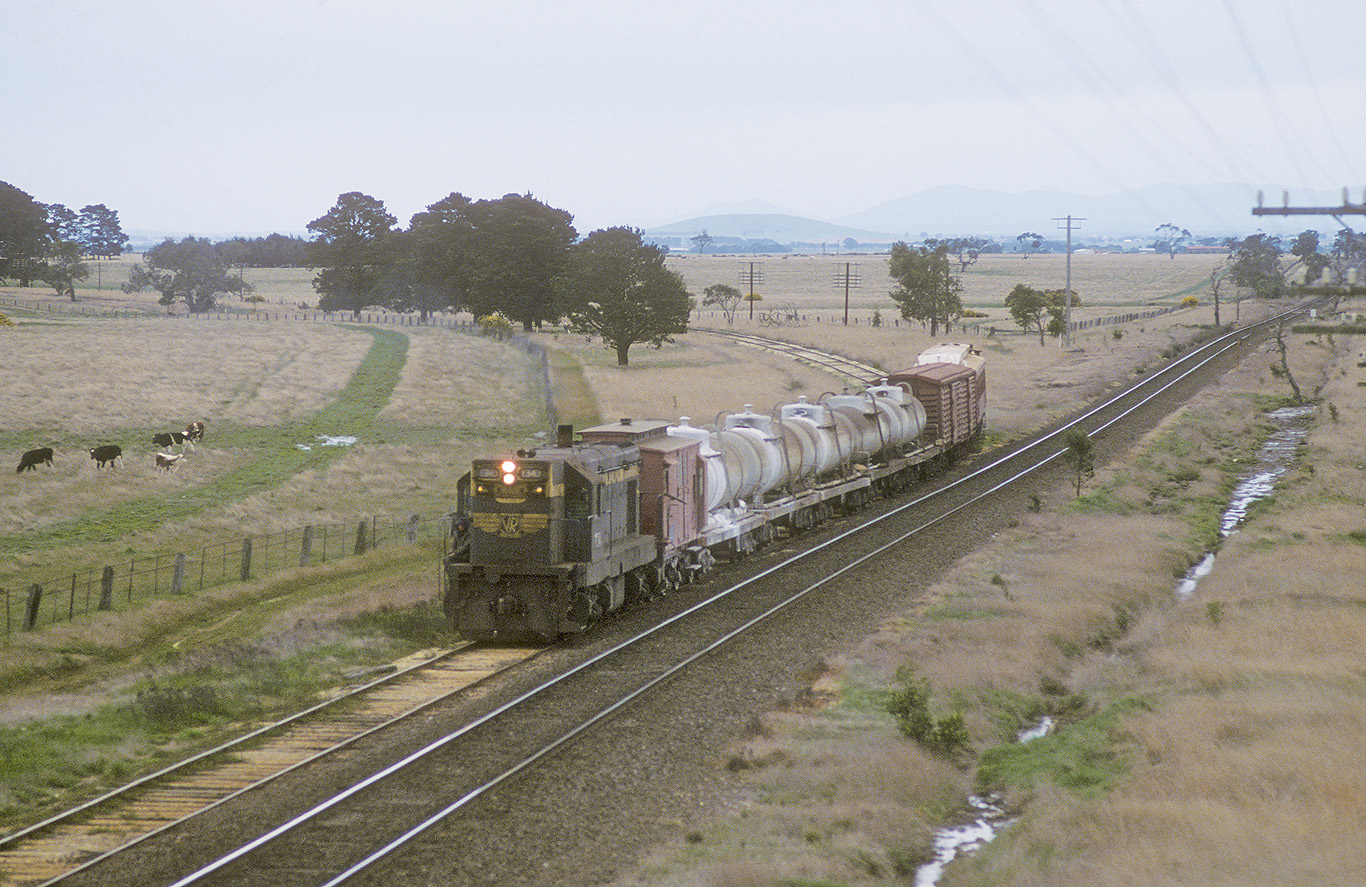
ABOVE: The up morning pass. from Dimboola to Spencer St. would have been right at 70 mph as it runs between Trawalla and Burrumbeet. The Western highway is seen on the left. 1974. (photo courtesy Trevor Penn)
========
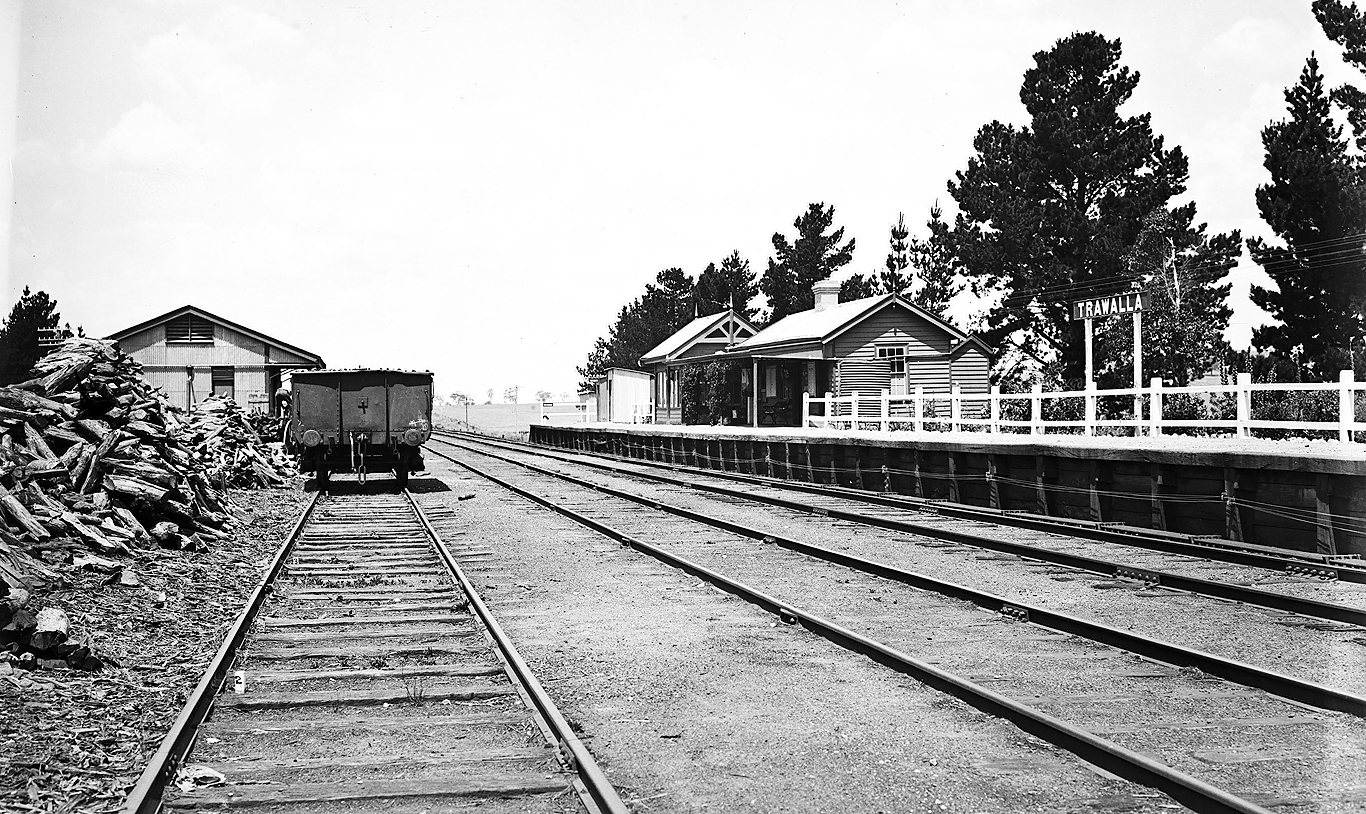
ABOVE: Trawalla looking towards Melbourne circa 1930.
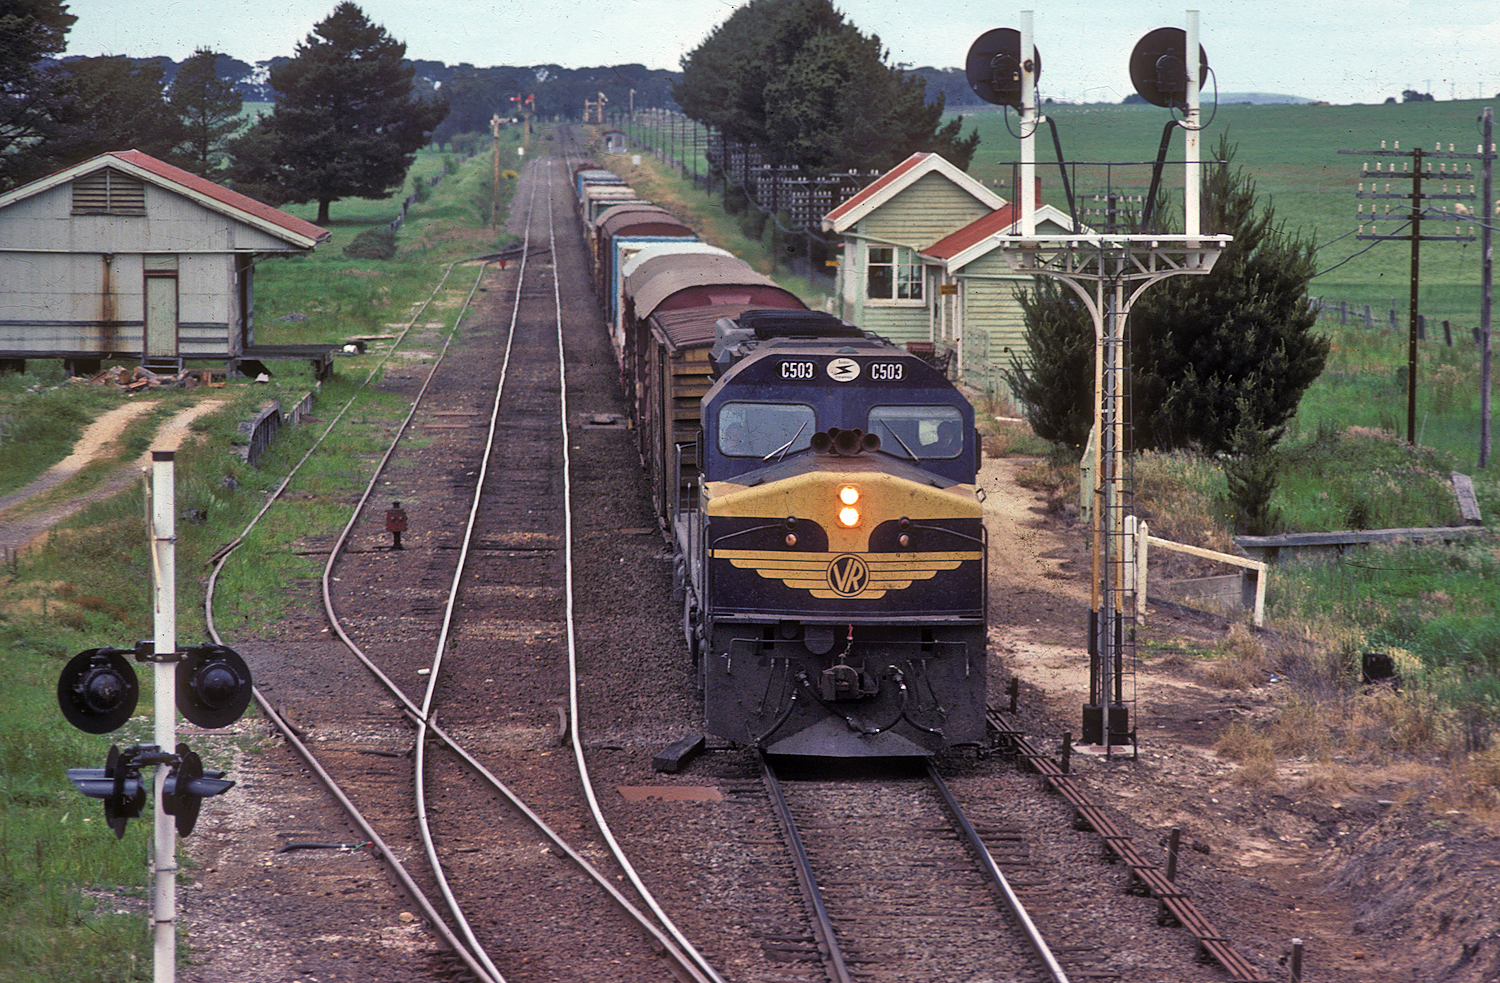
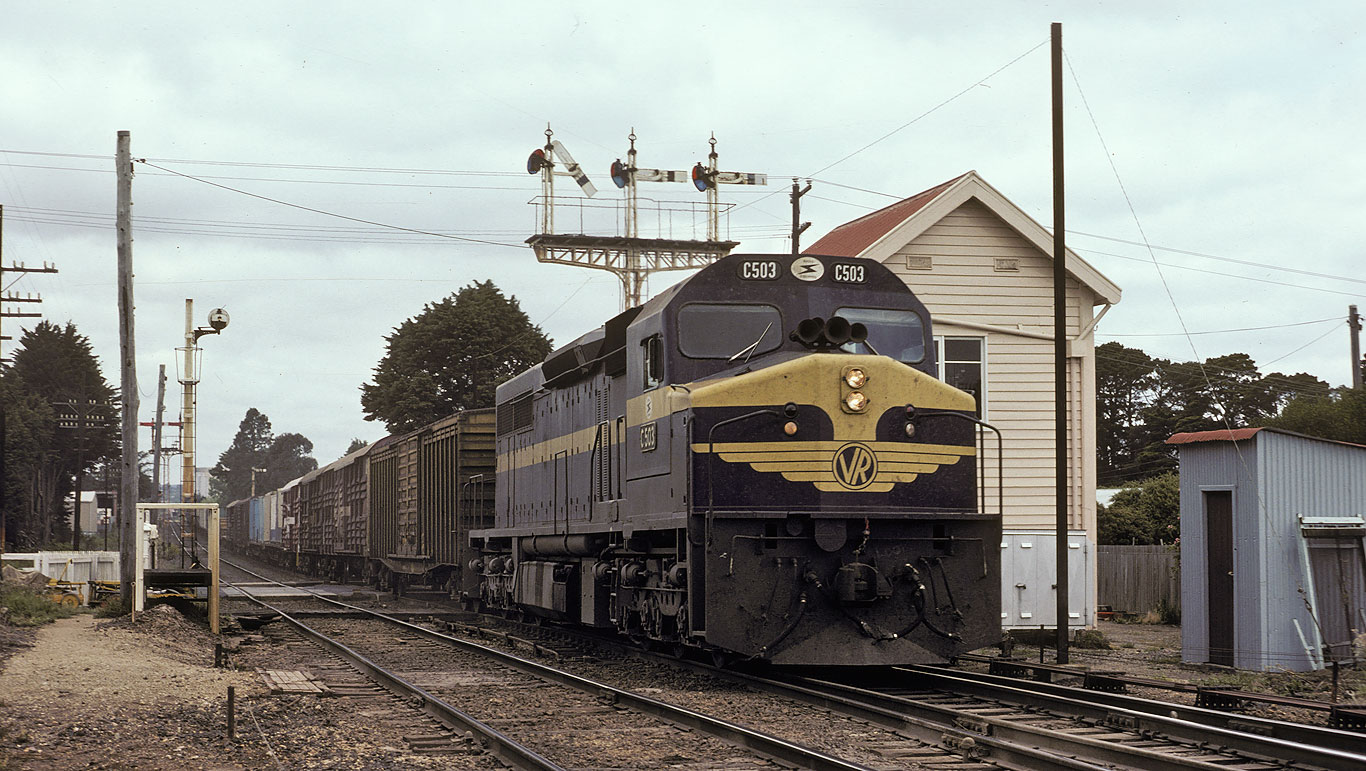
ABOVE: C 503 heads a down "jet" through a "switched out" Trawalla in 1984. This section of track (Ballarat to Ararat) was closed after the standard gauge via Cressy was completed in May 1995 and then re-opened in 2004 but now sees only a couple of railmotors per day.
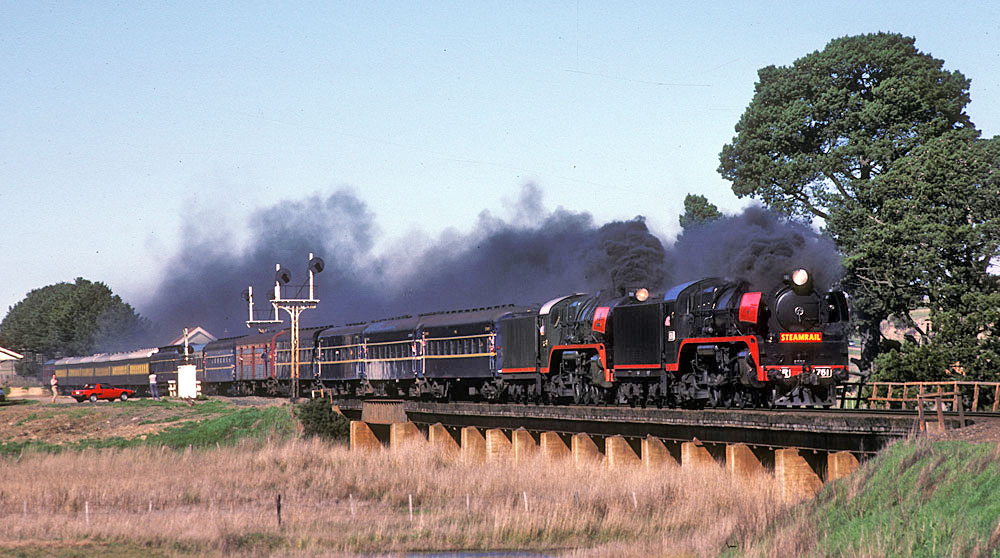
ABOVE: Two R class on an Ararat bound enthusiast special fly through Trawalla. Sept. 1985
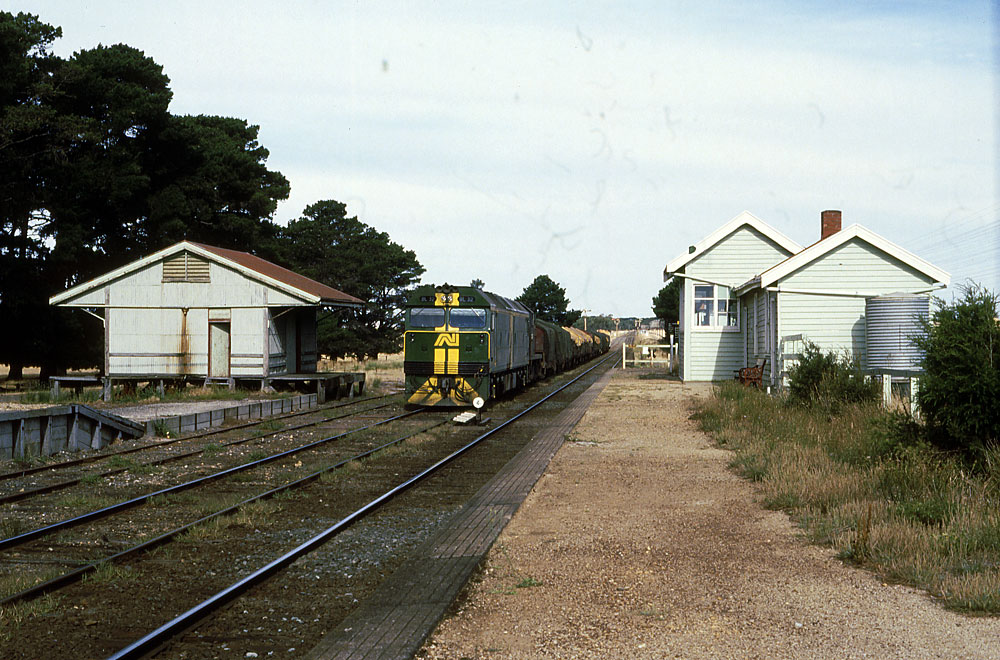
ABOVE: A down steel train waits in #2 road to cross an up train, the auto staff exchanger is set up for the up train circa 1986. (photo by Chris Wurr)

ABOVE & BELOW:The station building viewed from the north side. circa 1986 (photos courtesy Chris Wurr)

========
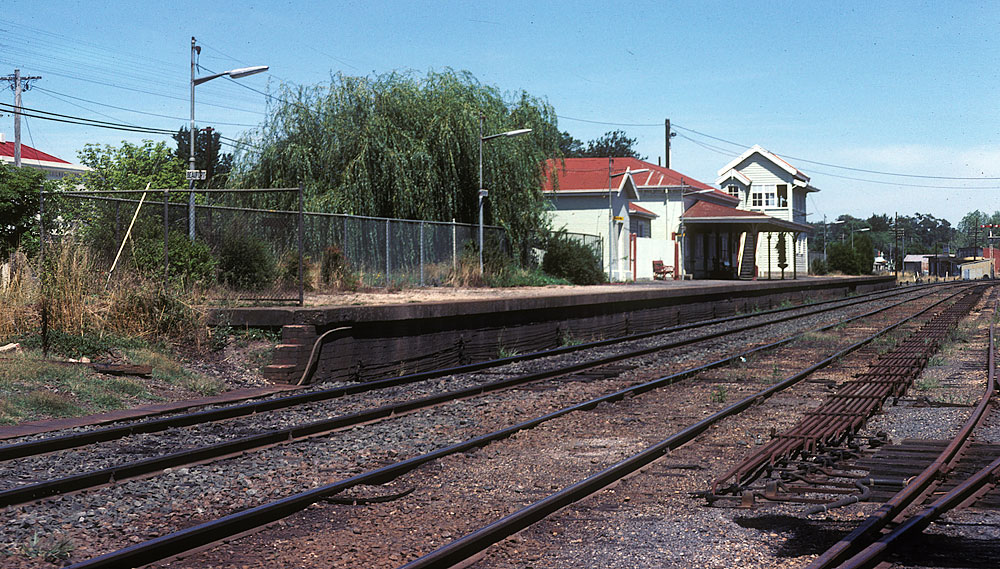
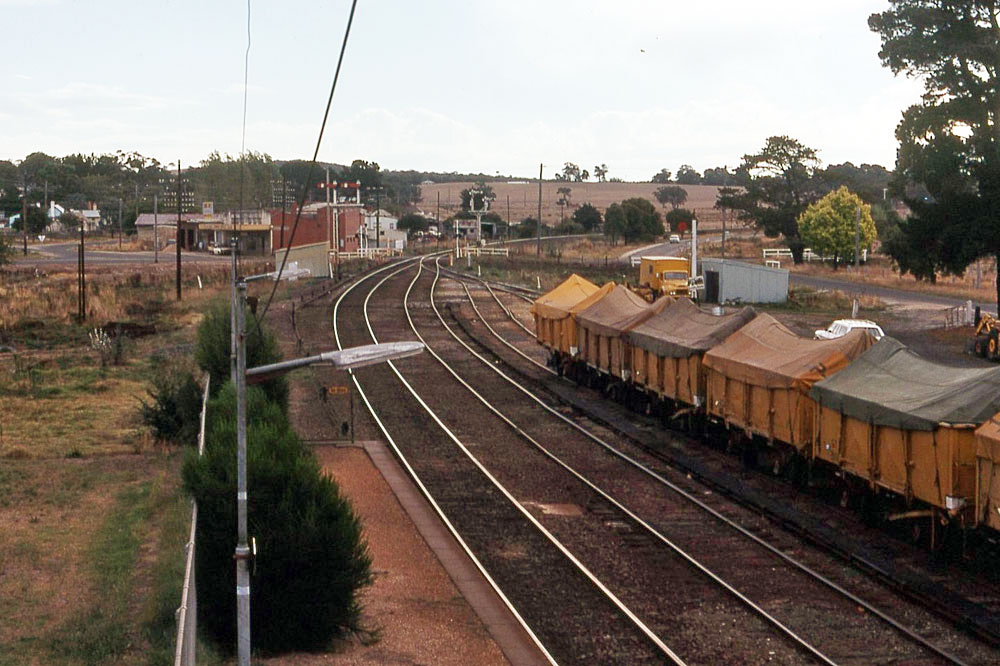
ABOVE: Beaufort looking towards Ararat, Feb 1982.
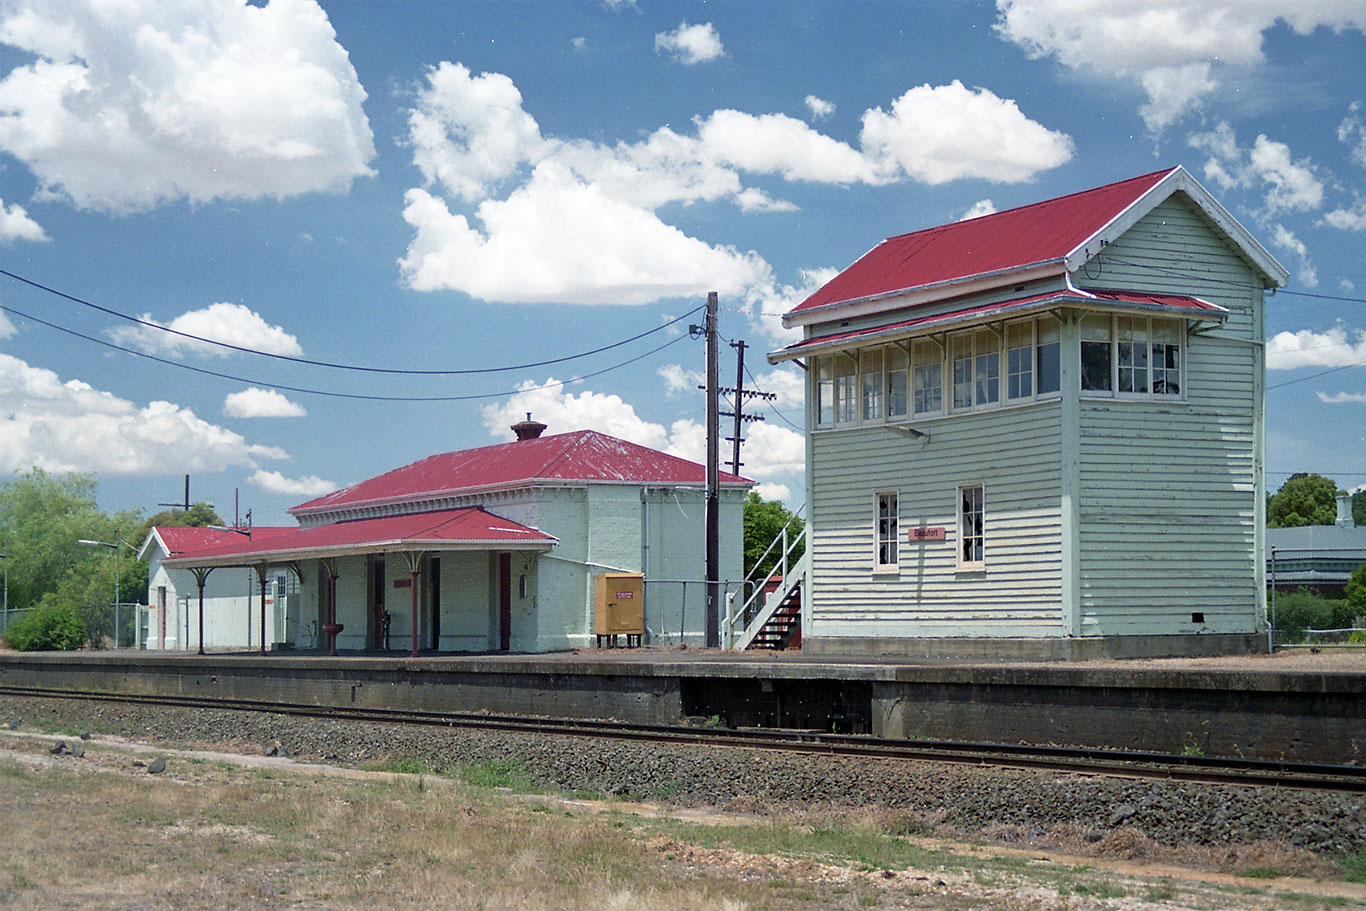
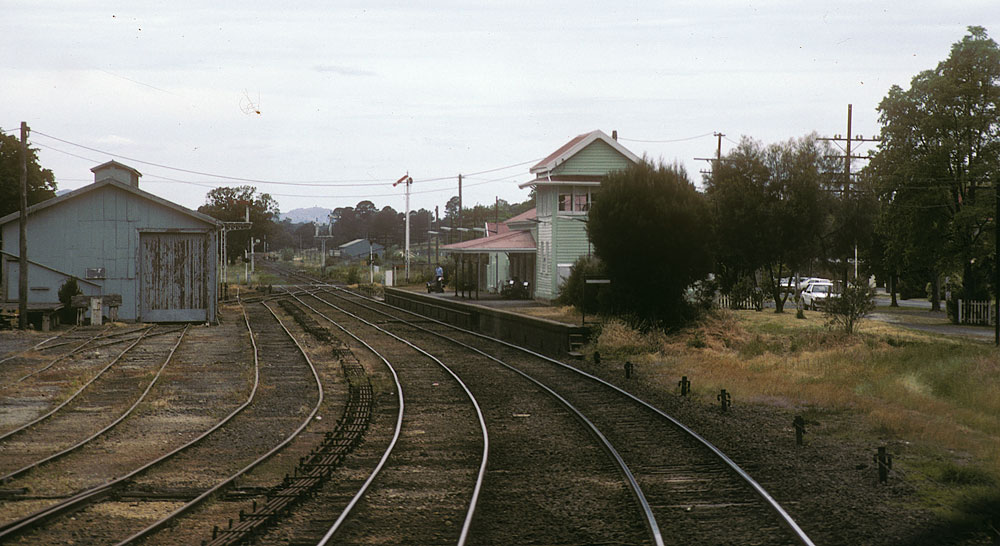
ABOVE: Beaufort signalbox and station building, Jan 11 1985. (photo courtesy Bob Wilson)
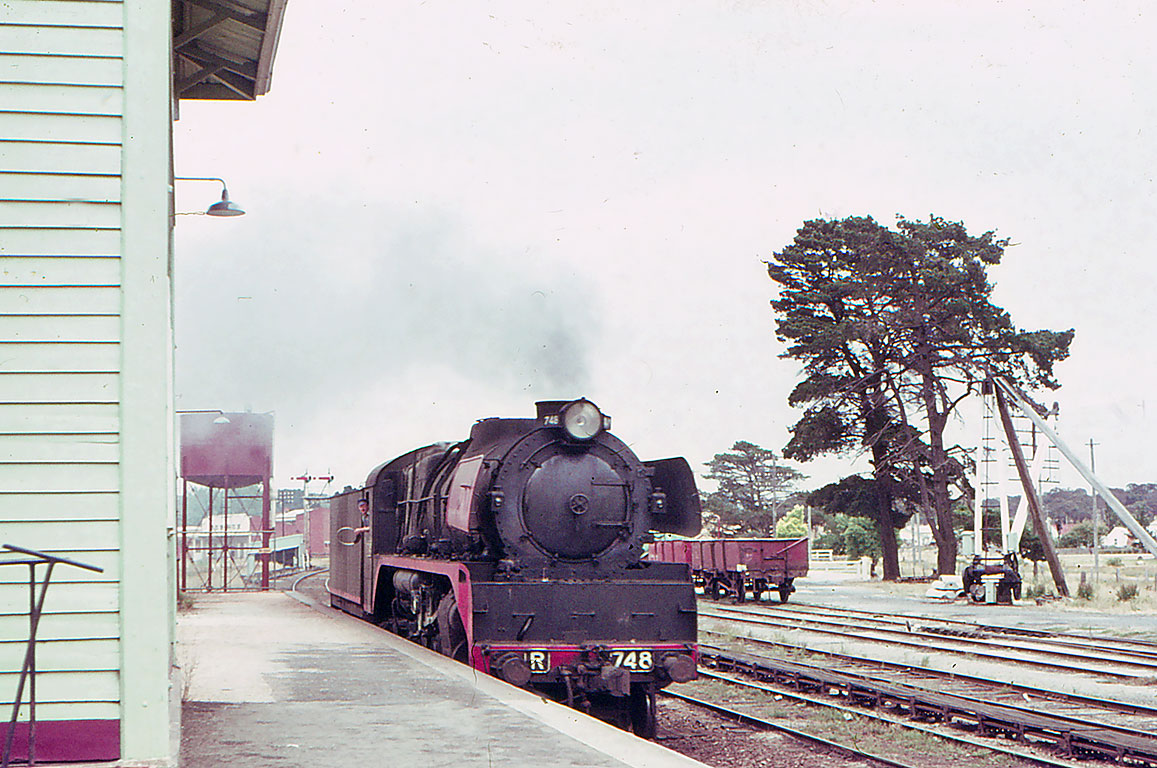
ABOVE: R 748, running on one cylider, limps through Beaufort light engine in 1967. (photo courtesy Bob Wilson)
ABOVE: The view looking west from Beaufort signalbox, circa mid 1980s. (photo courtesy Keith Lambert)
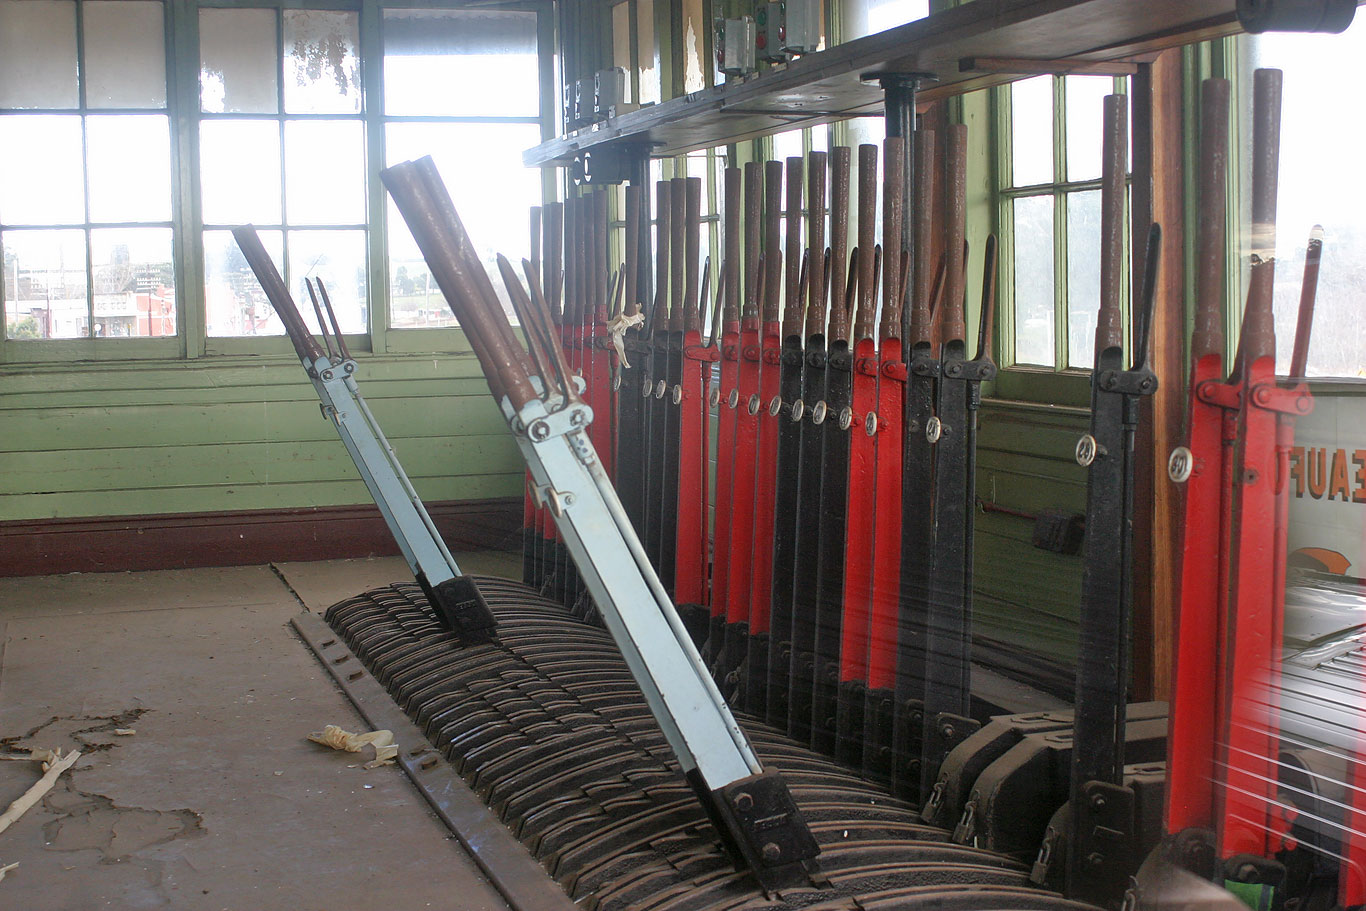
ABOVE: The signal frame inside Beaufort signlabox, July 2004. This frame was commisioned on March 13 1888 and de-commisioned on Sep 14 1988. (photo courtesy Bob Wilson)
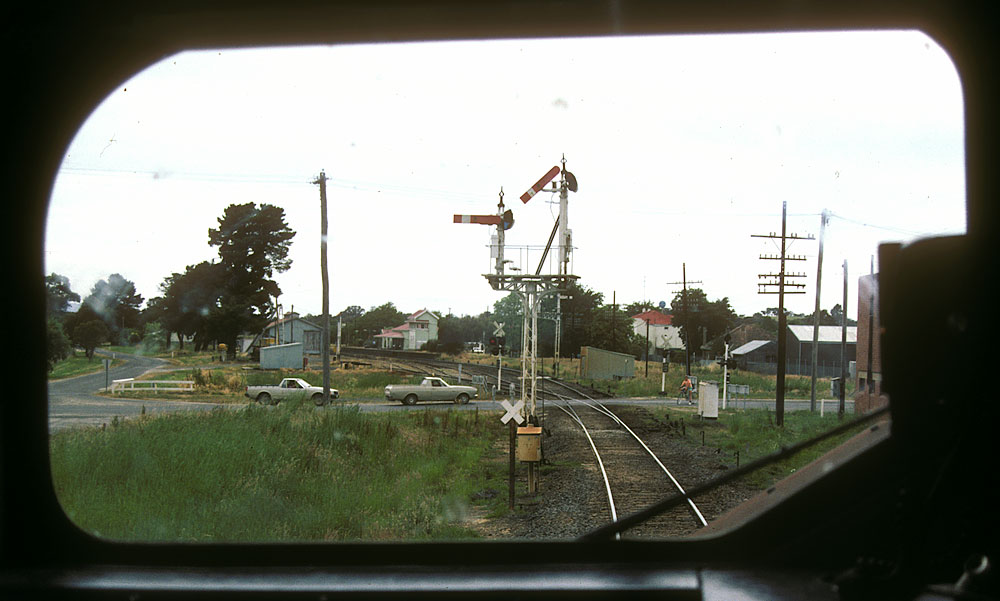
ABOVE & BELOW: The view from the cab of the up afternoon Horsham pass as it arrives at Beaufort, 1985.
========

ABOVE: The afternoon down Dimboola pass powers out of Beaufort past the up distant signal 1981.

ABOVE: Whilst running the up Overland I had noticed that at this location on Beaufort bank the loco was pointing straight into the sun. Sadly, the day I got there to photograph it there was no sun but heavy cloud instead. Not long before this photo was taken Beaufort bank had been widened to allow mechanised track gangs to get their equipment in, a common occurance all over the system in the early 1980s. photo date Feb 1985.
========
ABOVE: Middle Creek looking east, not long before it was bulldozed, 1981.
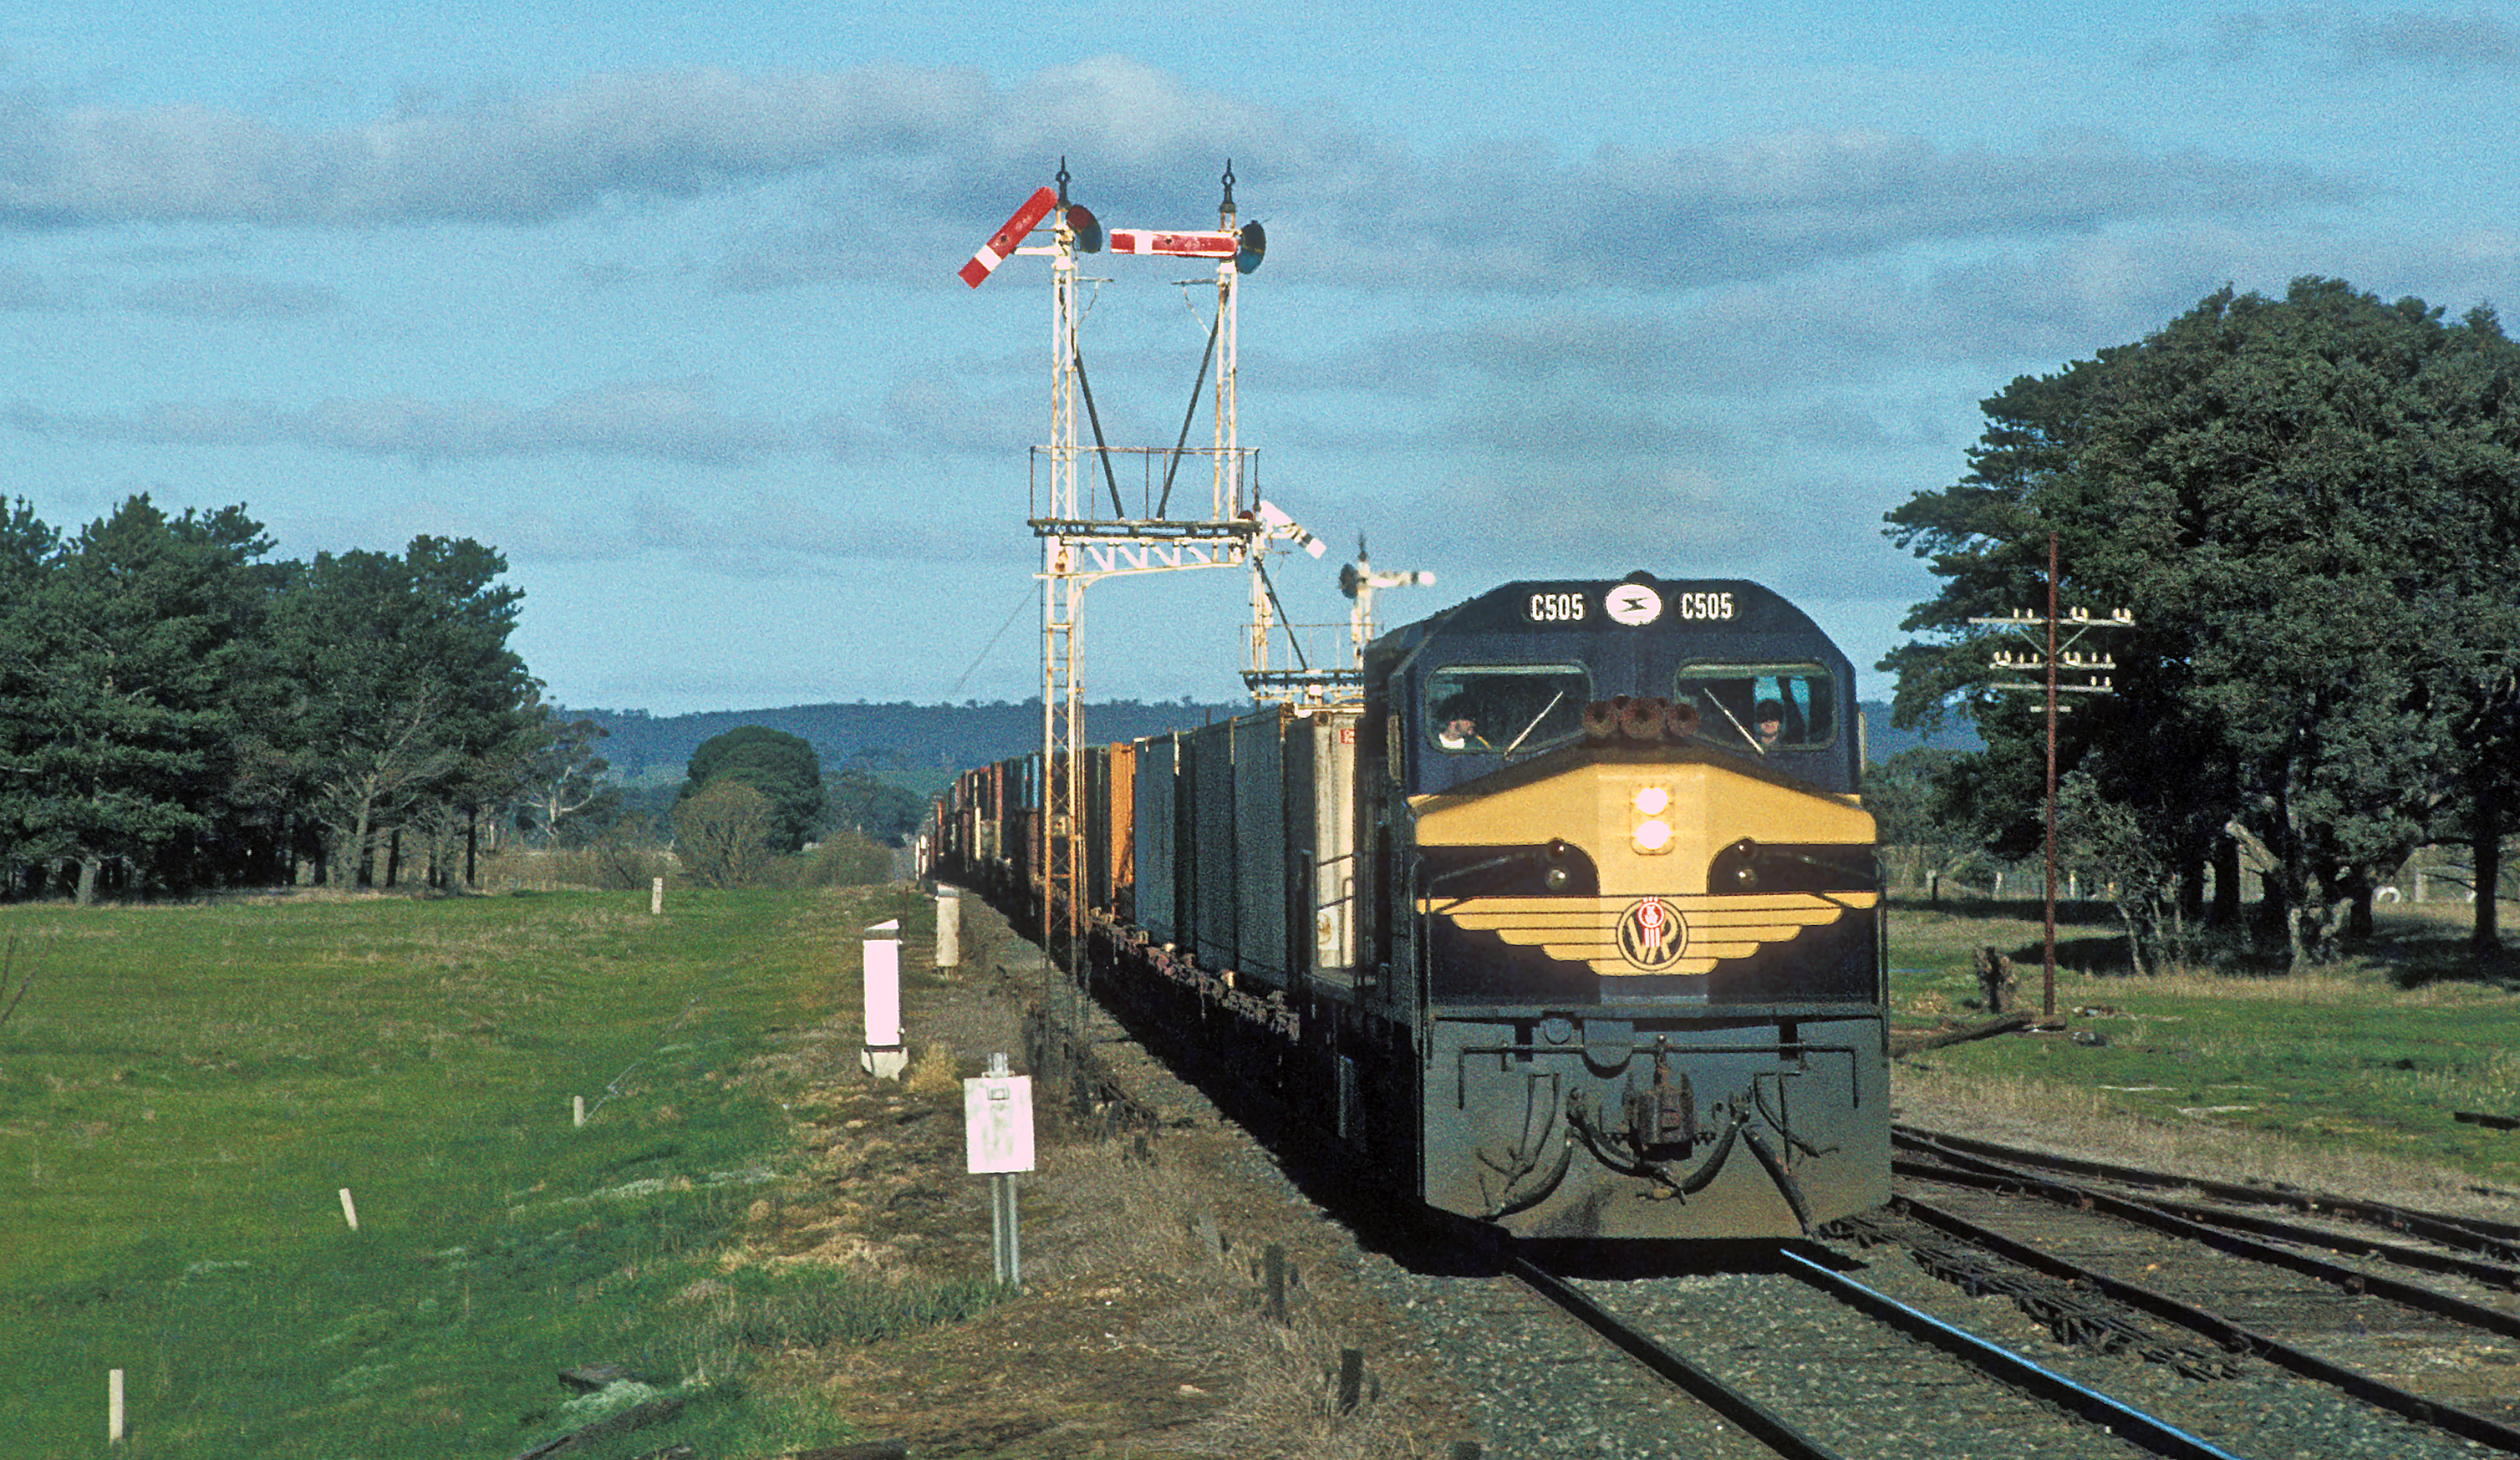
ABOVE: C 505 on a down jet passes the up home departure at Middle Creek 1981.
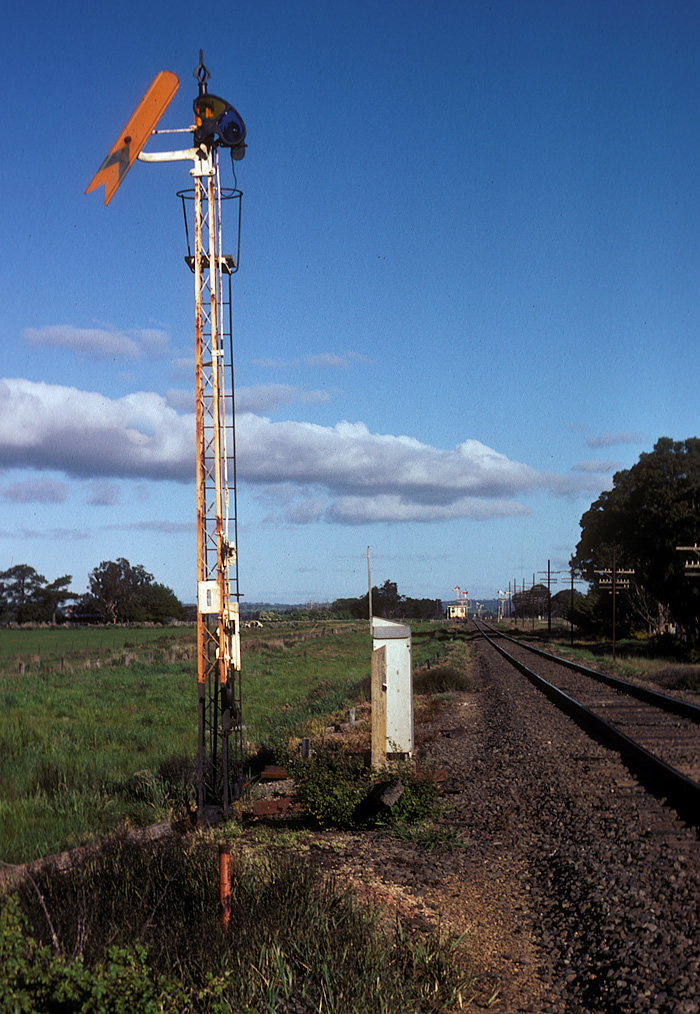
ABOVE: Middle Creek post 1, up distant signal. 1981
========
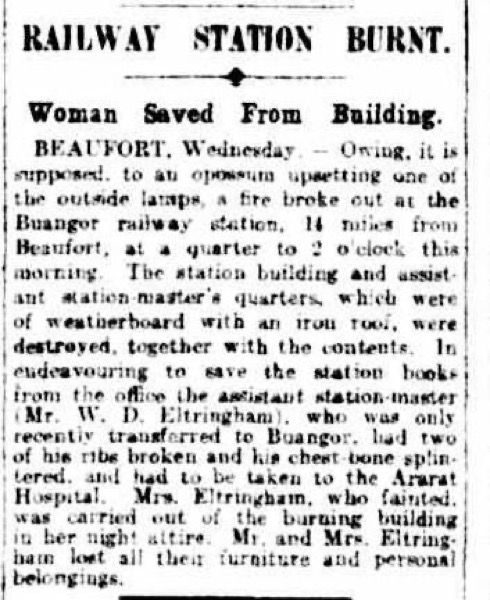
The station building with a combined ASM's residence at Buangor was burnt down on 1 April 1925. First up it was decided to erect a concrete DR but that idea, in 1927, was dropped and the station building from Pittong was carted by road and re-erected at Buangor, but without a verandah, and a new building erected for the signal bay. The building in the photo came into use on 7 Feb 1929, with the new signal bay in use on 21 August 1929. Notes by Des Jowett

ABOVE: The 8.30am Spencer St to Horsham pass. departs Buangor. 1975. (photo courtesy Trevor Penn)
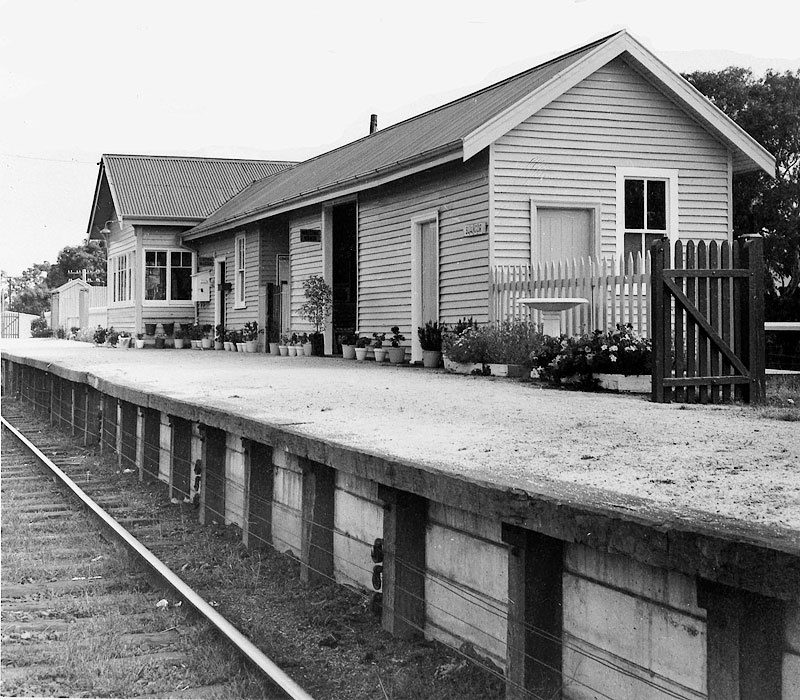
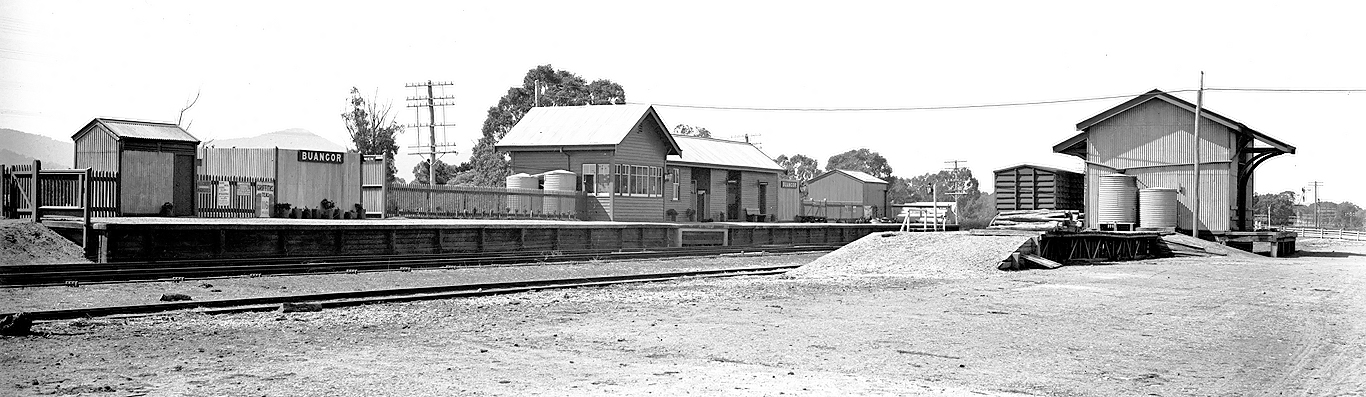
ABOVE: A VR photo taken for the annual VR garden competition. April 1965. Photo looking towards Ararat.

ABOVE: Buangor in 1988 looking towards Ballarat.
ABOVE: Buangor circa 1930. BELOW: The same view in 1988. Considering the intervening 50 odd years not a lot had changed.
ABOVE: The down arrival home at Buangor, 1982
ABOVE: The up departure home signals at Buangor. 1982
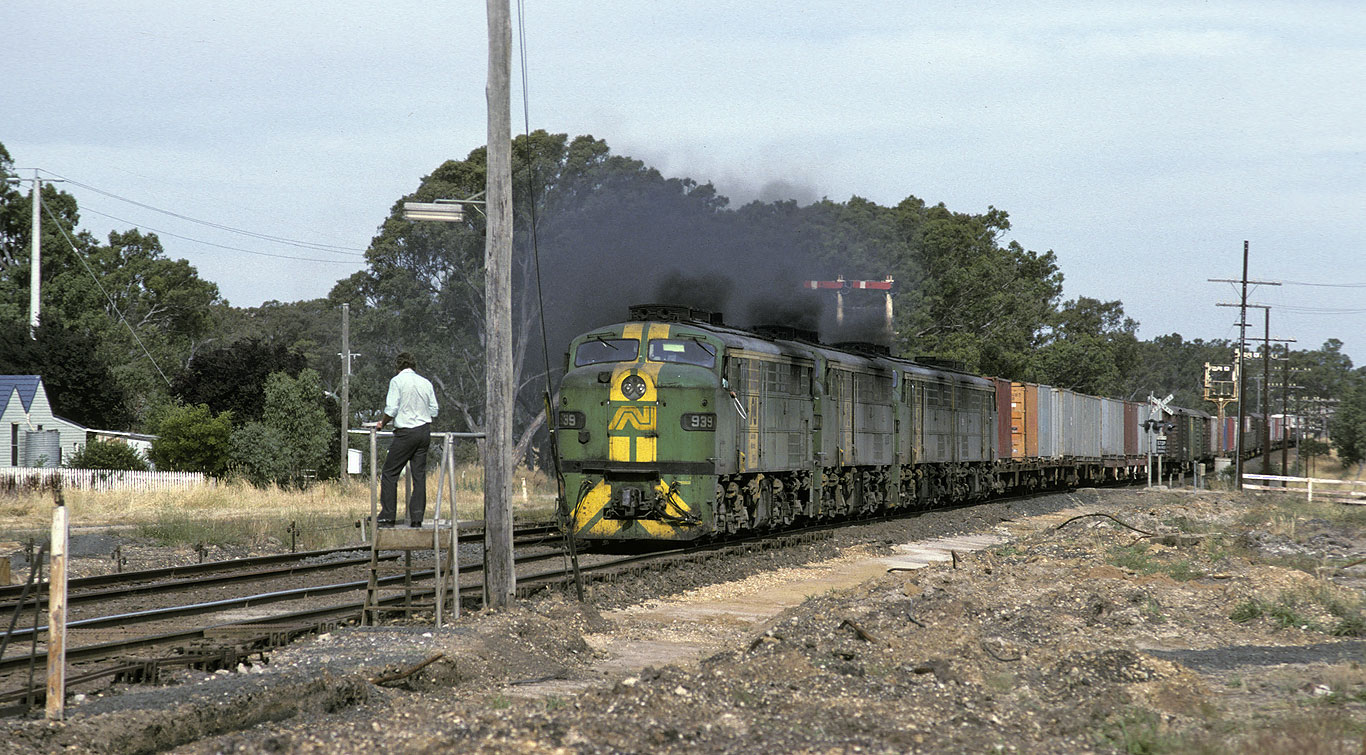
ABOVE: A down jet slows for the hand staff exchange. South Australians locos did not have Victorian compatible staff exchangers so had to exchange by hand, Jan 6 1990. (photo courtesy Noel Bamford)
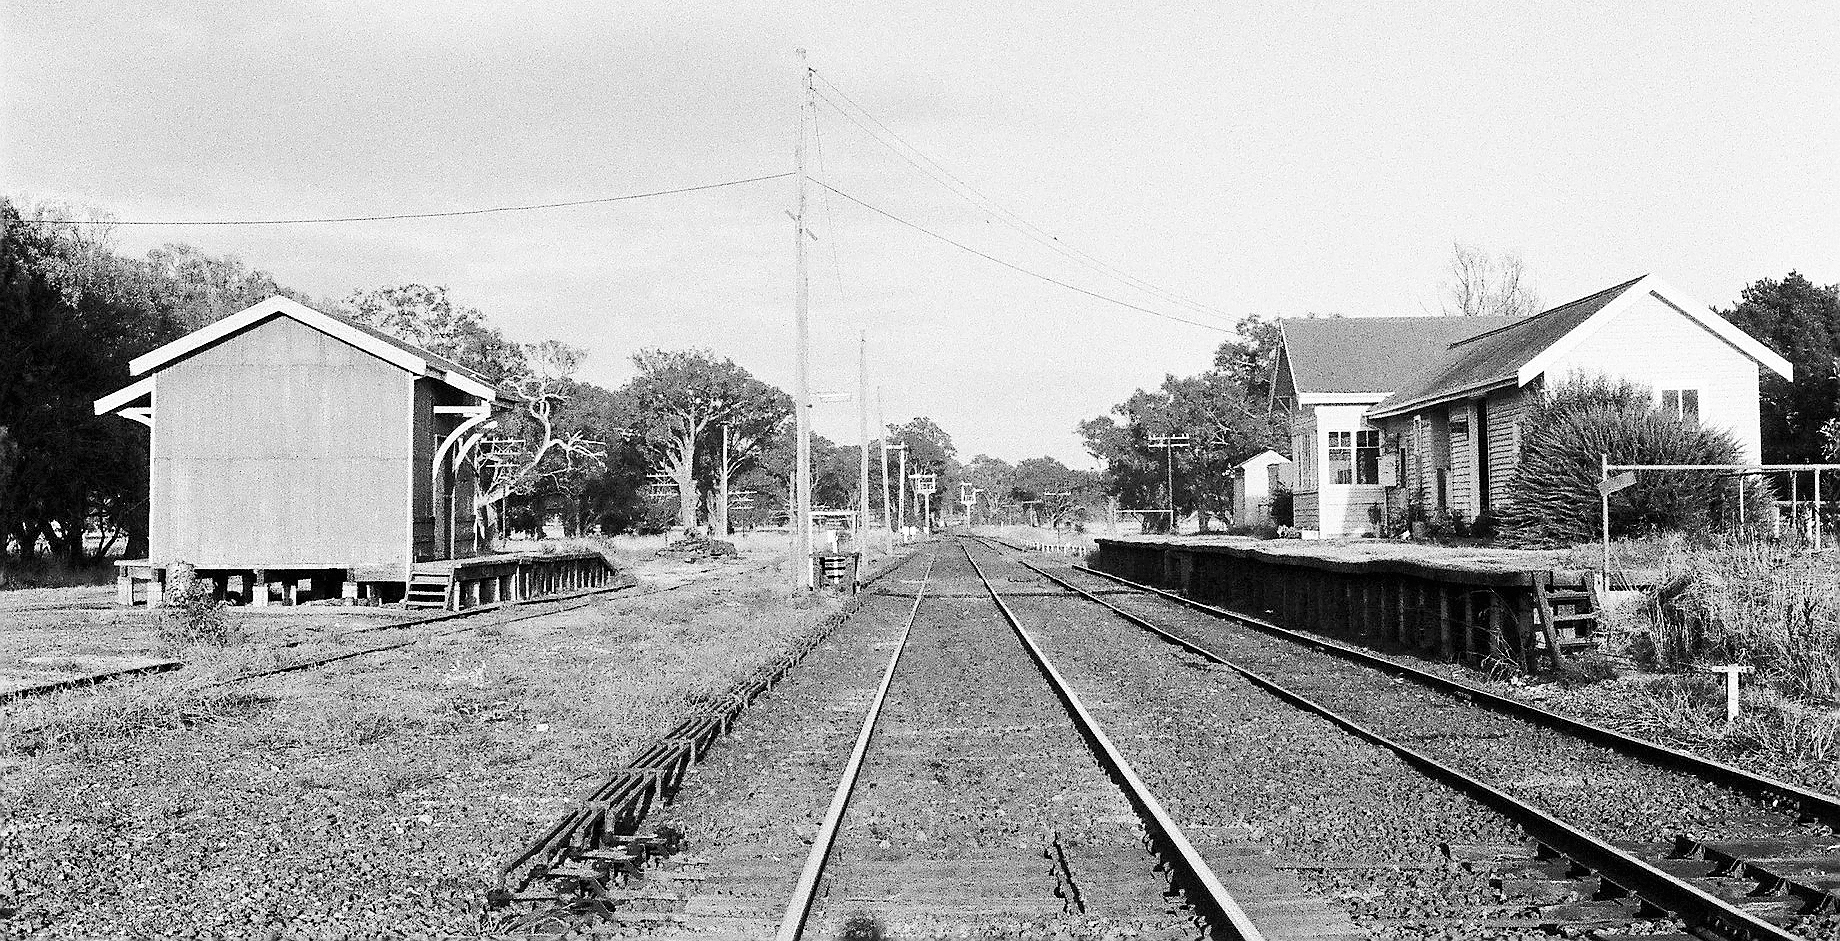
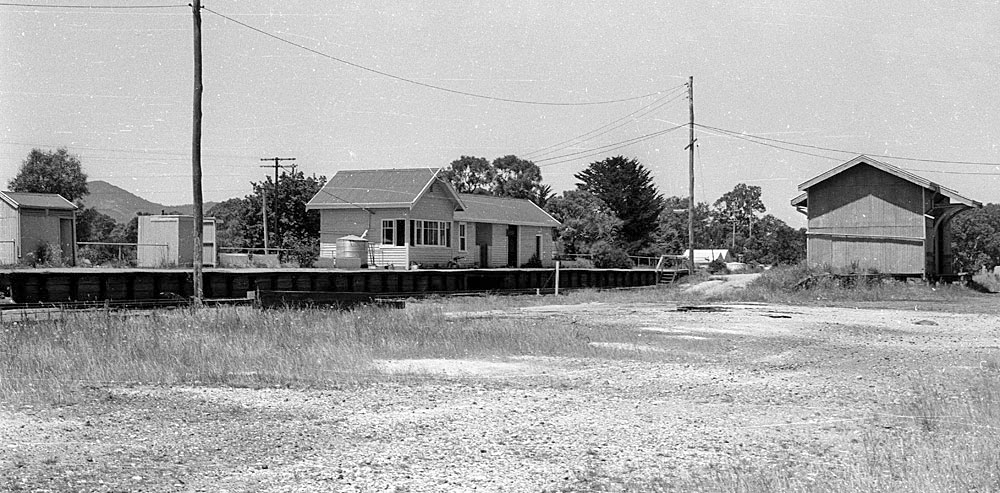
ABOVE: Looking west, towards Ararat, Circa 1974. (photo courtesy David Langley)
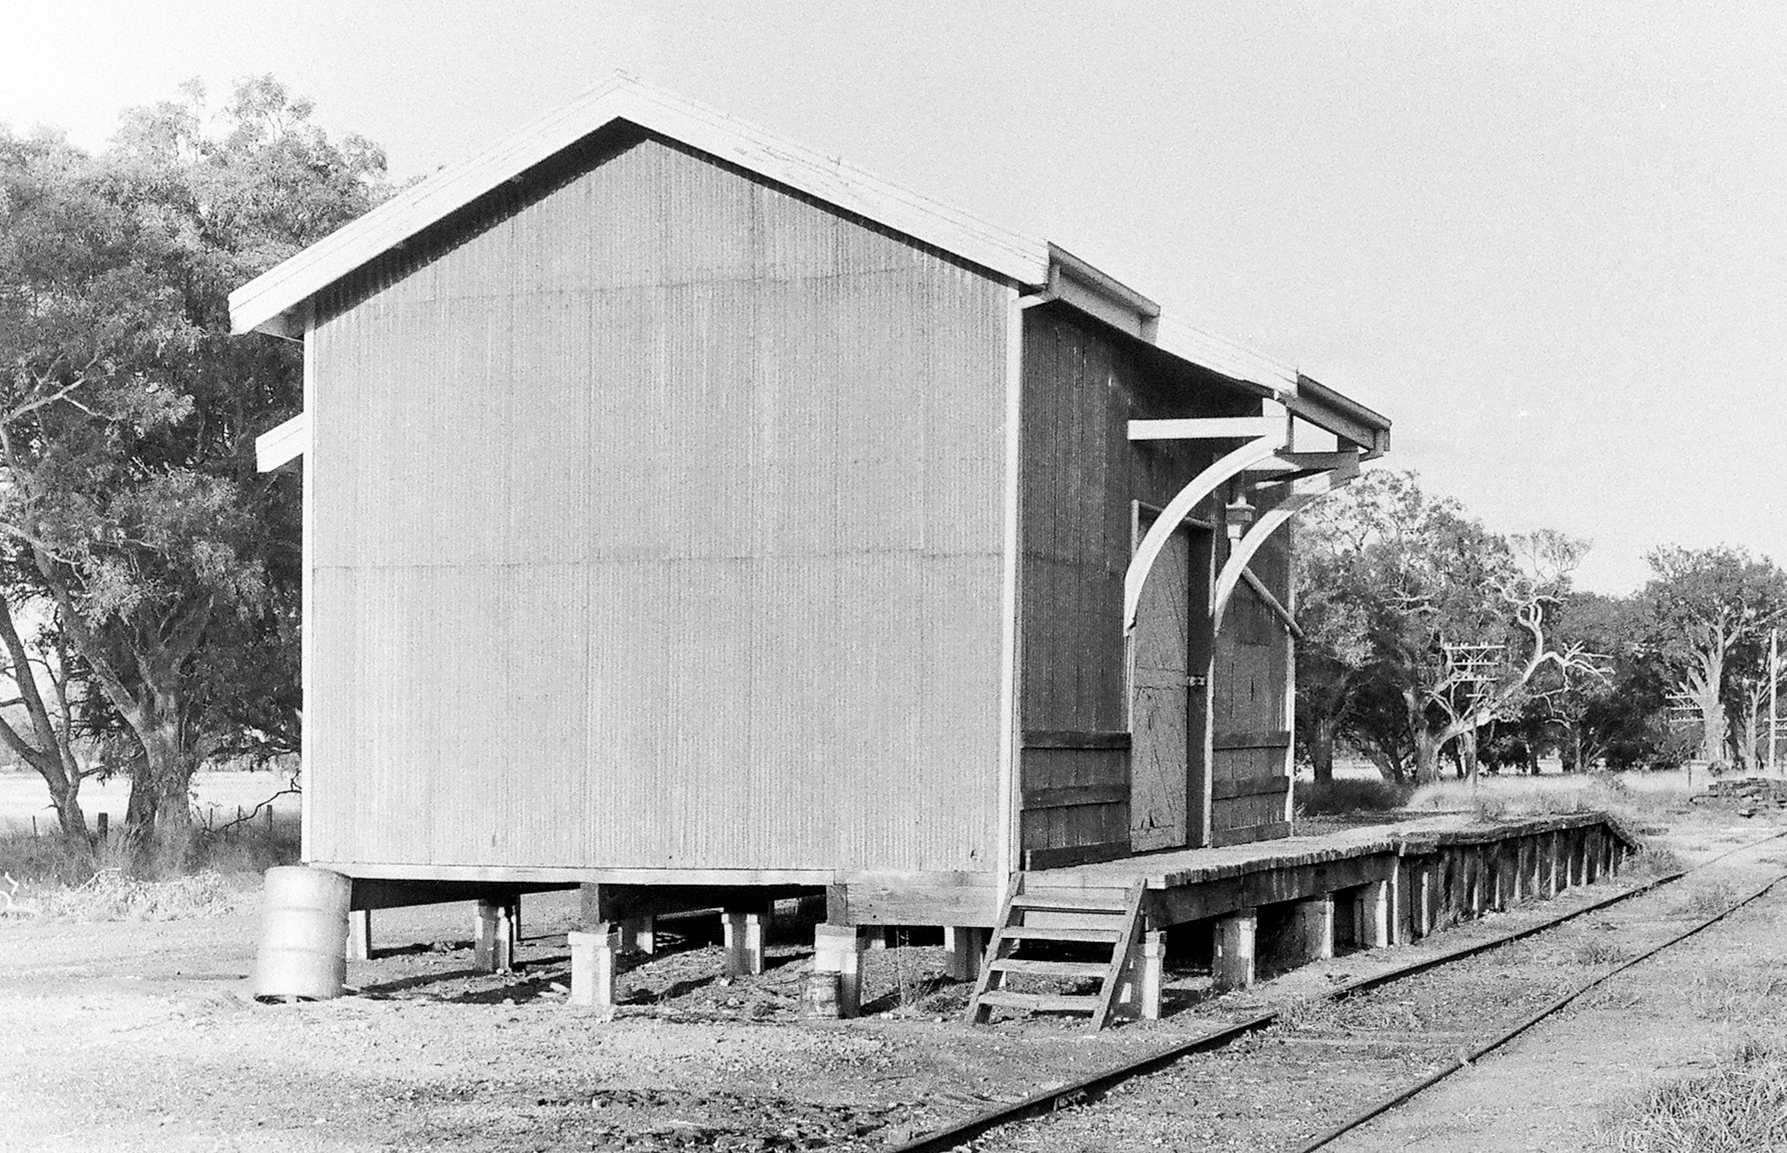
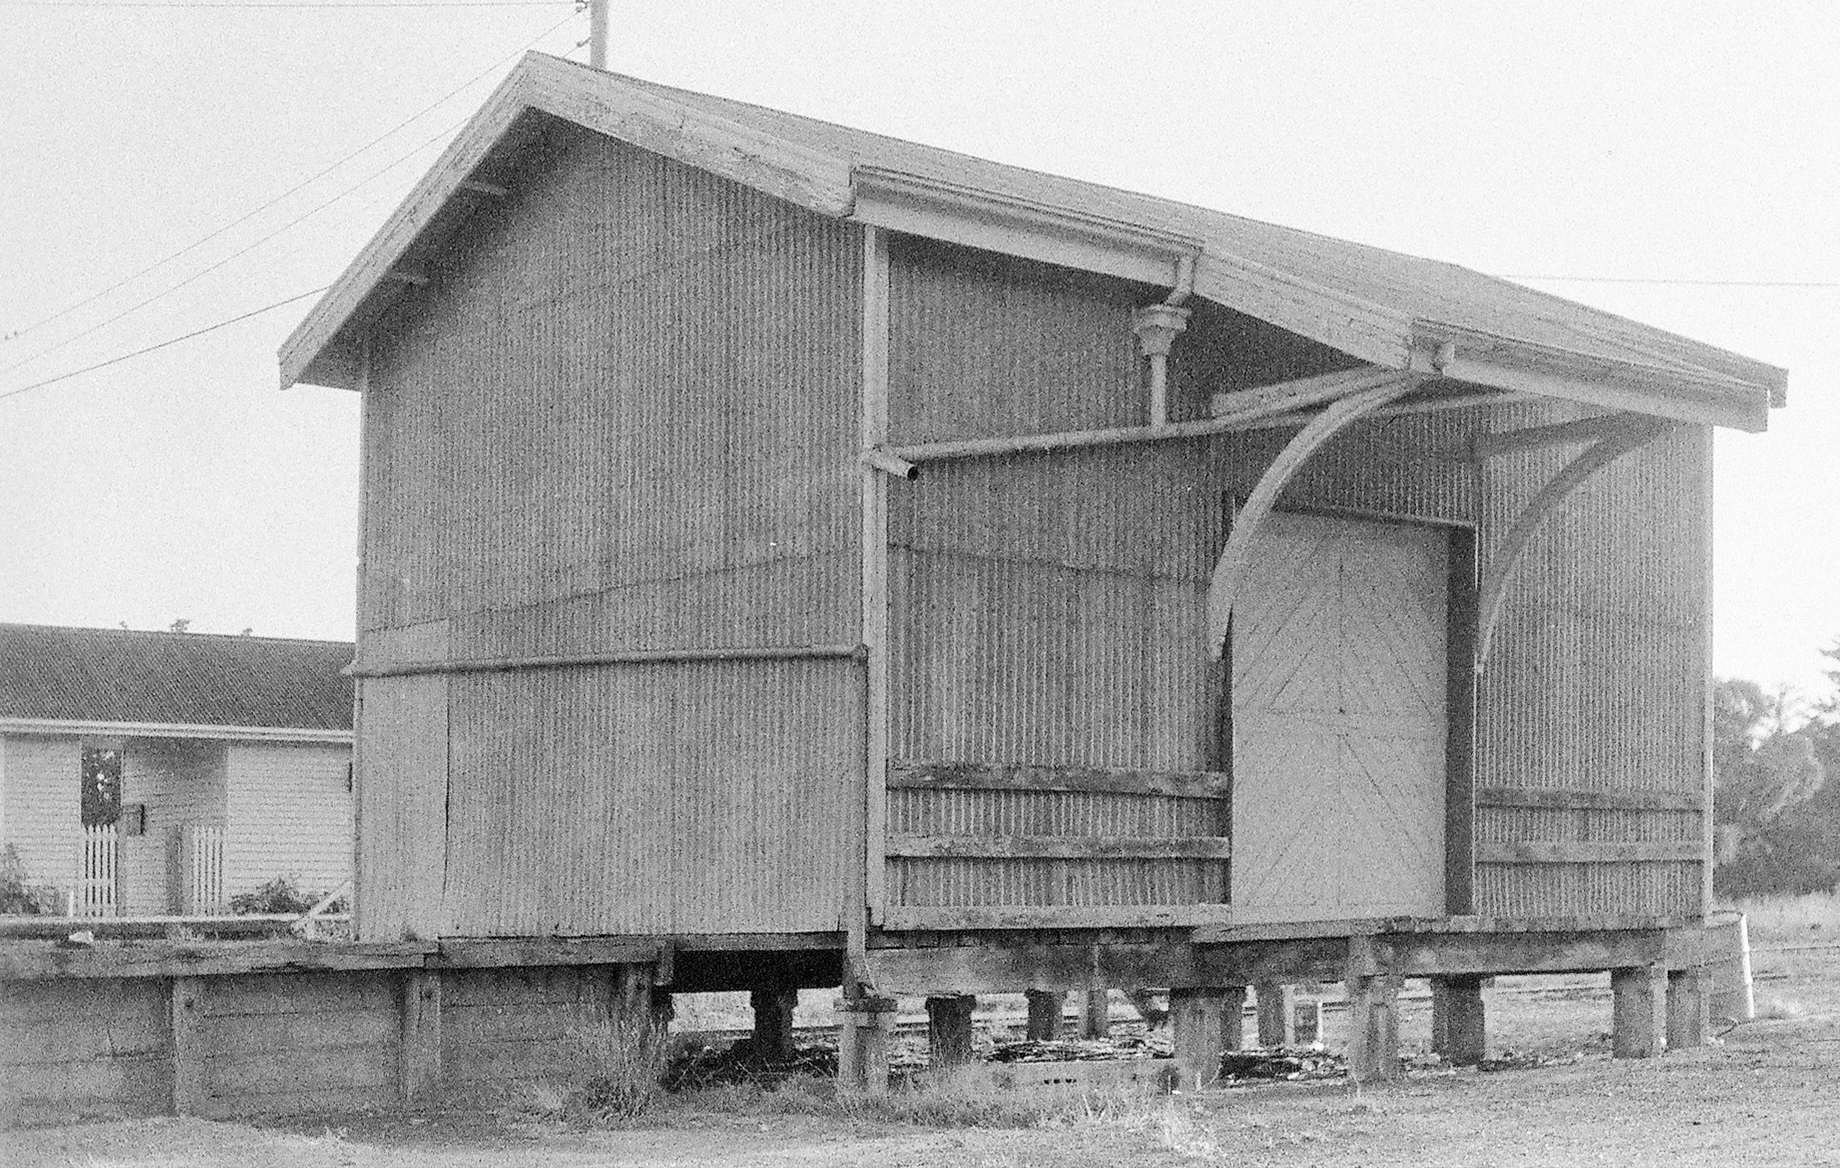
ABOVE & BELOW: Two views of the rather unique goods shed at Buangor, circa 1974. (photo courtesy David Langley)
ABOVE: Back in the dreamtime, many stations had a weighbridge for road vehicles, the one at Buangor lasted longer than most although when it was last used is anyones guess.Circa 1974. (photo courtesy David Langley)
