Automatic electric staff & trailable points
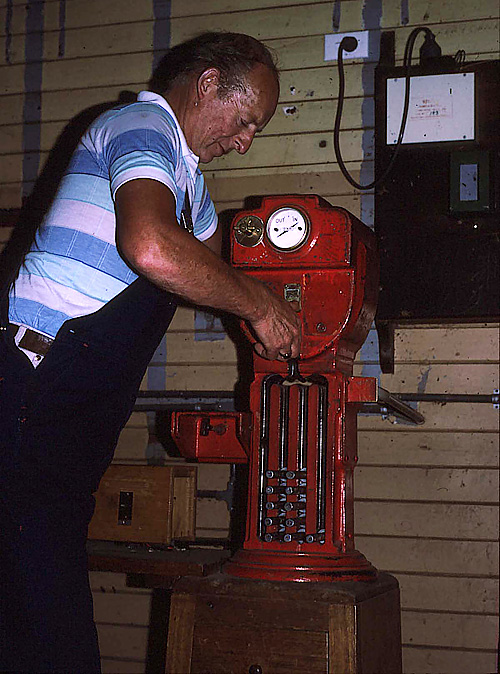
ABOVE: Ararat driver Barry Harris pulls a staff out of the instrument at Berrybank on the Maroona - Gheringhap line which was worked by a variation of standard electric staff known "Automatic Electric staff" which was very similar to standard electric staff except that no signlaman were involved and the staff working was carried out by the driver. (photo courtesy Chris Wurr.)
Commencing in December 1966 and continuing throughout 1967 and 1968, the crossing facilities at various stations on the Gheringhap to Maroona (Pleurisy Plains) line were altered to allow a reduction of signalling staff.
The Electric Staff system of safeworking was altered to become automatic in operation and crossing loops were created to be self-activated. This form of Automatic Electric Staff working was a different configuration to the original Victorian version installed between Korong Vale B box and Quambatook in May 1929.
On the plains line, all block stations were de-manned and the instruments converted to automatic operation. This allowed of a staff being withdrawn from an instrument without the help of another employee at the opposite end of the section. Train Control in Geelong controlled all movements over the full length of the line to Maroona.
The system was worked in the following manner. Upon arrival at a staff station, the Driver would usually stop the train at the station building where the instruments were housed. In the days of Guards in vans at the rear of trains, the Driver would look for a hand signal from the Guard to indicate the train had arrived complete. By day -- an all right hand signal waved outwardly from the van, by night a green light waved in a semi-circle outwardly from the canopy of the van.
The Driver would then speak to the Train Controller on the Selector phone and tell him the location and the train. If the train was to continue onwards, the Controller would tell the Driver to take a staff and keep going to the next staff station. The Driver would depress a key switch on the wall between the two instruments and moments later a bell would ring, indicating that the instruments were in phase and the Driver could withdraw a staff for the forward section. This, the Driver would do and once the staff had been pulled, the Staff In indicator switch on the top left front of the instrument would be held over until the bell stopped ringing.
The Driver would then place the rear section staff into the correct instrument and the train would proceed to the next location. The Driver would make notes of arrival and departure times from each AES stop and pass these on to the Train Controller. If two trains were to cross, the Controller would advise both Drivers at the previous locations and the staffs would simply be hand exchanged, without the requirement for them to have passed through the instruments. Instrument failures were handled in the usual Electric Staff way, by issuing Proceed Orders.
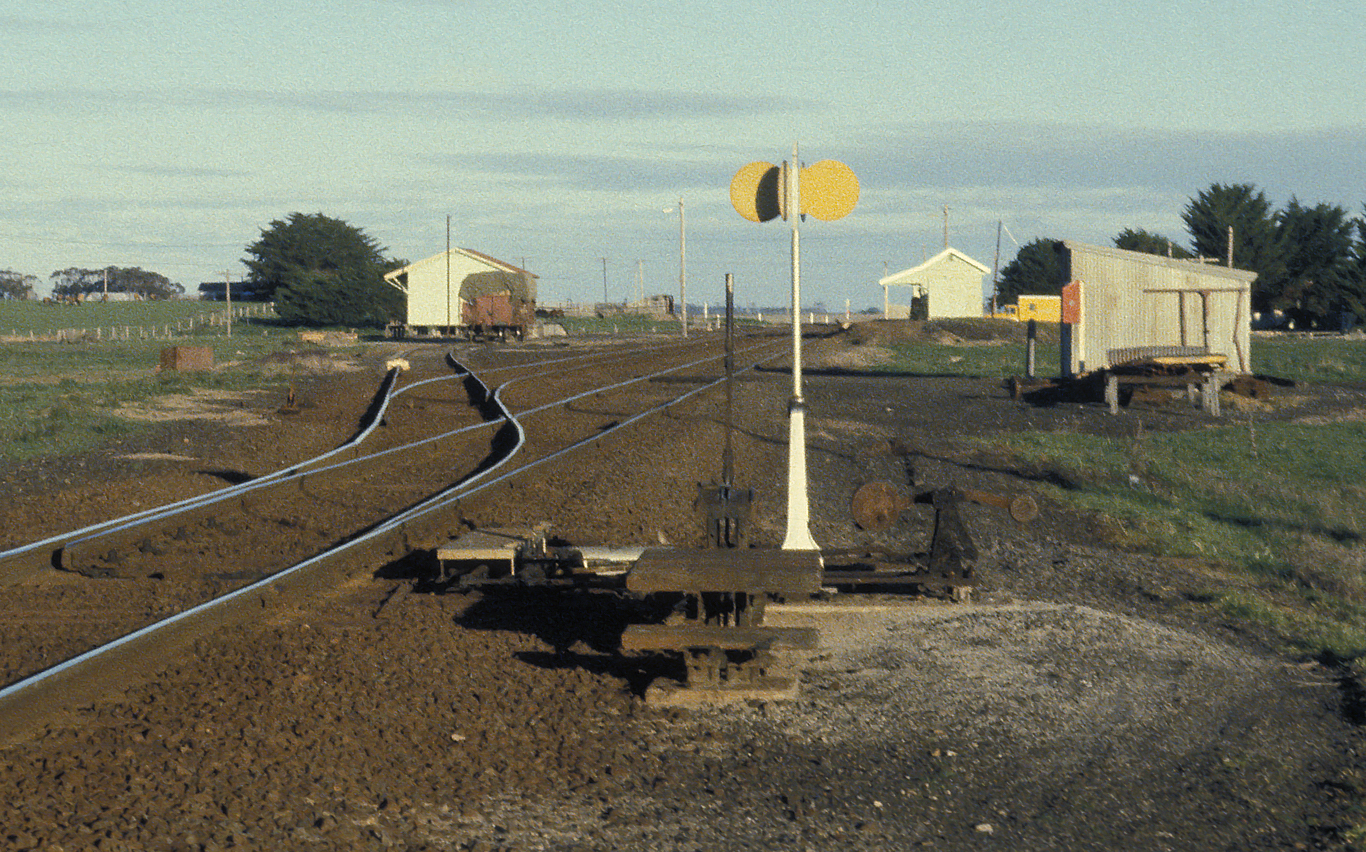
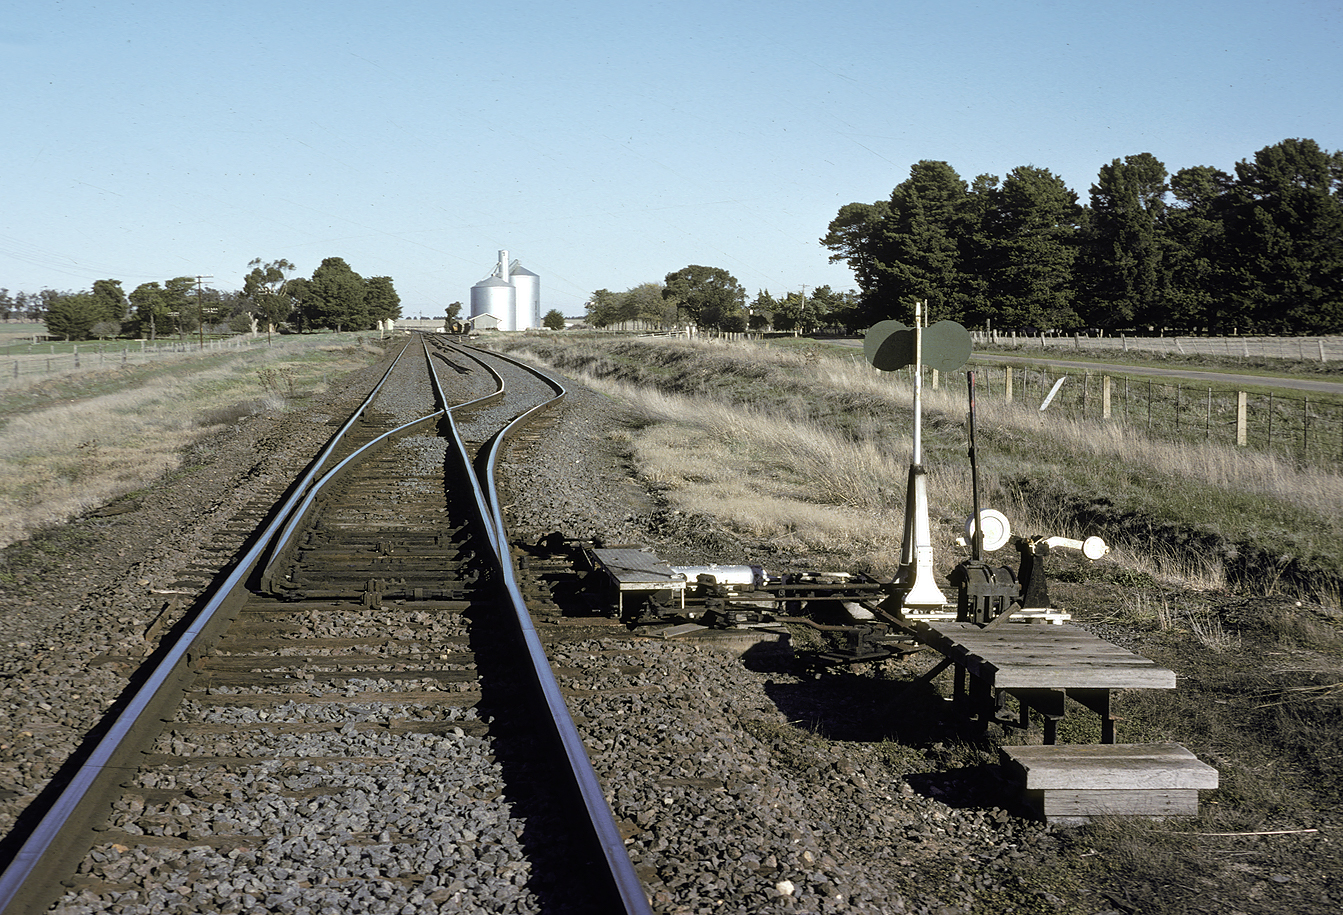
ABOVE: Derrinallum looking towards Geelong. Because the left hand track was the diverging track the switchstand displayed two yellow discs.
The crossing loops were altered to provide for trains to always arrive into the left hand road, regardless of whether this road was the straight or the diverge. The points at each end of the loops were equipped with a mechanical switchman which consisted of a locking rod and a hydraulic ram to allow the point blade to move for trains trailing out of loops on departure, and then to reset to the correct lie after the train had cleared.
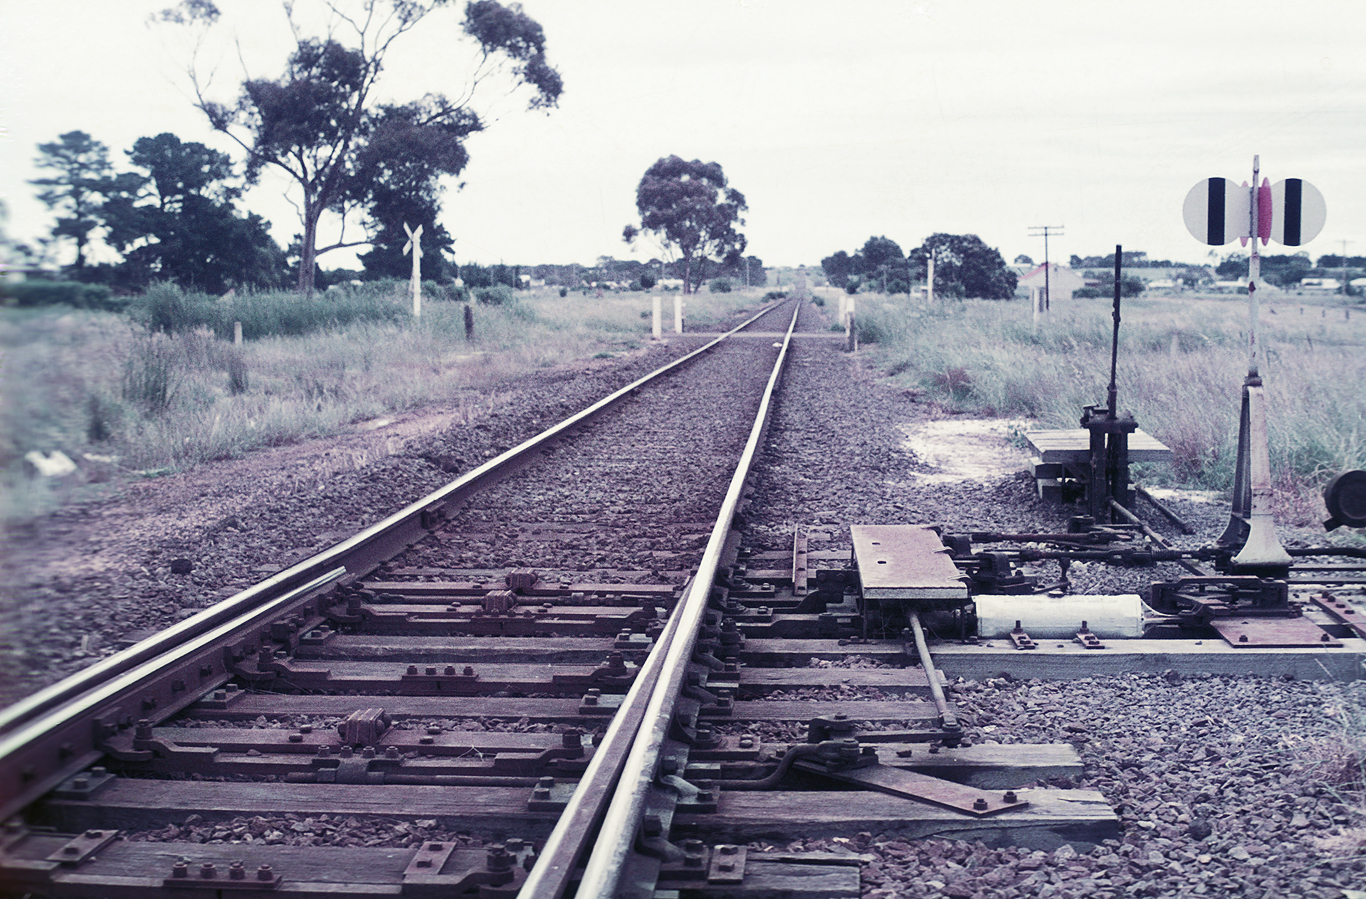
Banners were connected to the locking rods to prove the points were locked in the correct position for facing moves. If the left hand road was a diverge and the points were set correctly for the move AND locked, the banner would display two yellow discs to trains approaching, and two white discs with two vertical black bars to trains trailing out of the loop.
If the left hand road was the straight, the banners were green facing to approaching trains. If the points had failed to reset following a departing trailing movement, or if the point lock did not engage correctly, the indication to an approaching train was two red discs, and to trailing movements, two white discs with horizontal black bars. Drivers were instructed to stop before the points and make an inspection to see if there was some form of obstruction to the point blade.
The discs were reflectorized front and back. Normal facing moves were conducted (diverge or straight) in accordance with the colour of the discs, but trailing moves out of loops required a reduced rate of speed to allow firstly of the lock withdrawing which then allowed the point blade to move to the opposite lie by the actions of the flanges on the leading wheels of the loco "splitting" the points. After the last vehicle of a train had cleared the points, the hydraulic ram reset the point blade to the correct position for facing moves thus allowing the lock to reset and turn the red discs indication aside. The hydraulic ram also acted as a buffer so that the point blades did not snap back immediately after wheels had trailed through them.
Description by Chris Wurr
ABOVE: When the left hand track was the straight track two green reflectorised discs were displayed. BELOW: The switchstand indication for trailing movements.